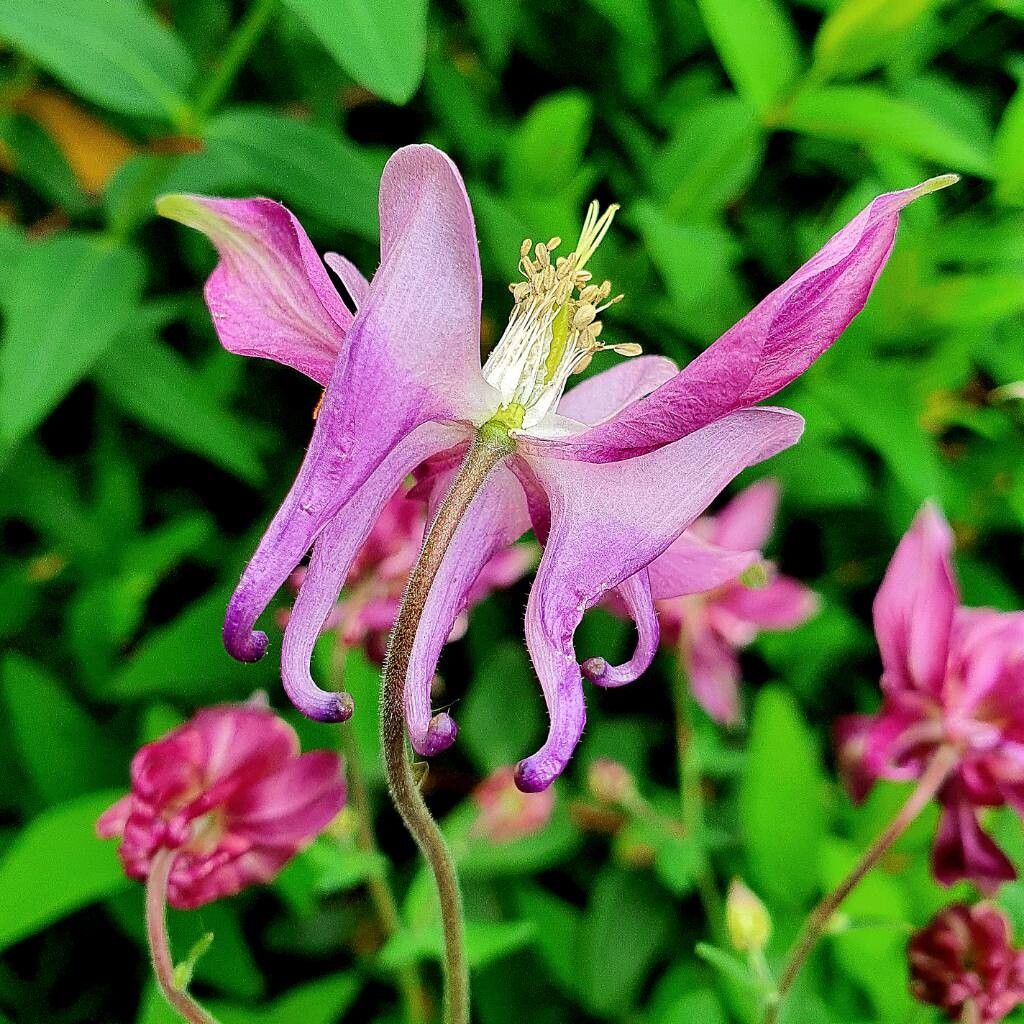
Hello, fellow garden enthusiasts! Today, we’re going to talk about a truly special plant: Aquilegia nigricans, often called the black columbine. If you’re a fan of those elegant, nodding blooms in deep, velvety shades, you’re in for a treat. Not only is this plant a beautiful addition to any garden, but propagating it yourself is incredibly rewarding. You get to multiply the beauty and share it with friends! Now, for the good news: while I always say patience is key in gardening, Aquilegia nigricans is surprisingly forgiving and a good candidate for those just dipping their toes into propagation.
The Best Time to Start
For Aquilegia nigricans, the sweet spot for propagation is late spring to early summer. This is when the plant is actively growing, and cuttings or divisions will have the best chance of taking hold. If you miss this window, don’t fret! You can also divide established clumps in early autumn as the weather cools down.
Supplies You’ll Need
Gathering your tools beforehand makes the whole process smoother. Here’s what I usually have on hand:
- Sharp pruning shears or a clean, sharp knife: For taking clean cuts.
- A sterile potting mix: I like a blend of peat moss, perlite, and a bit of compost. It needs to be well-draining.
- Small pots or seed trays: Clean ones are crucial to prevent disease.
- Rooting hormone (optional but helpful): A powder or gel can give your cuttings a boost.
- Watering can or spray bottle: For gentle watering.
- A plastic bag or propagation dome: To create a humid environment for cuttings.
- Labels and a pen: To keep track of what you’ve propagated.
Propagation Methods
Aquilegia nigricans is most successfully propagated through division and stem cuttings.
Division
This is my preferred method for established plants, as it’s quite straightforward.
- Dig it up gently: In late spring or early autumn, carefully dig around the base of your Aquilegia nigricans plant. You want to lift the entire root ball.
- Clean the roots: Gently shake off excess soil so you can clearly see the divisions.
- Find natural breaks: Look for where the plant naturally wants to split. You’ll see multiple crowns (where the stems emerge from the roots).
- Divide with care: Using your hands, a trowel, or even clean secateurs if necessary, carefully pull or cut the root ball into sections. Each section should have at least one strong growing point.
- Replant immediately: Pot up your divisions into your prepared potting mix. Water them thoroughly.
Stem Cuttings
This method lets you create new plants from your favorite specimens.
- Take your cuttings: In late spring or early summer, select healthy, non-flowering stems. Cut a length of about 4-6 inches just below a leaf node (where a leaf attaches to the stem).
- Prepare the cuttings: Remove the lower leaves, leaving just a couple at the top. You can then dip the cut end into rooting hormone, if using.
- Insert into soil: Fill your small pots with the sterile, damp potting mix. Make a hole with a pencil or your finger and insert the cutting, ensuring the leafless portion is below the soil surface. Firm the soil gently around it.
- Create humidity: Water gently and then cover the pot with a plastic bag or place it under a cloche. This traps moisture. Place the pots in a bright, indirect light location.
The “Secret Sauce” (Pro Tips)
- Don’t let the leaves touch the water in cuttings: If you choose to root in water (though I find soil easier for Aquilegia), make sure the leaves are well above the water line. Any submerged foliage will just rot and can spoil the whole experiment.
- Bottom heat is your friend for cuttings: While not strictly necessary, placing your pots on a heated propagator mat or in a warm spot can significantly speed up root formation for stem cuttings. It mimics that lovely springtime warmth.
- Be patient with division: Sometimes, a divided Aquilegia nigricans might look a bit sad for a week or two. Don’t give up on it! As long as the roots are healthy and it’s kept consistently moist (but not waterlogged), it will bounce back.
Aftercare & Troubleshooting
Once your divisions are planted or your cuttings have started to root (you can check gently by tugging – there should be resistance!), continue to keep the soil consistently moist. Avoid letting them dry out completely, but also don’t let them sit in water, as this can lead to root rot. For cuttings, you can gradually introduce them to more air by opening the plastic bag or dome for longer periods over a week or two before removing it entirely.
If you see leaves turning yellow and dropping, it might be a sign of overwatering or not enough light. If the base of your cutting turns mushy and black, that’s a clear sign of rot, usually due to too much moisture and poor air circulation. Discard any affected cuttings and be extra careful with watering.
A little patience goes a long way!
Watching a new plant emerge from a cutting or a division is one of gardening’s greatest joys. Don’t be discouraged if your first attempt isn’t a total success. Every gardener has had their share of failures! Just keep trying, observe your plants, and enjoy the journey of bringing more of these gorgeous black columbines into your garden. Happy propagating!
Resource:
https://identify.plantnet.org/k-world-flora/species/Aquilegia%20nigricans%20Baumg./data