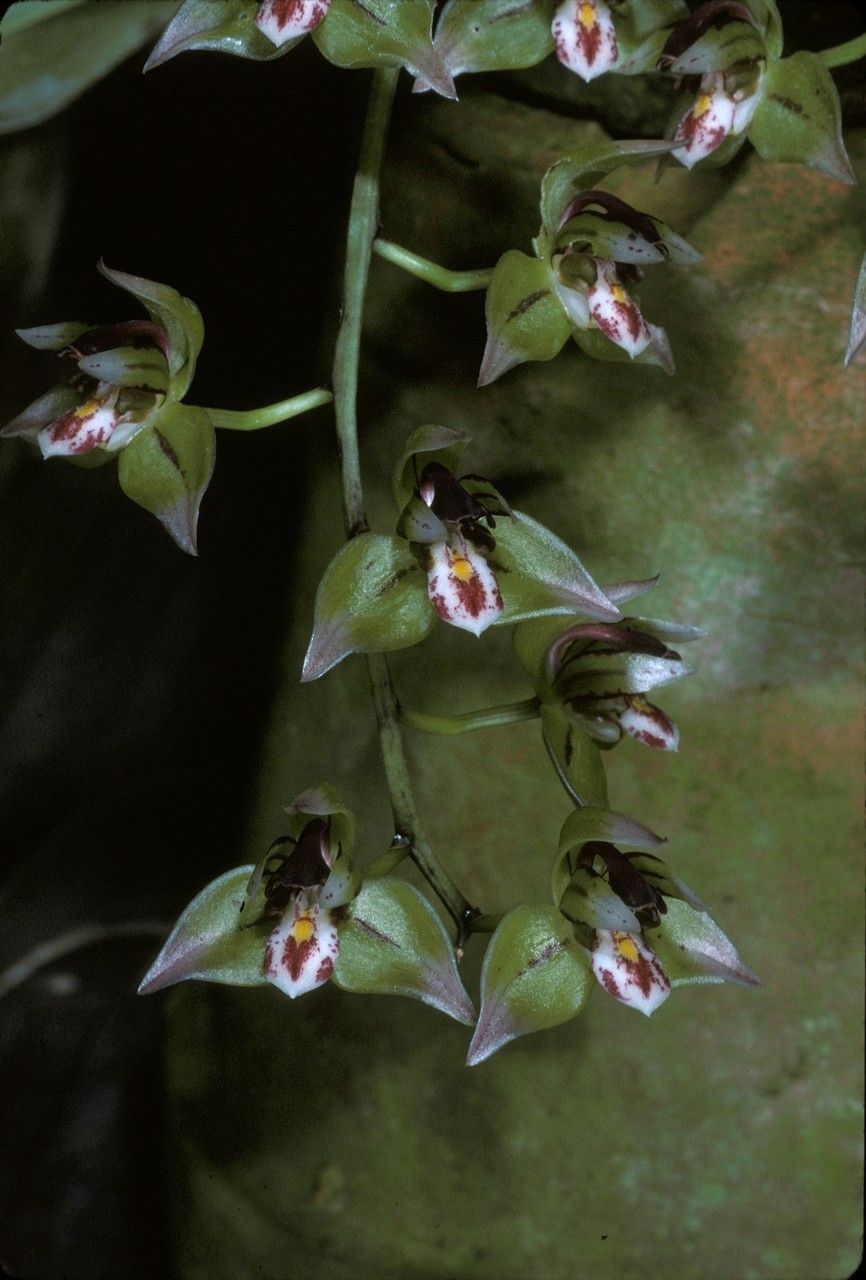
Hello, fellow green thumbs! Today, we’re diving into the wonderful world of propagating Thecopus secunda. If you’re anything like me, you’ve probably admired this beauty in someone’s garden or perhaps even spotted it at a local nursery and fallen in love. Its unique foliage, often with intriguing textures and colors, makes it a real showstopper. And the best part? It’s surprisingly rewarding to create more of these beauties yourself! For those just dipping their toes into the propagation pool, Thecopus secunda is a fairly forgiving plant, making it a great choice for beginners.
The Best Time to Start
Timing is everything in the garden, and with Thecopus secunda, the sweet spot is definitely during its active growing season. Think late spring through summer. This is when the plant has plenty of energy to put into developing new roots. Trying to propagate when the plant is dormant or stressed is like asking a sleepy cat to do jumping jacks – it’s just not going to happen with much enthusiasm!
Supplies You’ll Need
Gathering your supplies beforehand makes the whole process much smoother. Here’s what I usually have on hand:
- Sharp Pruning Shears or Scissors: Clean cuts are crucial for good root development. I like to sterilize mine with rubbing alcohol before I start.
- Rooting Hormone: This isn’t strictly essential for Thecopus secunda, but it can give your cuttings an extra boost to get them going. I tend to use a powdered version.
- Well-Draining Potting Mix: A mix designed for succulents or cacti works wonders. You can also create your own by combining equal parts potting soil, perlite, and coarse sand.
- Small Pots or Seed Starting Trays: Clean ones, of course! I prefer small individual pots so I can keep an eye on each cutting.
- Plastic Bags or a Clear Propagating Dome: This helps maintain humidity, which is key for cuttings still developing roots.
- Watering Can or Spray Bottle: For gentle watering.
Propagation Methods
Thecopus secunda is a champion of propagation, and stem cuttings are my go-to method. It’s straightforward and yields fantastic results.
Stem Cuttings: My Favorite Method
- Identify and Select: Look for healthy, vigorous stems on your mature Thecopus secunda. Choose stems that are not flowering, as the plant will dedicate its energy to blooms instead of roots.
- Make the Cut: Using your sterilized pruning shears, take cuttings about 4-6 inches long. Make your cut just below a leaf node – that’s the point where a leaf attaches to the stem.
- Prepare the Cutting: Gently remove the lower leaves from the cutting, leaving just a few at the top. This prevents them from rotting when buried in the soil.
- Dip in Rooting Hormone (Optional but Recommended): If you’re using rooting hormone, dip the cut end into the powder, tapping off any excess.
- Plant Your Cuttings: Fill your small pots with your well-draining mix. Make a small hole with your finger or a pencil and insert the prepared end of the cutting into the soil. Gently firm the soil around it.
- Water Gently: Water the soil lightly. You want it moist, but not waterlogged.
- Create a Humid Environment: Pop a plastic bag over the pot, creating a mini-greenhouse, or cover with a clear propagating dome. Make sure the leaves aren’t touching the plastic if possible. Place the pots in a bright spot that receives indirect sunlight.
The “Secret Sauce” (Pro Tips)
Here are a few tricks I’ve learned over the years that can really up your success rate:
- Cleanliness is King: I can’t stress this enough. Always use clean tools and pots. Even the tiniest bit of fungus on a tool can spell disaster for a tender cutting. A quick wipe with rubbing alcohol goes a long way.
- Bottom Heat is Your Friend: If you have a seedling heat mat, use it! Placing your pots on a gentle heat source encourages root development. It’s like giving them a cozy warm bed to start growing in. You don’t want it too hot, just a gentle warmth.
- Don’t Rush the Pull: When you’re eager to see roots, it’s tempting to tug on your cuttings. Resist! Wait until you see some visible new growth (like new leaves or a slight tug back when gently pulled) before you consider them rooted.
Aftercare & Troubleshooting
Once your Thecopus secunda cuttings have developed a good root system (you’ll often see roots peeking out of the drainage holes or feel a gentle resistance when you tug), it’s time for a bit more attention.
- Acclimatize: Slowly introduce your new plants to their new environment. Gradually remove the plastic bag or dome over a few days.
- Watering: Water when the top inch of soil feels dry. They don’t want to sit in soggy conditions.
- Light: Continue to provide bright, indirect light.
- Troubleshooting: The most common issue you’ll encounter is rot. If a cutting turns mushy and dark, it’s likely succumbed to rot. This usually happens from too much moisture and poor air circulation. If you see this, remove the affected cutting immediately to prevent it from spreading.
A Little Patience Goes a Long Way
Growing new plants from cuttings is a magical process. There might be a few hiccups along the way, and that’s perfectly normal. Be patient, observe your cuttings closely, and celebrate every little sign of progress. Before you know it, you’ll have a whole new collection of Thecopus secunda to share with friends or to simply admire in your own garden. Happy propagating!
Resource:
https://identify.plantnet.org/k-world-flora/species/Thecopus%20secunda%20(Ridl.)%20Seidenf./data