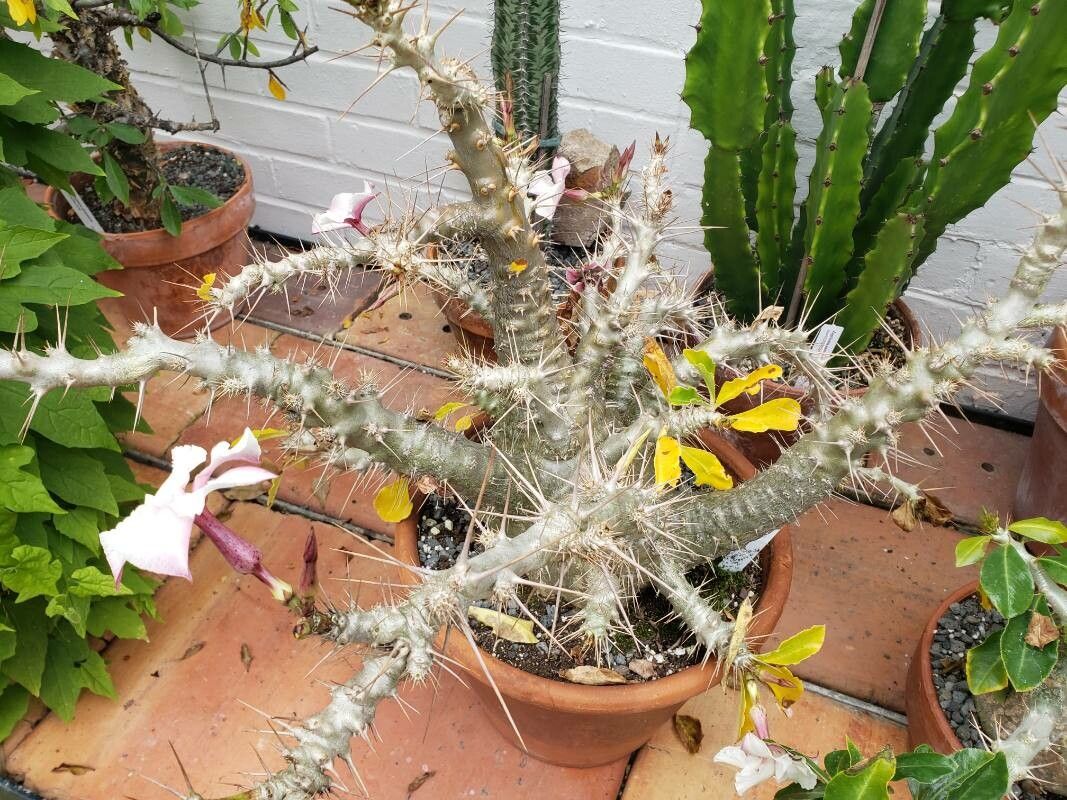
Hello there, fellow plant lovers! Today, we’re diving into the wonderful world of propagating Pachypodium saundersii, also known as the “little lion’s foot.” These delightful succulents, with their fat, sculptural bodies and crown of striking white flowers, are such a conversation starter. Growing them from a tiny cutting or seed is incredibly rewarding, a true testament to the magic of plants.
Now, are they a walk in the park for brand-new gardeners? Honestly, I’d say they lean towards moderately challenging. They’re not finicky, but they do have specific needs that, once understood, make propagation so much easier. Stick with me, and you’ll be well on your way to a whole clan of these beauties!
The Best Time to Start
For the highest chance of success, spring and early summer are your best friends. This is when your Pachypodium saundersii is actively growing, and cuttings will be eager to root. Aim to take cuttings when the plant is robust and healthy, not stressed or during its dormancy period in the cooler months.
Supplies You’ll Need
Before we get our hands dirty, let’s gather our tools:
- Sharp, clean pruning shears or a very sharp knife: Essential for making clean cuts that heal quickly.
- Rooting hormone powder or gel: While not strictly mandatory for all, it can give your cuttings a significant boost.
- A well-draining potting mix: This is super important! I like a mix of coarse sand, perlite, and a small amount of peat or coco coir. You want it to drain like a sieve. Some gardeners even use a cactus specific mix.
- Small pots or trays: Clean ones are key to preventing disease.
- Plastic bags or a propagator: To create a humid environment for your cuttings.
- Watering can with a fine rose or spray bottle: For gentle watering.
- Optional: A heat mat: This can really speed up root development.
Propagation Methods
There are a couple of ways we can go about this. I find stem cuttings to be the most straightforward and successful for Pachypodium saundersii.
Stem Cuttings
- Select a healthy stem: Look for a section of stem that is firm and has at least a few leaves. Avoid anything soft or damaged.
- Make the cut: Using your sharp shears or knife, make a clean cut, ideally just below a leaf node. Aim for a cutting that’s about 4-6 inches long.
- Allow it to callous: This is a crucial step for succulents! Let your cutting sit out in a dry, airy spot for several days, or even a week. You want the cut end to dry out and form a protective callus. This prevents rot when you plant it.
- Apply rooting hormone (optional but recommended): Once calloused, dip the cut end into your rooting hormone powder or gel. Tap off any excess.
- Plant the cutting: Fill your small pot with your well-draining mix. Make a small hole in the center with your finger or a pencil (don’t push the cutting in forcefully!). Insert the calloused end of the cutting into the hole, ensuring it’s stable.
- Water lightly: Water the soil gently. You want it to be barely moist, not soggy.
- Create humidity: Cover the pot with a clear plastic bag, or place it in a propagator. You can use chopsticks or small stakes to keep the bag from touching the leaves.
- Find a bright spot: Place your pot in a bright location that gets indirect sunlight. Avoid direct sun, which can scorch the delicate cutting.
The “Secret Sauce” (Pro Tips)
Here are a few tricks I’ve learned over the years that really make a difference:
- Don’t fuss too much with watering initially. After that first light watering, let the soil dry out almost completely between waterings. Overwatering is the quickest way to turn a promising cutting into mush. Think of it as mimicking its natural arid environment.
- Bottom heat is your friend! If you have a heat mat, placing your pot on it can significantly speed up the rooting process. This mimics the warmth of the soil they’d find in their natural habitat.
- Patience is paramount. I know it’s tempting to dig around and check for roots every day, but resist the urge! Give your cuttings at least 4-6 weeks before you even think about tugging gently. You’ll feel resistance when roots have formed.
Aftercare & Troubleshooting
Once you feel those roots developing (and trust me, you’ll feel it!), you can start watering a little more regularly, but always allow the soil to dry out. Gradually introduce your new plant to a bit more direct sunlight – but ease them in!
The most common issue you’ll face is rot. If your cutting turns mushy, black, or smells off, it’s likely rotted. Unfortunately, there’s no coming back from that. This is usually a sign of too much moisture and not enough air circulation. If you catch rot early, you might be able to cut off the rotted part and try to re-root the healthy section, but it’s always a gamble. Another sign of failure is simply no growth or shriveling, which can indicate it’s too dry or just didn’t take.
A Gentle Encouraging Closing
Propagating plants is a journey, not a race. There will be moments of triumph and, yes, sometimes a few setbacks. But every attempt teaches you something new. Grab your tools, find a healthy plant, and give it a go. Soon enough, you’ll have a little forest of Pachypodium saundersii to admire and share. Happy planting!
Resource:
https://identify.plantnet.org/k-world-flora/species/Pachypodium%20saundersii%20N.E.Br./data