Hey there, fellow plant lovers! Today, we’re diving into the wonderful world of propagating Osmanthus decorus. I’ve been growing these beauties for two decades, and their glossy leaves and subtle, sweet fragrance are just pure joy. Plus, there’s something incredibly satisfying about taking a little piece of your existing plant and nurturing it into a whole new life. If you’ve got your eye on an Osmanthus decorus specimen, you’re in luck! While it’s not quite as foolproof as tossing a spider plant cutting into water, propagating Osmanthus decorus is definitely achievable, even for those just starting their propagation journey.
The Best Time to Start
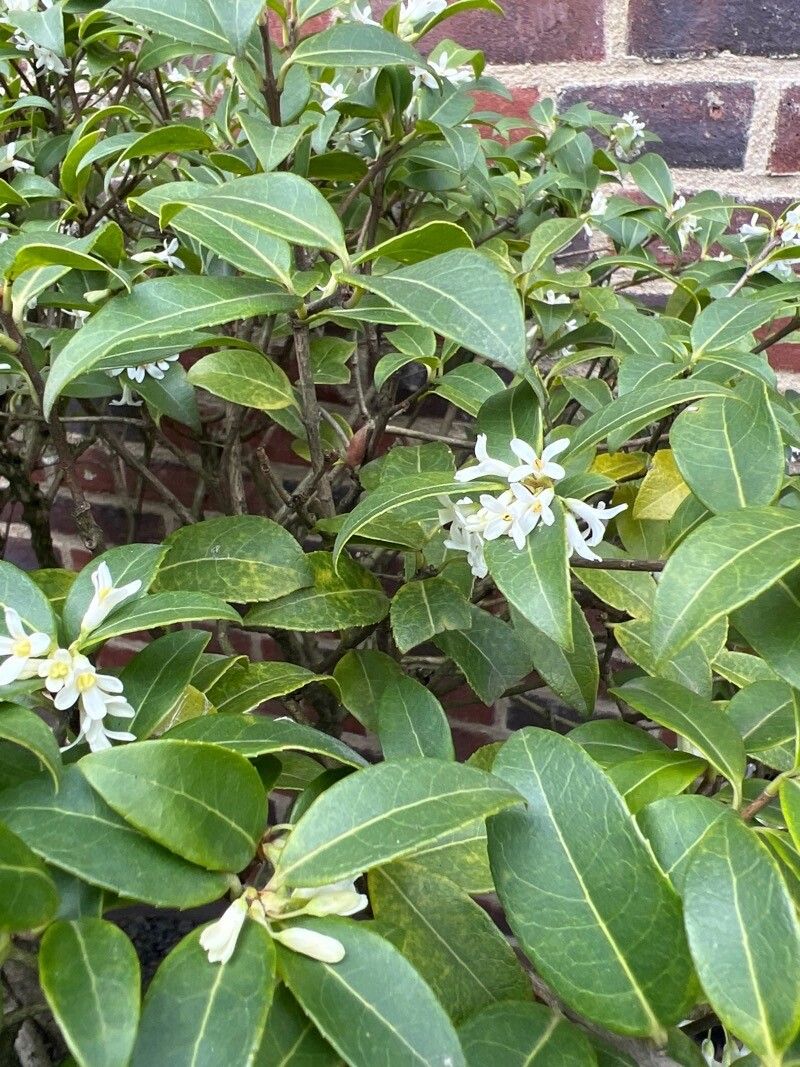
For the highest success rate with Osmanthus decorus cuttings, aim for late spring to early summer. This is when the plant is in its active growing phase. You’re looking for new growth that’s starting to firm up a bit – what we call “semi-ripe” cuttings. They should snap cleanly when bent, not be completely floppy, and definitely not hard and woody. Trying to take cuttings too early in spring with very soft, green growth, or too late in the season when things are slowing down, can make things a bit trickier.
Supplies You’ll Need
To give your little Osmanthus decorus babies the best start, gather these essentials:
- Sharp Pruning Shears or a Knife: Cleanliness is key! Sterilize them with rubbing alcohol before you begin.
- Rooting Hormone: A powder or gel makes a big difference in encouraging root development.
- Potting Mix: A good blend for cuttings is crucial. I like to mix equal parts perlite and peat moss or coco coir. This offers excellent drainage and aeration.
- Small Pots or Trays: Clean containers, about 4-6 inches deep, are perfect. Make sure they have drainage holes.
- Plastic Bag or Dome: To create a humid environment around your cuttings.
- Watering Can with a Fine Rose: For gentle watering.
- Optional: Bottom Heat Mat: This can significantly speed up root formation.
Propagation Methods
Let’s get our hands dirty! I’ve found stem cuttings to be the most reliable method for Osmanthus decorus.
Stem Cuttings:
- Select Your Cuttings: Find a healthy stem on your mature plant. Look for that semi-ripe growth I mentioned. You want cuttings that are about 4-6 inches long.
- Make the Cut: Just below a leaf node (where a leaf joins the stem), make a clean cut with your sterilized shears. This is where roots are most likely to form.
- Prepare the Cutting: Gently remove the leaves from the bottom half of the cutting. You want to expose several leaf nodes. You can even trim larger leaves in half to reduce water loss through transpiration.
- Apply Rooting Hormone: Dip the cut end of the stem into your rooting hormone, tapping off any excess. This powder or gel acts like a little boost for your cutting.
- Pot Up Your Cuttings: Fill your clean pots with your prepared potting mix. Make a small hole with your finger or a pencil. Gently insert the cut end of the Osmanthus decorus cutting into the hole, ensuring the leaf nodes are buried. Firm the soil gently around the stem.
- Water Gently: Water the potting mix thoroughly until you see water draining from the bottom.
The “Secret Sauce” (Pro Tips)
Here are a few tricks I’ve learned over the years that really give your cuttings an edge:
- Keep the Leaves Dry: When you cover your cuttings with a plastic bag or dome, make sure the leaves themselves aren’t touching the sides. This prevents fungal issues and rotting, which is a common downfall for cuttings. I often use garden stakes or even chopsticks to prop up the plastic bag away from the foliage.
- Bottom Heat is Your Friend: If you can swing it, placing your pots on a bottom heat mat is fantastic. Osmanthus decorus roots appreciate that gentle warmth, and it can dramatically speed up the rooting process, often shaving weeks off the waiting time. It mimics the cozy underground environment where seeds would typically germinate.
Aftercare & Troubleshooting
Once your cuttings are potted and covered, it’s time for patience! Keep them in a bright spot, but out of direct sunlight. The goal is consistent, but not scorching, light.
- Maintain Humidity: Check the moisture level regularly. The soil should feel consistently moist, but not waterlogged. If the plastic feels dry and condensation isn’t forming, a light misting might be needed.
- The Root Test: After about 4-8 weeks, gently tug on a cutting. If you feel resistance, congratulations! Roots have formed. You can also carefully check for root peeking out of the drainage holes.
- What if it Doesn’t Work? The most common issue is rot. If your cutting starts to look mushy, dark, or smells off, it’s likely rotted. This usually happens from too much water and not enough air circulation. Don’t be discouraged! Just clean up the area and try again, perhaps with slightly less watering or better drainage. Sometimes, cuttings just don’t take – it happens to all of us!
A Little Patience Goes a Long Way
Propagating Osmanthus decorus is a rewarding journey. Seeing those tiny roots develop is like unlocking a little miracle. So, be patient with your cuttings, give them the right conditions, and remember that even if the first attempt isn’t perfect, every try is a learning experience. Happy propagating, and enjoy watching your new Osmanthus babies grow!
Resource: