Hello, fellow garden enthusiasts! Today, we’re diving into the wonderful world of propagating Noccaea ochroleuca. If you’ve ever admired its delicate, sunshine-yellow blooms and lovely green foliage, you’re in for a treat. Growing new plants from your existing favorites is incredibly rewarding. It’s a little like magic, watching a tiny piece of your plant transform into a whole new one. And the good news? Noccaea ochroleuca is quite forgiving, making it a delightful project for beginners and seasoned gardeners alike.
The Best Time to Start
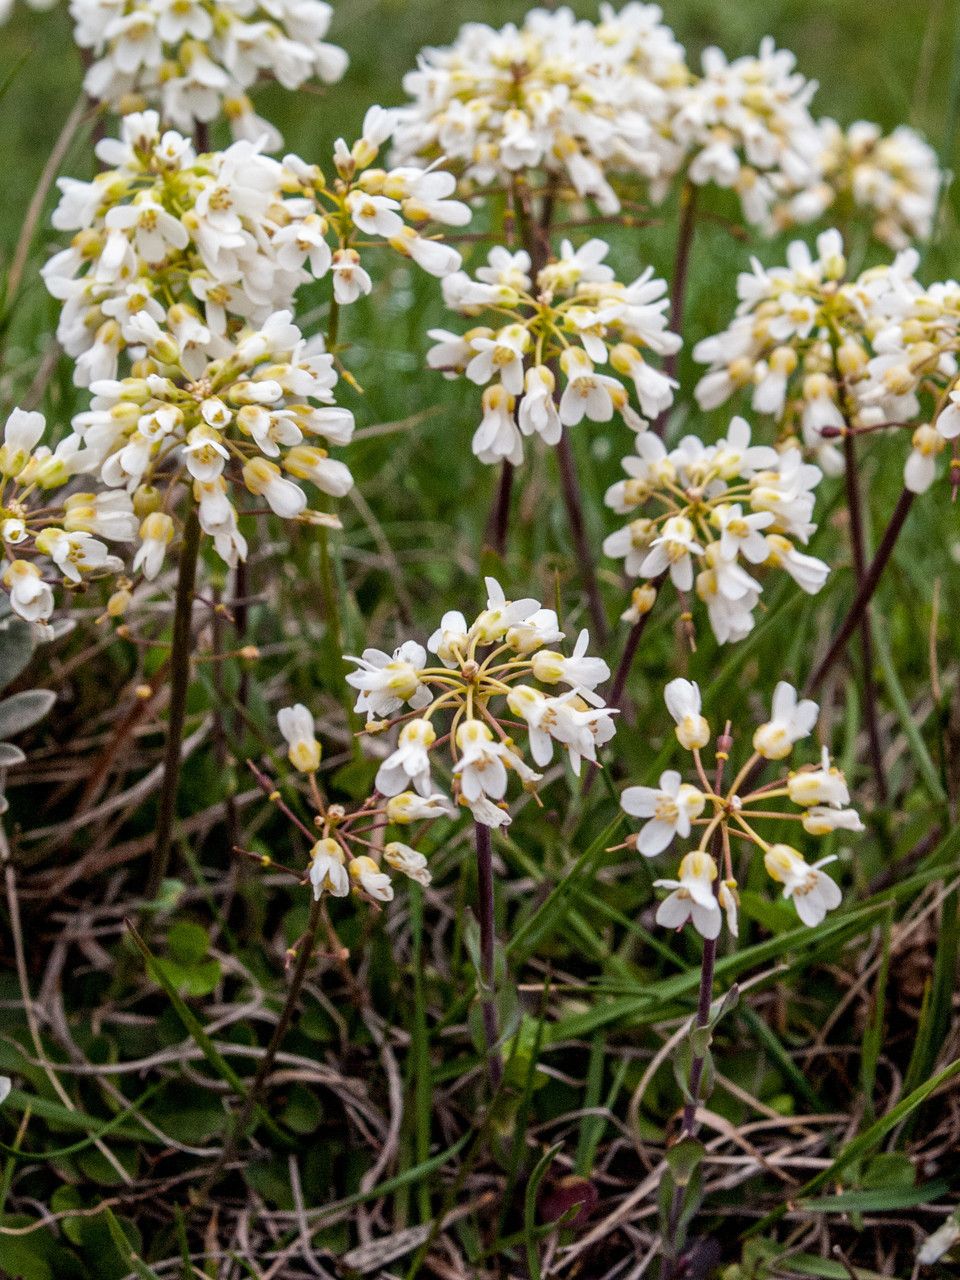
The sweet spot for propagating Noccaea ochroleuca is typically in late spring or early summer. This is when the plant is in a vigorous growth phase, meaning it has plenty of energy to put into developing new roots. You’ll want to take cuttings from healthy, non-flowering shoots. Look for stems that are firm but still a bit flexible – not tough and woody, and definitely not floppy and weak.
Supplies You’ll Need
Gathering your supplies beforehand makes the whole process smoother. Here’s what you’ll want to have on hand:
- Sharp Pruning Shears or a Craft Knife: Cleanliness is key to preventing disease.
- Rooting Hormone Powder (Optional but Recommended): This can give your cuttings a helpful boost.
- A Well-Draining Potting Mix: A good blend is about 50% peat moss or coco coir and 50% perlite or coarse sand.
- Small Pots or Seed Trays: For your new cuttings. Make sure they have drainage holes.
- A Spray Bottle: For misting.
- Plastic Bags or a Propagator Lid: To create a humid environment.
Propagation Methods
Noccaea ochroleuca is wonderfully versatile, and stem cuttings are usually the most straightforward method.
Stem Cuttings
- Take Your Cuttings: Using your clean shears, take cuttings that are 4-6 inches long. Make a clean cut just below a leaf node (where the leaf attaches to the stem).
- Prepare the Cuttings: Gently remove the lower leaves, leaving just a couple of leaves at the very top. This prevents rotting in the soil. If you’re using rooting hormone, dip the cut end into the powder, tapping off any excess.
- Planting: Fill your small pots with your prepared potting mix and moisten it thoroughly. Make small holes in the soil with a pencil or your finger.
- Insert Cuttings: Place 2-3 cuttings into each pot, ensuring the leaf nodes are buried. Gently firm the soil around them.
- Create Humidity: Water gently to settle the soil. Then, cover the pots loosely with a plastic bag or propagator lid. You can prop the bag up with sticks so it doesn’t touch the leaves. Place the pots in a bright spot, but out of direct sunlight.
The “Secret Sauce” (Pro Tips)
Over the years, I’ve picked up a few tricks that really seem to make a difference.
- Bottom Heat is Your Friend: If you can provide a gentle bottom heat source – like a seedling heat mat – your cuttings will root much faster. It mimics those cozy spring soil temperatures.
- Don’t Drown Them! While humidity is important, overwatering is the number one killer of cuttings. The soil should feel like a wrung-out sponge – moist, but not soggy. Let the surface dry out slightly between waterings.
- Patience with the Pinch: Once your cuttings have established roots and you see new growth, gently pinch back the tips. This encourages branching, leading to a fuller, bushier plant.
Aftercare & Troubleshooting
Once you see signs of new growth, it’s a great indication that roots are forming! Continue to keep the soil consistently moist but not waterlogged. You can gradually acclimate your rooted cuttings to lower humidity by opening the plastic bag or propagator lid a little more each day over a week or two.
The most common problem you’ll encounter is rot. If a cutting turns black and mushy, it’s usually a sign of too much moisture and poor air circulation. Sadly, this cutting is likely lost, but don’t get discouraged! Try again, paying closer attention to watering and humidity levels. Sometimes, a cutting just doesn’t have what it takes, and that’s okay.
A Gentle Encouraging Closing
Propagating plants is a journey, not a race. There’s so much joy in watching your own little Noccaea ochroleuca plants take hold and grow. Be patient with your cuttings, learn from any setbacks, and celebrate every success. Happy propagating, and may your gardens be ever blooming!
Resource: