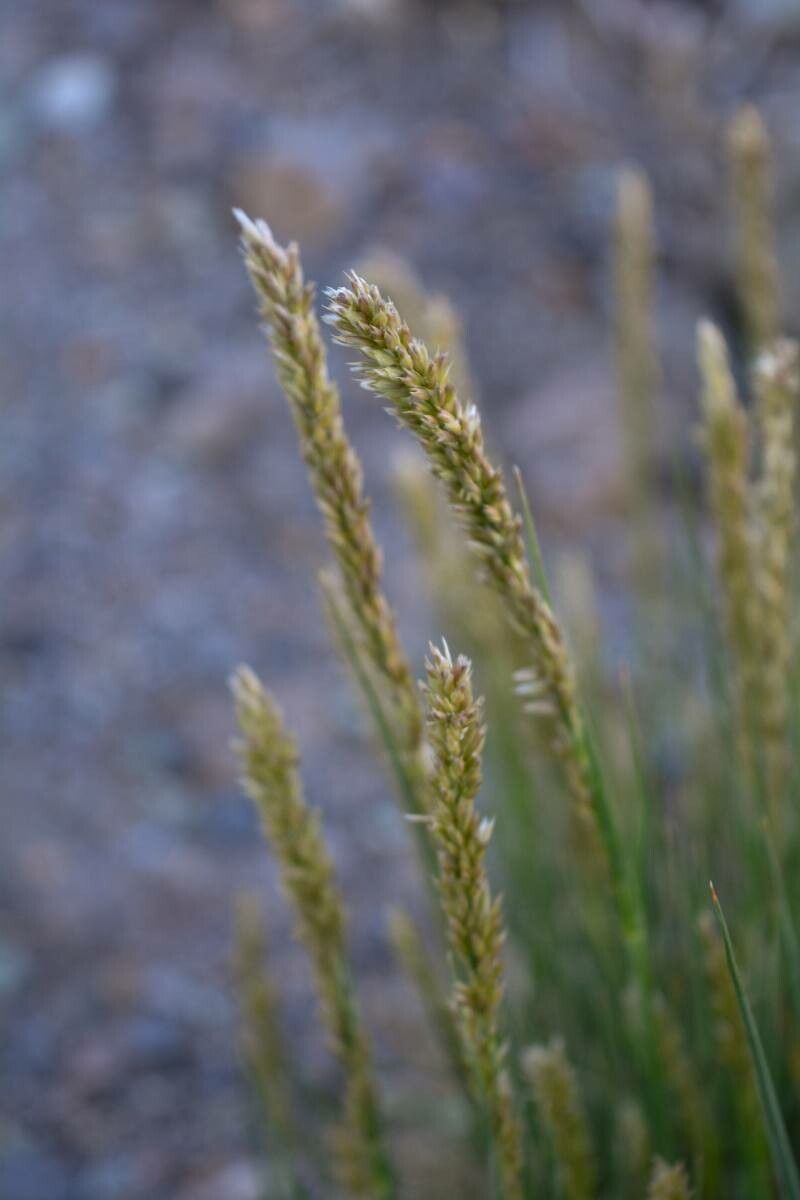
Hey there, fellow plant enthusiasts! I’m absolutely thrilled to chat with you today about a little gem that’s captured my heart over the years: Melica canariensis. You know, that lovely grass with its graceful, arching stems and delicate, airy blooms. It brings such a wonderful, almost ethereal quality to any garden, and honestly, watching those tiny seeds or divisions transform into new, vibrant plants is one of the most satisfying feelings a gardener can have.
Now, for the good news: Melica canariensis is a really forgiving plant to propagate, which makes it a fantastic choice, even if you’re just dipping your toes into the world of plant reproduction. I’ve had great success with it, and I’m confident you will too.
The Best Time to Start
The golden rule for propagating Melica canariensis is to work with it during its active growing season. For most of us, this means late spring or early summer. The plant is full of energy then, and it’s all systems go for root development. You can also get away with early autumn, provided you have enough time for the new plants to establish themselves before winter’s chill sets in.
Supplies You’ll Need
Gathering your tools is half the fun, right? Here’s what I like to have on hand:
- A sharp, sterile pruning shear or a sharp knife. Cleanliness is key to preventing disease!
- Well-draining potting mix. I usually use a blend of equal parts compost, perlite, and coarse sand. This is crucial; you don’t want any soggy roots.
- Small pots or seed trays with drainage holes.
- A watering can with a fine rose attachment.
- Optional: Rooting hormone powder (especially helpful if you’re trying stem cuttings, though Melica is often happy without it).
- Optional: A propagation mat or a warm windowsill.
Propagation Methods
Melica canariensis is most commonly and successfully propagated by division. It’s straightforward and usually gives you a high success rate.
Division: Your Best Bet
This is how I typically multiply my Melica plants.
- Prepare the Parent Plant: Gently dig up the established Melica plant. You can do this during its active growing season, as we discussed. Try to loosen as much soil as you can from the roots without damaging them unduly.
- Locate the Divisions: Look for natural breaks or clumps within the root ball. You’ll see where the plant has naturally started to form separate crowns.
- Separate Gently: Using your hands or a clean trowel, carefully pull the root ball apart. If it’s a bit stubborn, a gentle wiggle or a slight twist can help. For really tough divisions, you might need to use a sharp knife, but always try for a hand-pull first. Aim to have at least one healthy clump of roots and a few shoots or stems on each division.
- Pot Up Your New Babies: Immediately pot each division into its own small pot filled with your well-draining potting mix.
- Water In Well: Give them a good, gentle watering to help settle the soil around the roots and reduce transplant shock.
The “Secret Sauce” (Pro Tips)
Here are a couple of things I’ve learned that can make a real difference:
- Don’t Overcrowd: When you’re dividing, resist the urge to make your divisions too small. Bigger clumps with more root mass have a much better chance of survival. I aim for divisions that are at least the size of a golf ball, if not larger.
- Mulch Matters: Once your newly potted divisions are established (you’ll see new growth appearing), a light layer of mulch can be wonderfully beneficial. It helps retain moisture and keeps the soil temperature more consistent, which the roots absolutely love.
Aftercare & Troubleshooting
Once your divisions are planted, be patient. Keep the soil consistently moist, but never waterlogged. You want it to feel like a wrung-out sponge. Place them in a spot with bright, indirect light. Direct, scorching sun can shock newly divided plants.
The most common sign of trouble is wilting with no new growth, or the plant looking sad and limp. This can be due to a few things. If the soil is staying too wet, you might start to see mushy, discolored stems or roots – that’s rot, and it’s usually fatal. Make sure your pots are draining freely and adjust your watering. If they’re wilting but the soil is dry, they might be thirsty. Keep an eye on them, and trust your gardening intuition!
Happy Propagating!
So there you have it – a simple guide to propagating your own Melica canariensis. It’s a process that connects you more deeply with your plants and offers the immense satisfaction of bringing more of that graceful beauty into your life. Remember to be patient, observe your plants, and most importantly, enjoy every step of the journey. Happy gardening!
Resource:
https://identify.plantnet.org/k-world-flora/species/Melica%20canariensis%20W.Hempel/data