Hello fellow garden enthusiasts!
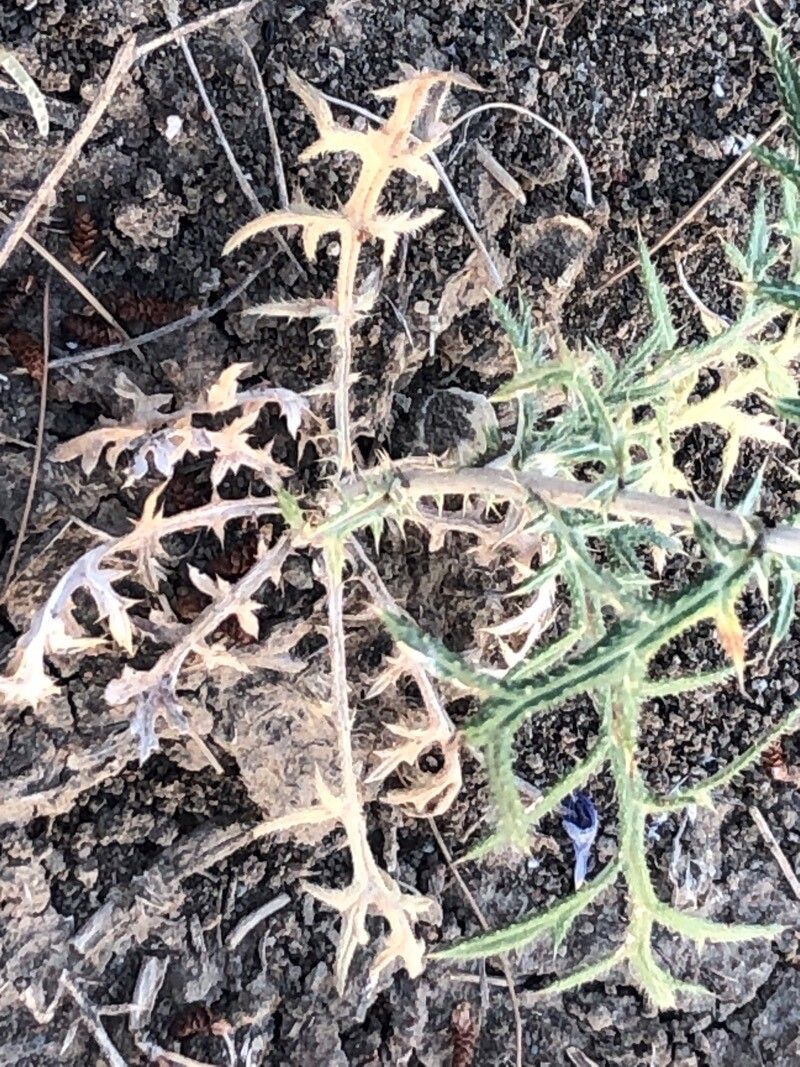
If you’re looking for a plant that brings a touch of the Mediterranean to your garden, with its lovely globe-shaped blue flowers that bees absolutely adore, then you’ll want to get to know Echinops strigosus, or prickly globe thistle. I’ve been growing these beauties for years, and let me tell you, there’s a special kind of joy in coaxing a new plant to life from just a small piece of its parent. Propagating Echinops strigosus is generally a pretty straightforward affair, even for those just dipping their toes into the wonderful world of plant multiplication. Let’s get started!
The Best Time to Start
For the most success with Echinops strigosus, I find that spring, just as the plant is really starting to wake up, is your golden ticket. You’re looking for healthy, new growth. Alternatively, you can also try in early summer after the main flowering flush, taking cuttings from non-flowering shoots. The key is to work with vigorous, healthy material.
Supplies You’ll Need
To set yourself up for propagation success, gather these handy tools and materials:
- Sharp pruning shears or a clean, sharp knife: For taking clean cuts.
- A good quality potting mix: I often use a mix of peat moss, perlite, and a bit of compost for good drainage.
- Small pots or seed trays: With drainage holes, of course!
- Rooting hormone (optional but helpful): A powder or gel can give your cuttings a little boost.
- A watering can or spray bottle: For gentle watering.
- A clear plastic bag or humidity dome: To create a mini-greenhouse effect.
- Labels and a marker: So you don’t forget what you planted!
Propagation Methods
Echinops strigosus can be propagated primarily by seed, but I find cuttings and division to be the most rewarding and reliable methods for creating exact duplicates of your favorite plants.
Taking Stem Cuttings
This is my go-to method for Echinops strigosus.
- Select your material: In spring or early summer, look for healthy, non-flowering stems. You want pieces that are about 4-6 inches long.
- Make the cut: Using your sharp shears or knife, make a clean cut just below a leaf node (where a leaf joins the stem). This is where the magic of root formation usually happens. Remove any flowers or flower buds from the cutting; they’ll just drain energy.
- Prepare the cutting: Gently remove the lower leaves from the cutting, leaving just a few at the top. If the remaining leaves are large, I like to trim them in half to reduce water loss through transpiration.
- Apply rooting hormone (optional): Dip the cut end of the stem into your rooting hormone. Tap off any excess.
- Plant your cutting: Make a hole in your potting mix with a pencil or your finger, and insert the cut end of the stem. Gently firm the soil around it.
- Water and cover: Water the pot lightly. Then, place a clear plastic bag over the pot, or put it inside a humidity dome. This will keep the humidity high around your cuttings.
Division
This is a fantastic option if you have an established Echinops strigosus that’s getting a bit large.
- Timing is key: The best time to divide is in early spring before new growth really gets going.
- Dig it up: Carefully dig up the entire plant, trying to disturb the roots as little as possible.
- Separate the divisions: You can often see natural divisions in the root ball. Use your hands or a clean trowel to gently pull or cut the clump apart. Each division should have a good portion of roots and some healthy top growth.
- Replant: Immediately replant the divisions into their new homes, whether that’s back in the garden or into pots. Water them in well.
The “Secret Sauce” (Pro Tips)
Here are a couple of things I’ve learned over the years that can really make a difference:
- Cleanliness is paramount: Always use sterilized tools when taking cuttings. This prevents the introduction of diseases that can quickly send your efforts down the drain. A quick dip in rubbing alcohol between cuts works wonders.
- Bottom heat is your friend: If you’re struggling with cuttings to root, a propagator mat that provides gentle bottom heat can significantly speed up the process and increase your success rate.
- Don’t overwater: Waterlogged soil is the quickest way to invite rot. Your cuttings need to be moist, but not soaked. Allow the top inch of soil to dry slightly between waterings.
Aftercare & Troubleshooting
Once your cuttings have developed roots – and this can take anywhere from a few weeks to a couple of months – you’ll start to see new growth. To check for roots, gently tug on the cutting. If you feel resistance, you’ve got roots!
- Acclimatize: Once roots are established, gradually remove the plastic bag or dome over a week or so to let your new plants get used to the drier air.
- Potting up: When the roots have filled the pot or tray, you can pot them up into larger containers with more nutrient-rich soil.
- Troubleshooting: The most common issue you’ll encounter is rot. If your cuttings turn mushy and dark, it’s usually a sign of too much moisture and poor air circulation. Discard any rotted material immediately to prevent it from spreading. If you see a white, fuzzy mold on the soil surface, it’s also a sign of too much dampness – try to improve air circulation around your pots.
A Little Patience Goes A Long Way
Propagating plants is such a rewarding part of gardening. It teaches you a lot about patience and observing the subtle signs of life. Don’t be discouraged if your first few attempts aren’t perfect. Each garden ‘project’ is a learning opportunity. Enjoy the process, celebrate your successes, and before you know it, you’ll have a whole collection of your beloved Echinops strigosus!
Happy propagating!
Resource:
https://identify.plantnet.org/k-world-flora/species/Echinops%20strigosus%20L./data