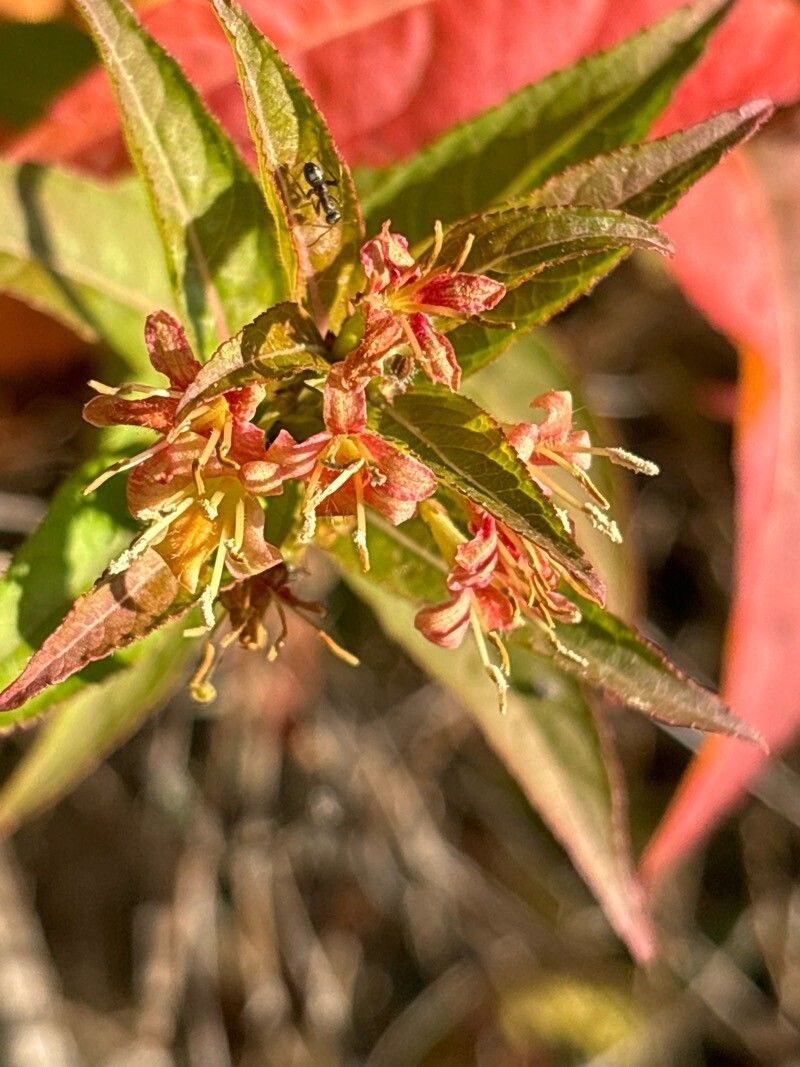
Oh, Diervilla rivularis! If you’re looking for a shrub that’s tough, unfussy, and bursts with cheerful, often fragrant, yellow flowers throughout the summer, you’ve found your match. I’ve grown these beauties for years, and they just keep on giving. And the best part? They’re incredibly rewarding to propagate. For beginners, I’d say Diervilla is pleasantly easy. You don’t need to be a master gardener to get new plants going from your existing ones.
The Best Time to Start
I find the sweet spot for propagating Diervilla is during the late spring to early summer. This is when the plant is actively growing, and you can easily find tender, new stem growth that’s perfect for cuttings. Waiting until the stems are a bit firm but not woody is key.
Supplies You’ll Need
Here’s what I usually have on hand:
- Sharp Pruning Shears or a Craft Knife: Cleanliness is crucial to prevent disease.
- Rooting Hormone (Optional but Recommended): The powder or gel kind works well.
- Small Pots or Seed Trays: With drainage holes, of course!
- Well-Draining Potting Mix: A 50/50 blend of peat moss (or coco coir) and perlite is my go-to. You can also use a specific seed-starting mix.
- Plastic Bags or a Propagation Dome: To create a humid environment.
- Watering Can or Spray Bottle: For gentle watering.
- Labels: To mark your new plants!
Propagation Methods
Stem cuttings are my favorite way to go with Diervilla. It’s straightforward and yields great results.
Stem Cuttings
- Take the Cuttings: In late spring or early summer, select healthy, non-flowering stems. About 4-6 inches long is a good size. Make your cut just below a leaf node (where a leaf attaches to the stem).
- Prepare the Cuttings: Gently remove the lower leaves, leaving just a few at the top. This prevents them from rotting in the soil. If the leaves are really large, you can even cut them in half.
- Apply Rooting Hormone: Dip the cut end of each stem into your rooting hormone, tapping off any excess. This tiny step can make a big difference in how quickly and reliably your cuttings root.
- Plant the Cuttings: Fill your pots with the well-draining mix. Make a small hole in the center with your finger or a pencil. Insert the cut end of the stem into the hole, making sure at least one leaf node is buried beneath the surface. Gently firm the soil around the stem.
- Water Gently: Water the soil thoroughly but avoid waterlogging. A light misting is often enough.
- Create Humidity: Cover the pot with a plastic bag or place it under a propagation dome. You want to create a mini greenhouse effect. Make sure the leaves don’t touch the plastic if possible.
The “Secret Sauce” (Pro Tips)
- Bottom Heat is Your Friend: If you have a heat mat designed for seedlings, placing your propagating pots on top of it can significantly speed up root development. It mimics the warmth of spring soil.
- Don’t Be Afraid to Try: Even if a stem looks a little too woody, give it a shot. Sometimes those tougher cuttings will surprise you! I’ve had success with stems that felt a bit more mature than ideal.
- Change the Water, If Water Propagating (Though I Prefer Soil): While I usually go straight to soil, if you dabble in water propagation for other plants, remember to change the water every few days to keep it fresh and oxygenated.
Aftercare & Troubleshooting
Once your cuttings are planted, place them in a bright spot out of direct sunlight. Keep the soil consistently moist but not soggy. You can gently tug on a cutting after a few weeks; if you feel resistance, roots are forming!
Common signs of failure? Wilting and mushy stems usually mean rot. This is often due to too much moisture and not enough air circulation. If a cutting rots, unfortunately, it’s best to discard it and try again. Don’t be discouraged!
Once your cuttings have a good root system – you’ll see new growth appearing – you can gradually acclimatize them to less humid conditions by opening the plastic bag a little each day. Eventually, you can transplant them into their own small pots. Keep them in a protected spot until they are well-established before planting them in their final garden location.
A Little Encouragement
Propagating plants is a truly joyful part of gardening. It’s a way to multiply your favorites and share them with others. Be patient with your Diervilla cuttings. Nature works in its own time, and with a little care and attention, you’ll soon have a whole new generation of these wonderful shrubs to enjoy. Happy propagating!
Resource:
https://identify.plantnet.org/k-world-flora/species/Diervilla%20rivularis%20Gatt./data