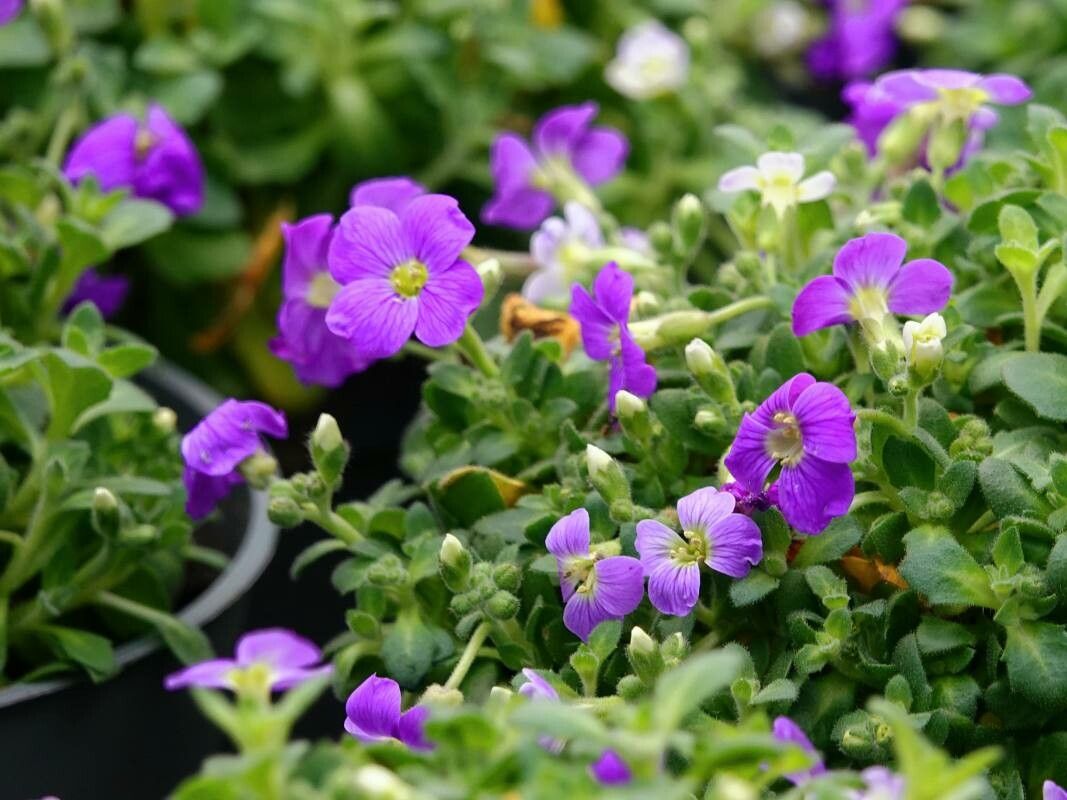
Well hello there, fellow garden enthusiast! I just adore Aubrieta, don’t you? That cascade of vibrant purple, pink, or blue flowers tumbling over rock walls and spilling from containers is just pure magic in the spring. If you’ve ever admired a particularly lush patch of this tenacious beauty, you might be wondering how you can get more of it for your own garden. The good news is, propagating Aubrieta gracilis is a truly rewarding endeavor, and thankfully, it’s quite forgiving, even for beginners. You’ll be amazed at how easy it is to fill your garden with these cheerful blooms.
The Best Time to Start
For the best success, I always aim to take cuttings in late spring or early summer, right after the plant has finished its spectacular flowering display. At this point, the stems are still relatively soft and flexible, making them ideal for rooting. You want to catch them when they’re actively growing but before they become too woody.
Supplies You’ll Need
Gathering your supplies beforehand makes the whole process much smoother. Here’s what I always have on hand:
- Sharp pruning shears or a sharp knife: Clean cuts are key.
- Rooting hormone powder or gel (optional but recommended): This gives your cuttings a little boost.
- Small pots or seedling trays: Ensure they have good drainage holes.
- A lightweight, well-draining potting mix: A mix of equal parts perlite and peat moss or coco coir works wonderfully. You can also use a seed-starting mix.
- Watering can or spray bottle: For gentle watering.
- A plastic bag or propagation dome: To create a humid environment.
Propagation Methods
My go-to method for Aubrieta is stem cuttings. It’s reliable, and you can get quite a few new plants from one mature specimen.
- Select Your Stems: Look for healthy, non-flowering stems that are about 3-4 inches long. They should be flexible but not floppy.
- Take Your Cuttings: Using your sharp pruning shears or knife, make a clean cut just below a leaf node (where a leaf attaches to the stem).
- Prepare the Cuttings: Gently remove the lower leaves from the bottom half of the cutting. You want to expose a few leaf nodes, as this is where roots will emerge.
- Apply Rooting Hormone (Optional): Dip the cut end of each stem into rooting hormone, tapping off any excess.
- Pot Them Up: Fill your pots or trays with the prepared potting mix. Make a small hole in the center with your finger or a pencil.
- Insert the Cuttings: Gently insert the cut end of each cutting into the hole, ensuring that at least one or two leaf nodes are buried in the soil.
- Water Gently: Water the potting mix thoroughly but gently, ensuring it’s moist but not waterlogged. A spray bottle is excellent for this to avoid disturbing the cuttings.
- Create Humidity: Cover the pots with a clear plastic bag or a propagation dome. This creates a mini greenhouse, keeping the humidity high, which is crucial for rooting. Make sure the plastic doesn’t touch the leaves too much.
The “Secret Sauce” (Pro Tips)
Now, here are a couple of little tricks I’ve picked up over the years that really help:
- Don’t let those leaves touch the water in your tray! If you’re using a tray and the water level gets high, it can cause the lower leaves to rot before the roots even have a chance to form. Keep the soil moist, but not swampy.
- Bottom heat makes a big difference. If you have a heat mat designed for seedlings, placing your pots on it can significantly speed up root development. It mimics the warmth of spring soil and really encourages those roots to get going.
Aftercare & Troubleshooting
Once your cuttings are potted, place them in a bright location but out of direct, harsh sunlight. Keep the soil consistently moist. You should start to see signs of new growth within a few weeks. Roots are forming when you gently tug on a cutting and feel resistance, or when you see new leaves emerging.
The most common issue you might encounter is rot. This usually happens if the soil is too wet and there isn’t enough air circulation. If you see a cutting turning black or mushy, unfortunately, it’s likely beyond saving. Remove it promptly to prevent it from affecting other cuttings.
A Encouraging Closing
Be patient with your little Aubrieta babies! Some can root faster than others, and that’s perfectly normal. The joy of watching a tiny stem transform into a new, healthy plant is one of the best rewards gardening has to offer. Happy propagating, and enjoy the blooming bounty!
Resource:
https://identify.plantnet.org/k-world-flora/species/Aubrieta%20gracilis%20Spruner%20ex%20Boiss./data