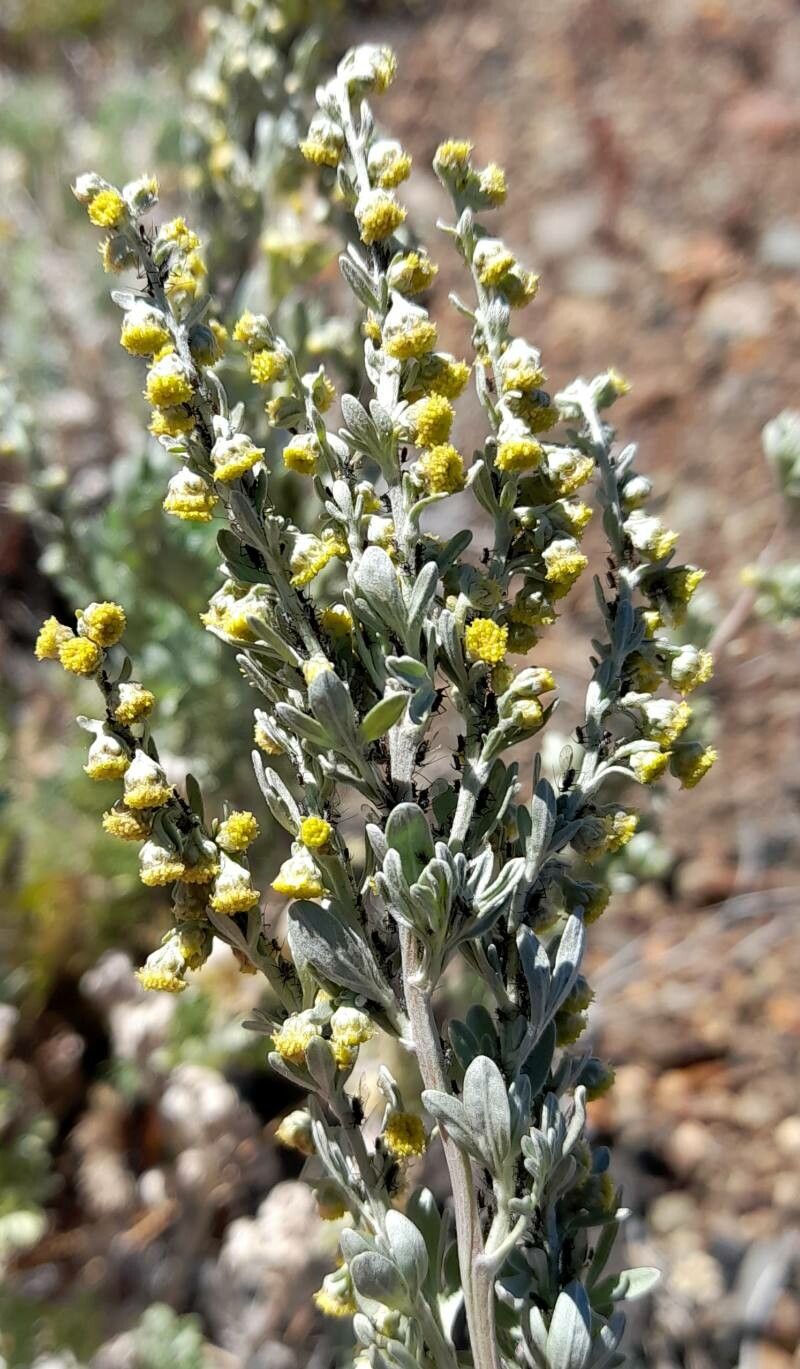
Hey fellow plant lovers! Today, we’re diving into the wonderful world of propagating Artemisia magellanica, often called Magellan’s Wormwood. If you’ve seen this beauty in a garden, you know why it’s so charming. Its delicate, silvery foliage adds such an ethereal touch, and it smells divine, too – that classic wormwood aroma that’s both earthy and invigorating.
And the best part? You can easily add more of this lovely plant to your collection! Propagating it is really quite rewarding. For beginners, I’d say this one is moderately easy. It’s not quite as carefree as some of the more bulletproof plants, but with a little attention, you’ll be successful.
The Best Time to Start
For the highest success rate, I always aim to take cuttings in late spring to early summer. This is when the plant is actively growing and has plenty of nice, soft new growth that will root most readily. You can also try it in the fall, but the success rate might be a little lower as the plant prepares for dormancy.
Supplies You’ll Need
Gathering your supplies beforehand makes the whole process smoother. Here’s what I usually have on hand:
- Sharp pruning shears or a clean knife: For making precise cuts.
- Rooting hormone (optional but recommended): Especially for stem cuttings, this can give your new plants a great boost.
- Well-draining potting mix: A mix of equal parts peat moss or coco coir and perlite or coarse sand is perfect.
- Small pots or trays: Clean ones are a must to prevent disease.
- Plastic bags or a propagator: To create a humid environment.
- Watering can with a fine rose nozzle: For gentle watering.
Propagation Methods
There are a couple of ways to go about this, and both are pretty effective.
1. Stem Cuttings (My Favorite!)
This is my go-to method for Artemisia magellanica.
- Select your stems: Look for healthy, non-flowering shoots. You want wood that’s not too old and woody, but not so soft that it wilts instantly. About 4-6 inches long is ideal.
- Make the cut: Using your sharp shears, make a clean cut just below a leaf node (where a leaf attaches to the stem).
- Prepare the cuttings: Gently remove the lower leaves from the stem, leaving just a few at the top. This prevents them from rotting in the soil.
- Dip in rooting hormone (if using): Lightly dip the cut end into your rooting hormone powder. Tap off any excess.
- Plant your cuttings: Make a hole in your prepared potting mix with a pencil or your finger. Insert the cutting, ensuring the lower leaf nodes are covered by the soil. Gently firm the soil around the stem.
- Water gently: Give them a good, gentle watering to settle the soil.
- Create humidity: Cover the pots with a clear plastic bag, propped up with stakes so it doesn’t touch the leaves. Or, place them in a propagator.
2. Division (When You Have an Established Plant)
If you have a larger, established clump of Artemisia magellanica, division is a fantastic way to multiply your plants.
- Best done in spring: As soon as new growth starts to appear, but before it gets too big.
- Gently dig up the plant: Carefully lift the whole plant from its pot or the ground.
- Separate the root ball: You can do this by hand, gently teasing the roots apart. If the root ball is very dense, you might need to use a trowel or even two forks back-to-back to split it.
- Aim for sections with roots and shoots: Make sure each division has a good portion of roots and a few healthy shoots.
- Replant immediately: Pot up your divisions in good, well-draining soil, water them in well, and treat them like a newly planted shrub.
The “Secret Sauce” (Pro Tips)
Here are a few little tricks that really make a difference:
- Don’t let the leaves touch the water: If you choose to propagate in water (though I find stem cuttings in soil more reliable for this plant), make SURE the leaves aren’t submerged. Any part of the leaf in water will just rot and invite disease.
- Bottom heat is your friend: If you have a heat mat you can use for seedlings, pop your pots of cuttings on it. This gentle warmth from below encourages root development much faster. It’s like giving your cuttings a cozy little spa day.
- Mist, don’t drown: While humidity is key, overwatering is the quickest way to kill your cuttings. A light misting of the leaves every day or two is usually enough, especially if they’re covered. You want them moist, not soggy.
Aftercare & Troubleshooting
Once you start seeing little roots emerging (you can often tell by gentle tugging on the stem – if there’s resistance, you’ve got roots!), it’s time to give them a little extra care.
- Acclimate them slowly: Gradually remove the plastic bag or open the propagator vents over a few days. You want to let them get used to the outside air.
- Water when the soil is nearly dry: Don’t let them dry out completely, but also avoid keeping the soil constantly wet.
- Pot them up: Once they have a decent root system, move them into slightly larger pots with fresh potting mix.
What if things go wrong? The most common problem is rot. If you see your cuttings going limp, blackening, or turning mushy, it’s usually a sign of too much moisture and not enough air circulation. If you spot this early, you might be able to save some by trying again with drier soil and better ventilation. Sometimes, cuttings just don’t take, and that’s okay! Gardening is a journey of learning.
A Encouraging Closing
So there you have it! Propagating Artemisia magellanica is a deeply satisfying process. Be patient with your little cuttings; they’ll let you know when they’re ready. Enjoy the journey of nurturing these new plants, and soon you’ll have a whole new collection of silvery loveliness to grace your garden. Happy propagating!
Resource:
https://identify.plantnet.org/k-world-flora/species/Artemisia%20magellanica%20Sch.Bip./data