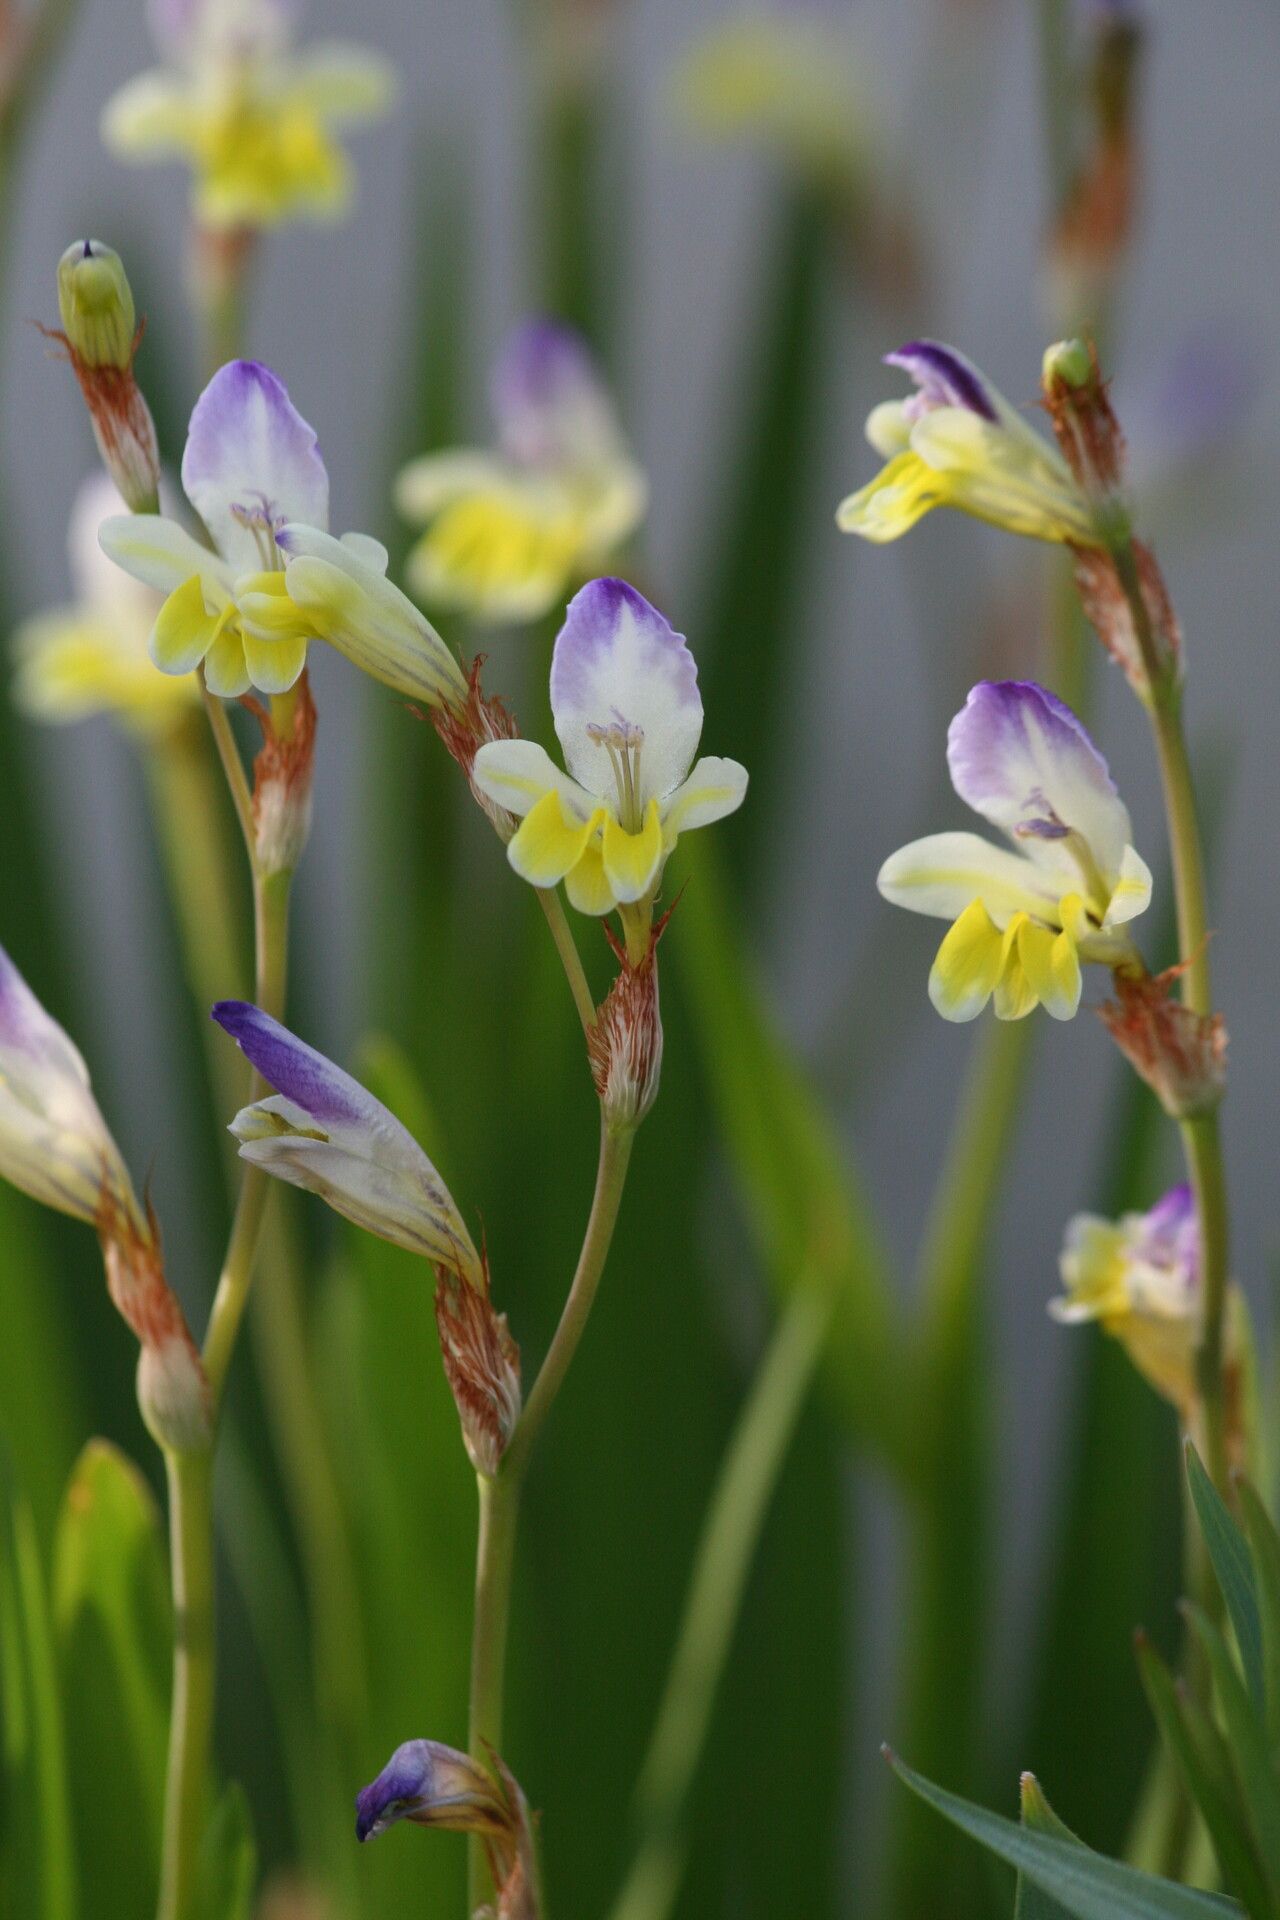
Oh, Sparaxis variegata! What a dazzling beauty. Those striking, lance-shaped leaves, often with their dramatic creamy or white stripes, make it a real standout, even when it’s not in bloom. And the flowers! They’re like little jewels, popping up in vibrant shades of red, orange, and yellow. Growing your own Sparaxis, or more specifically, multiplying them to share or fill out your garden, is such a satisfying endeavor. If you’re new to the gardening game, don’t shy away from this one. Sparaxis offers a rewarding challenge, but it’s definitely achievable with a little patience and know-how.
The Best Time to Start
Timing is everything, isn’t it? For Sparaxis variegata, the absolute best time to think about propagation is late winter to early spring. This is when the plant is just starting to wake up from its dormancy, gathering its energy for the growing season ahead. You’ll have the best luck if you propagate just as you see the first hints of new growth appearing, or ideally, right after flowering has finished and before the plant enters its summer rest period. Trying to divide them when they’re actively growing in the heat of summer can stress them out unnecessarily.
Supplies You’ll Need
Before we get our hands dirty, let’s gather our troops. Having everything ready makes the process so much smoother.
- Sharp pruning shears or a clean knife: For making precise cuts.
- Well-draining potting mix: I like a blend of good quality potting soil with plenty of perlite or coarse sand for aeration. A cactus/succulent mix works wonderfully too.
- Small pots or trays: Clean pots with drainage holes are a must.
- Watering can with a fine rose or a spray bottle: For gentle watering.
- Rooting hormone (optional but recommended): This can give your cuttings a nice boost. Choose one formulated for bulbous plants if you can find it.
- Labels: So you don’t forget what you planted where!
- A sunny windowsill or bright, indirect light location: For your new babies.
Propagation Methods
Sparaxis variegata is primarily propagated by dividing its corms. Corms are like little underground bulbs, and they multiply underground.
1. Corm Division: Your Best Bet
This is the most reliable way to increase your Sparaxis collection.
- When to dig: As I mentioned, the ideal time is late winter or early spring, after the foliage has started to die back, OR right after flowering is complete but before the plant goes fully dormant for summer. You want to catch them when they are relatively dormant but still full of stored energy.
- Gently unearth: Carefully dig around the parent plant with your trowel or garden fork. You want to lift the entire clump, roots and all, out of the soil. Try not to damage the corms too much.
- Shake off the excess soil: Gently brush or shake off as much of the old soil as you can. This will help you see the individual corms clearly.
- Identify the corms: You’ll see the main parent corm, and usually, there will be smaller cormels attached to its sides or just buried nearby, produced from the previous year’s growth.
- Separate the corms: Here’s where your clean knife or shears come in. Carefully cut or gently twist apart the smaller cormels from the main corm. Crucially, ensure each corm you separate has at least one “eye” or growing point. You can usually spot these as small bumps or indentations on the top of the corm.
- Let them heal (optional but good): If you’ve had to make any clean cuts, it’s a good idea to let the separated corms sit in a dry, airy spot for a day or two to allow the cut surfaces to callous over. This helps prevent rot.
- Plant them up: Fill your clean pots with your well-draining potting mix. Plant each corm about 2-3 inches deep, with the eye pointing upwards. If you have many, you can plant them relatively close together in a tray or pot, but give them a little breathing room. Ensure the soil is moist but not waterlogged.
The “Secret Sauce” (Pro Tips)
Now, let me share a couple of things I’ve learned over the years that really make a difference.
- Don’t rush the drying time: I know it’s tempting to get those corms back in the soil immediately, but letting them dry and callous for a day or two, especially after division, is a game-changer for preventing fungal issues. Think of it as giving them a little protective shield.
- Embrace the bottom heat: If you have a propagation mat or can place your pots on top of a gently warm surface (like a router or near a radiator, but not too close!), this can significantly speed up root development. Corms love a bit of warmth from below to get things going.
- Keep it humid, not soggy: When you first plant your corms, I like to cover the pots loosely with a clear plastic bag or dome. This creates a mini-greenhouse effect, keeping the humidity up. However, make absolutely sure there’s good airflow! You don’t want condensation to drip back down and create a soggy environment against the corms.
Aftercare & Troubleshooting
Once your corms are planted, patience is your new best friend.
- Watering: Keep the soil consistently moist but never soggy. Imagine a wrung-out sponge. As new growth appears, you can gradually increase watering, but always check the soil moisture before reaching for the watering can. Direct sunlight is good once you see active growth.
- Root development: You might not see much happening on the surface for a few weeks, or even a couple of months, but underground, roots are starting to form, and new corms are developing.
- Signs of failure: The most common problem you’ll encounter is rot. If your corm turns mushy, smells foul, or is covered in fuzzy grey or black mold, it’s likely rotted. This is usually due to overwatering, poor drainage, or trying to propagate at the wrong time of year. If you see a bit of mold but the corm seems firm, you can try gently cleaning it with a dilute hydrogen peroxide solution and replanting it in fresh, dry soil.
A Encouraging Closing
Propagating Sparaxis variegata is a wonderful way to connect with nature and expand your garden’s beauty. Don’t be discouraged if your first attempt isn’t a roaring success. Every gardener has had their share of flops! Just learn from it, adjust your approach, and try again. The magic of watching a tiny corm sprout new life is truly special. So go ahead, get your hands dirty, and enjoy the journey! Happy gardening!
Resource:
https://identify.plantnet.org/k-world-flora/species/Sparaxis%20variegata%20(Sweet)%20Goldblatt/data