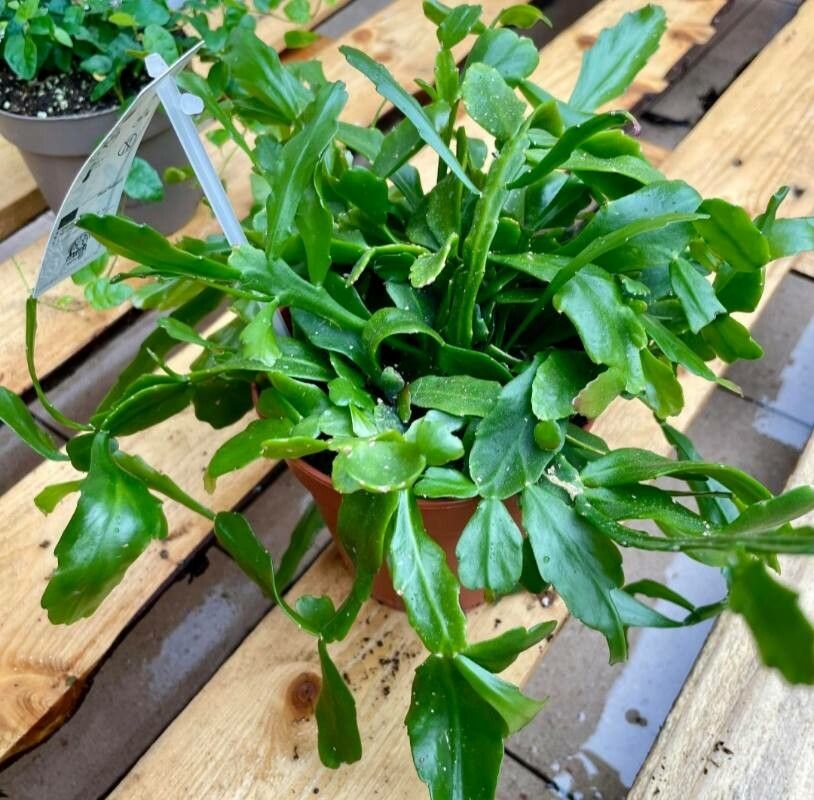
Well hello there, fellow plant enthusiast! If you’ve ever found yourself captivated by the cascading beauty of a Rhipsalis crispata, or as I affectionately call it, the “Coral Cactus,” you’re in for a treat. Its delicate, segmented stems, often adorned with tiny hairs at the tips, create a wonderfully ethereal look. And the best part? It’s incredibly rewarding to grow your own! Let’s talk about bringing more of this charming epiphyte into your life through propagation.
The Best Time to Start
Honestly, Rhipsalis are pretty forgiving, but if you want the absolute best chance of success, spring and early summer are your golden ticket. This is when the plant is in its active growing phase, so cuttings will have plenty of energy to put into developing roots. Think of it as giving them the best possible start in life!
Supplies You’ll Need
To get your Rhipsalis propagation journey started, here’s what you’ll want to have on hand:
- Sharp Pruning Shears or a Clean Knife: For making nice, clean cuts.
- Potting Mix: A well-draining mix is crucial! I love a blend of cactus mix with a good amount of perlite or pumice. Something that drains fast is key.
- Small Pots or Propagation Trays: Anything that can hold your cuttings and the soil. Drainage holes are a must!
- Rooting Hormone (Optional but Recommended): Especially for cuttings, this can speed things up.
- Spray Bottle: For misting.
- Small Pebbles or Gravel (Optional): For the water propagation method.
- A Clear Plastic Bag or Humidity Dome (Optional): To create a mini-greenhouse effect.
Propagation Methods
Rhipsalis crispata is a joy to propagate, and thankfully, it’s quite straightforward. I usually find two primary methods work wonderfully.
Stem Cuttings: My Go-To
This is by far the most common and successful way to propagate Rhipsalis crispata.
- Take Your Cuttings: Look for healthy stems. Choose sections that have at least two or three segments. Gently twist or use your clean shears to snip them off.
- Let Them Callus: This is a critical step! Place your cuttings on a dry paper towel in a bright, indirect light spot for 2-5 days. You want the cut end to dry out and form a callus. This prevents rot when you plant them.
- Pot Them Up: Fill your small pots with your well-draining potting mix. You can lightly dip the callused end of the cutting into rooting hormone, tapping off any excess.
- Plant the Cuttings: Gently insert the callused end of the cutting into the soil. You don’t need to plant them very deep, just enough to keep them upright. Make sure at least one node (where a segment connects to another) is below the soil surface.
- Water Sparingly: Water lightly at first to settle the soil. Then, hold off on watering until you see signs of new growth or feel resistance when gently tugging the cutting. Overwatering is the enemy here!
Water Propagation: A Visual Success
This method is a bit more visual, and you can watch the roots develop, which is always fun!
- Prepare Your Cuttings: Similar to above, take healthy stem sections at least a few segments long.
- Allow to Callus: Again, let the cut ends callus for 1-2 days.
- Place in Water: Fill a clean jar or glass with fresh water.
- Submerge Just the Cut End: This is crucial: ensure only the callused cut end touches the water. Do not let the leaves or stems sit in the water. You can use small pebbles to prop the cutting up if needed.
- Change Water Regularly: Replace the water every few days to keep it fresh and prevent bacterial growth.
- Watch for Roots: You should start to see tiny roots appearing within a few weeks.
- Potting Up: Once the roots are about an inch long, you can carefully transplant your new Rhipsalis into its well-draining potting mix.
The “Secret Sauce” (Pro Tips)
Here are a few little tricks I’ve picked up over the years that really help:
- Don’t Drown Your Cuttings: Whether in soil or water, remember that Rhipsalis are succulents from rainforests – they like humidity but hate soggy feet. Err on the side of underwatering when they’re establishing.
- Mother Nature’s Heat Lamp: If you struggle to get cuttings to root, especially in cooler months, consider bottom heat. A simple seedling heat mat placed under your pots can work wonders by encouraging root development.
- A Gentle Hand Goes a Long Way: When you’re making those initial cuts, use your sharpest tool. A clean cut heals faster and is less prone to disease than a ragged tear.
Aftercare & Troubleshooting
Once your cuttings have rooted – and you’ll know because they’ll feel more secure in the soil, or you’ll see visible roots in water – it’s time for a little patient care.
Continue watering sparingly. Allow the soil to dry out between waterings. Keep them in bright, indirect light. A little gentle misting can be nice, but again, avoid making the leaves sit in wetness for too long.
The biggest issue you’ll likely encounter is rot. If you see a cutting turning brown, mushy, or developing black spots, it’s probably a sign of too much moisture. Don’t be discouraged! Remove the affected parts if you can, and let the remaining healthy sections callus again before trying a fresh start. Sometimes, you just have to accept that not every cutting will make it.
A Little Encouragement
Propagating Rhipsalis crispata is a journey, not a race. Be patient with your new little plant babies. Enjoy the process of watching them grow and flourish. Before you know it, you’ll have a jungle of these beautiful, wispy wonders to admire, and perhaps even share with fellow plant lovers! Happy propagating!
Resource:
https://identify.plantnet.org/k-world-flora/species/Rhipsalis%20crispata%20(Haw.)%20Pfeiff./data