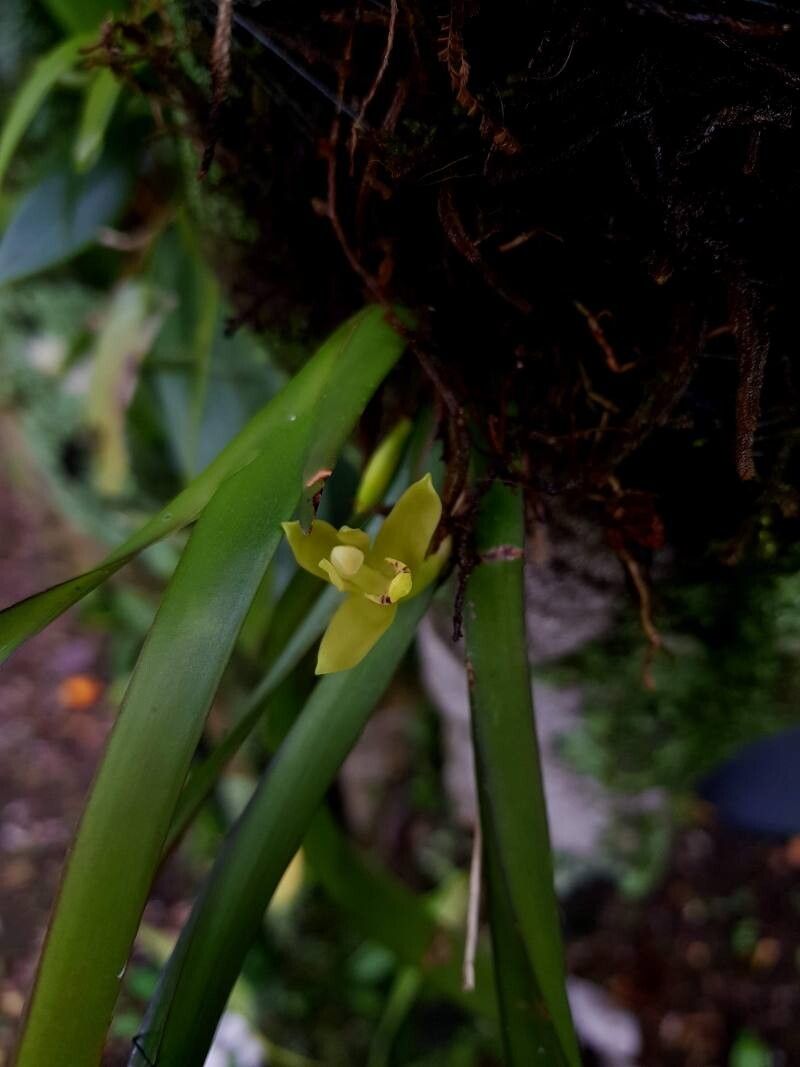
Oh, hello there, fellow plant lover! It’s so lovely to have you join me in my little corner of the gardening world. Today, we’re diving into the delightful process of propagating Maxillaria crassifolia. If you’ve ever admired this orchid’s charm – those wonderfully chubby pseudobulbs that look like little pebbles, and the sweet, often fragrant flowers – you’re not alone! It’s a truly rewarding plant to grow, and even more so when you can share its beauty by creating new little versions of your own. Honestly, I’d say Maxillaria crassifolia is quite forgiving, especially with division, making it a lovely project for those just dipping their toes into the wonderful world of orchid propagation.
The Best Time to Start
When my Maxillaria crassifolia is sending out fresh growth, that’s my cue. Look for new pseudobulbs starting to swell or new leaves unfurling. This usually happens in late spring or early summer, after the plant has had a good rest through winter and is gearing up for its active growing season. It’s during this phase that the plant has plenty of energy reserves to put into healing and developing new roots.
Supplies You’ll Need
Gathering your tools beforehand always makes the process smoother, doesn’t it? Here’s what I usually have on hand:
- Sharp, clean pruning shears or a sterile knife: For making clean cuts. I always wipe mine down with rubbing alcohol between every few cuts to prevent any disease spread.
- A suitable potting mix: For Maxillaria crassifolia, a bark-based orchid mix with added perlite or charcoal is perfect. It needs to drain exceptionally well. You can also find pre-made orchid mixes.
- Small pots or seedling trays: Enough to house your new divisions. Ensure they have drainage holes.
- Rooting hormone (optional but helpful): A gentle rooting hormone powder can give your cuttings a little boost.
- Sphagnum moss or perlite: For helping to retain a bit of moisture while encouraging roots.
- Labels and a permanent marker: Essential for keeping track of what you’ve potted and when!
Propagation Methods
For Maxillaria crassifolia, the most straightforward and successful method is division. These orchids tend to grow in clumps, and separating those clumps is quite easy.
- Gently remove the orchid from its pot. If it’s a bit stuck, you might need to carefully run a knife around the edge. Don’t force it!
- Clean off excess old potting mix. You want to be able to see the rhizomes (the chunky, horizontal stems) and where the pseudobulbs are connected. You can use your fingers or a soft brush for this.
- Identify natural divisions. Look for sections of the plant that have at least two or three healthy pseudobulbs and a healthy leaf or two. They should look like they can detach without breaking off vital parts.
- Carefully separate the divisions. This is where your sharp tool comes in. Gently cut through the rhizome connecting the sections. If it’s very stubborn, you can try wiggling the sections apart, but a clean cut is always best.
- Inspect the cut. Make sure there are no signs of rot. You can even dust the cut surfaces with a bit of cinnamon or sulfur powder (a traditional fungicide) if you’re concerned about infection.
- Pot up your divisions. Place each division into its own pot. Add your chosen orchid mix, making sure the bases of the pseudobulbs are just at or slightly above the surface of the mix. Don’t pack the mix too tightly; orchids like air circulation.
The “Secret Sauce” (Pro Tips)
Here are a few little tricks I’ve picked up over the years:
- Don’t overwater immediately after division. It’s tempting, but give those cuts a few days to callus over a bit before you water. A light misting of the potting mix is usually sufficient for the first week. This prevents rot from setting in.
- Consider bottom heat. If you have a spare seedling heat mat, placing your newly potted divisions on it can significantly speed up root development. Orchids love that gentle warmth. Just make sure the mat doesn’t get too hot!
- Keep humidity relatively high. New divisions are more fragile. Placing them in a slightly more humid environment, maybe in a clear plastic bag with some air holes or on a pebble tray, can help them settle in without drying out too quickly.
Aftercare & Troubleshooting
Once your divisions are potted, the waiting game begins! Keep them in bright, indirect light. Water them sparingly at first, allowing the potting mix to dry out slightly between waterings. You’re aiming for consistently moist, but not waterlogged, conditions.
The first sign of success is usually new root growth – you’ll see them emerging from the base of the pseudobulbs, pushing into the potting mix. Then, look for a new leaf or pseudobulb starting to form. This can take several weeks to a few months, so patience is key!
Now, for the tricky bits. The most common issue is rot. If you see mushy, dark bases on your pseudobulbs, or a general wilting that doesn’t seem to be from dehydration, it’s likely rot. This usually happens from overwatering or poor air circulation. If you catch it early, you might be able to cut away the rotted parts and repot in fresh, dry media. If it’s widespread, sadly, the division may not recover. Another sign of distress is wilting leaves even when the potting mix feels moist – this can indicate root rot where the plant can’t take up water.
A Encouraging Closing
See? Not so daunting when you break it down! Propagating Maxillaria crassifolia is a wonderfully rewarding journey that allows you to expand your collection and share your passion. Be patient, trust your instincts, and enjoy watching those new roots and leaves emerge. Happy growing!
Resource: