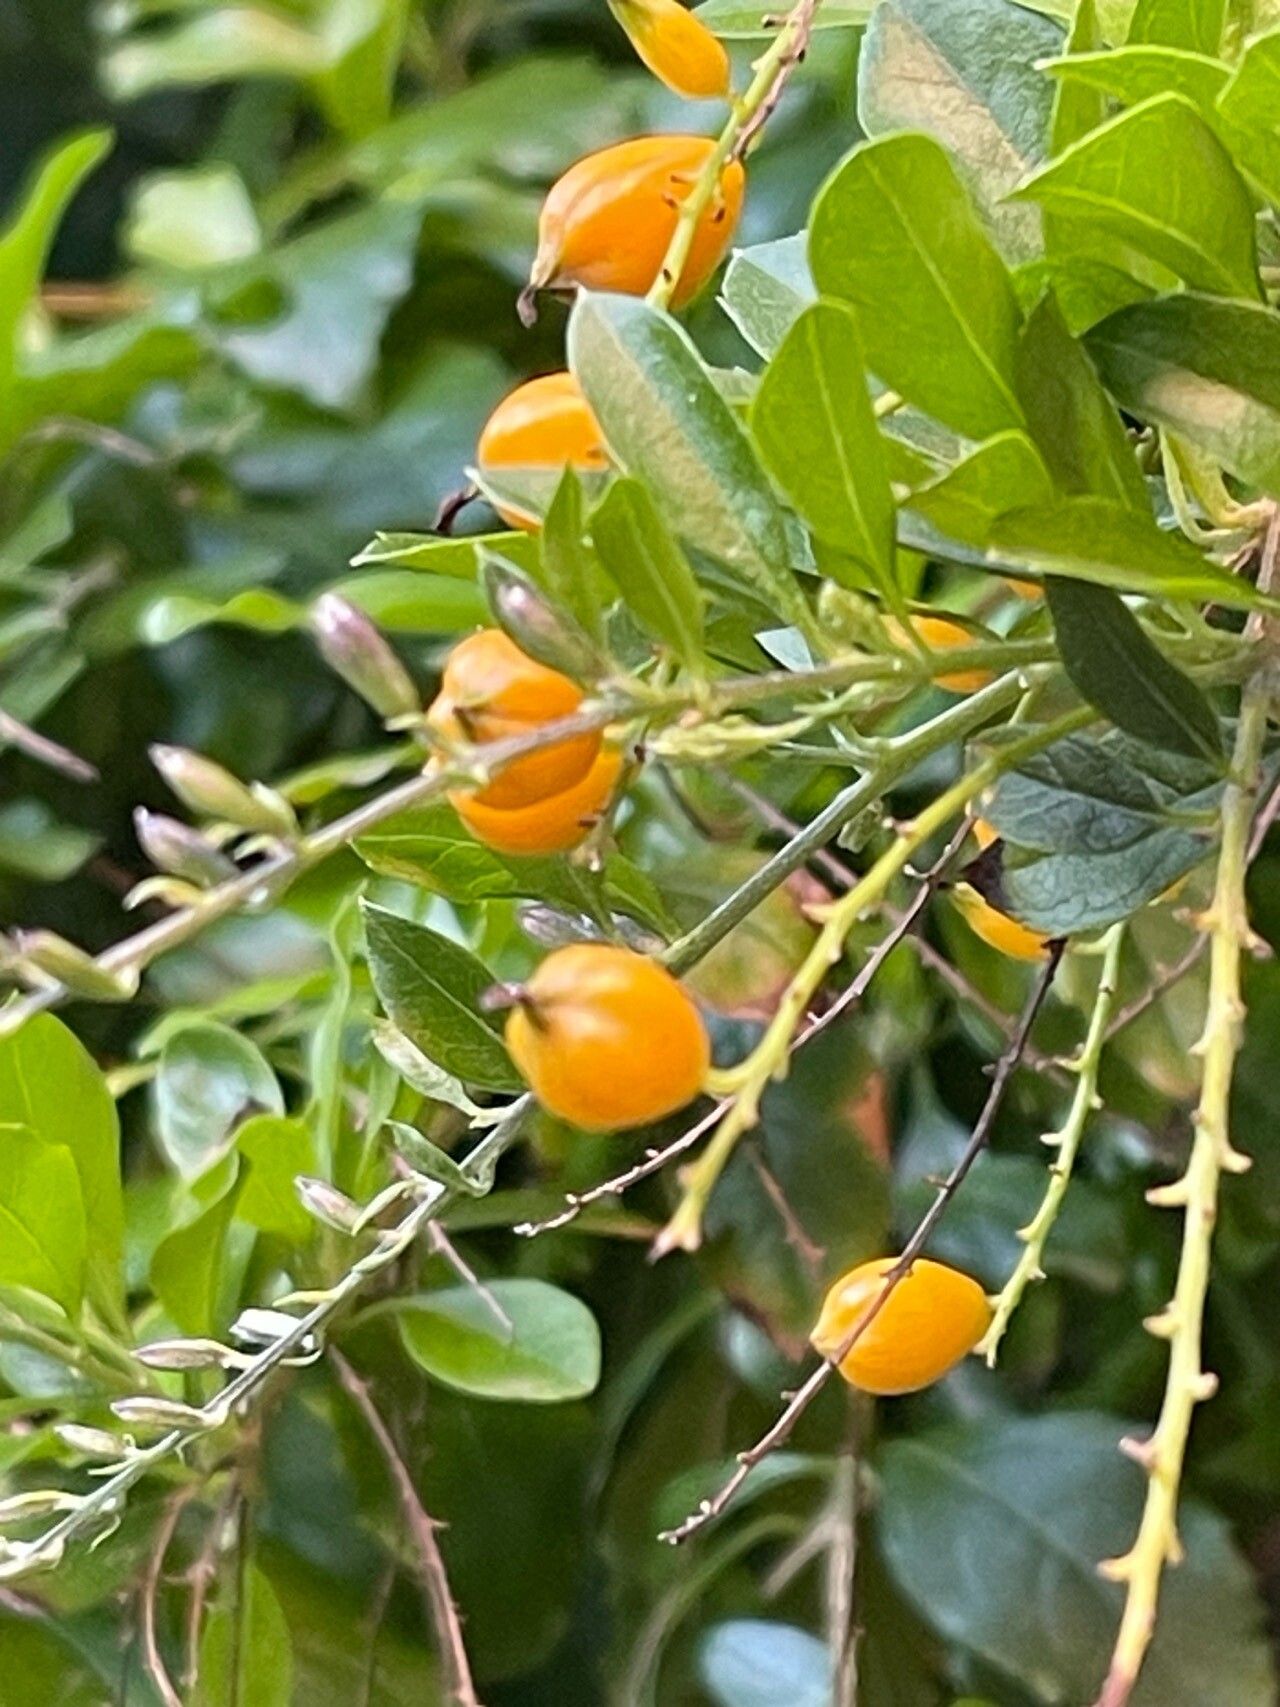
Oh, Duranta! Those vibrant blue or purple flowers, often accented with sunshine-yellow berries – it’s no wonder you’re drawn to this beauty. I’ve been growing and sharing Duranta for nearly two decades, and propagating it is one of my absolute joys. It’s a wonderfully rewarding plant to work with, and I’m thrilled to guide you through it. For most gardeners, Duranta is surprisingly easy to propagate, making it a fantastic project for beginners and seasoned folks alike.
The Best Time to Start
My go-to time for propagating Duranta is during its active growing season, which typically means late spring through summer. You’re looking for healthy, non-woody stems. Think of it as taking cuttings from a plant that’s full of life and energy. Starting too late in the season, when growth is slowing down, can make rooting a bit more of a struggle.
Supplies You’ll Need
Gathering your tools beforehand makes the whole process so much smoother. Here’s what I always have on hand:
- Sharp Pruning Shears or a Craft Knife: Clean, sharp tools are crucial for making clean cuts.
- Potting Mix: A 50/50 blend of seed starting mix and perlite works beautifully. It provides good drainage and aeration, which is key for preventing root rot. Some people like to add a bit of orchid bark for extra drainage too.
- Small Pots or Trays: Clean, small pots (4-inch is usually a good size) or propagation trays with drainage holes are perfect.
- Rooting Hormone (Optional but Recommended): This is like a little boost for your cuttings. Look for one specifically for stem cuttings.
- Plastic Bags or Dome Covers: To create a mini-greenhouse effect.
- Water: For watering your cuttings.
- Labels and a Marker: Trust me, you’ll want to know what you planted and when!
Propagation Methods
Duranta is a champ when it comes to stem cuttings. It’s my favorite and by far the most successful method for me.
Stem Cuttings
- Take Your Cuttings: Select healthy, vigorous stems that are about 4-6 inches long. Use your sharp shears or knife to make a clean cut just below a leaf node (where a leaf attaches to the stem). Remove the lower leaves, leaving just a couple of pairs at the top. This prevents them from rotting in the soil.
- Prepare Your Cuttings: If you’re using rooting hormone, dip the cut end of each stem into the powder or gel. Tap off any excess.
- Pot Them Up: Fill your small pots with the prepared potting mix. Make a pilot hole in the center of the mix using a pencil or your finger.
- Insert the Cuttings: Gently insert the treated end of each cutting into the pilot hole, making sure the leaf nodes are covered by the soil. Lightly firm the soil around the stem.
- Water Gently: Give them a light watering to settle the soil.
- Create a Humid Environment: Cover the pots with a clear plastic bag (making sure it doesn’t touch the leaves!) or place them under a grow dome. This helps maintain humidity, which is vital for rooting.
- Find a Good Spot: Place the pots in a bright location out of direct sunlight. A warm spot is ideal.
The “Secret Sauce” (Pro Tips)
Here are a few tricks I’ve learned over the years that really make a difference:
- Bottom Heat is Your Friend: If you can, place your pots on a propagation mat. This gentle, consistent warmth from below encourages quicker root development. It’s like giving your cuttings a warm hug!
- Don’t Drench, Mist! Once the cuttings are in their mini-greenhouse, resist the urge to overwater. Instead, mist the inside of the plastic bag or dome every couple of days to maintain humidity. You want the soil to be consistently moist, not soggy. Soggy soil is the fast track to disappointment.
- Watch for the “Wiggle”: When you gently tug on a cutting and feel resistance, that’s your big clue! It means roots have formed and the plant is starting to anchor itself.
Aftercare & Troubleshooting
Once you see those roots developing (you might even peek through the drainage holes!), it’s time for a little more attention.
- Acclimatize Gradually: Slowly remove the plastic bag or dome over a week or so. You want to get your new Durantas used to normal humidity.
- Water Wisely: Water when the top inch of soil feels dry. Avoid letting them sit in water.
- First Feeding: After a few weeks, you can give them a diluted liquid fertilizer – think half-strength.
If your cuttings start to look yellow, wilted, and simply refuse to show any signs of life, brown and mushy stems are usually a sign of overwatering and rot. This is where good drainage and that careful misting come into play. Sometimes, despite our best efforts, a cutting just won’t take, and that’s okay! Don’t be discouraged.
A Encouraging Closing
Propagating Duranta is a delightful way to multiply your favorite plants. The patience involved is part of the beauty of gardening. So, grab your shears, find some healthy stems, and enjoy the process. Watching those little roots emerge and eventually transplanting a whole new Duranta is incredibly satisfying. Happy propagating!
Resource:
https://identify.plantnet.org/k-world-flora/species/Duranta%20erecta%20L./data