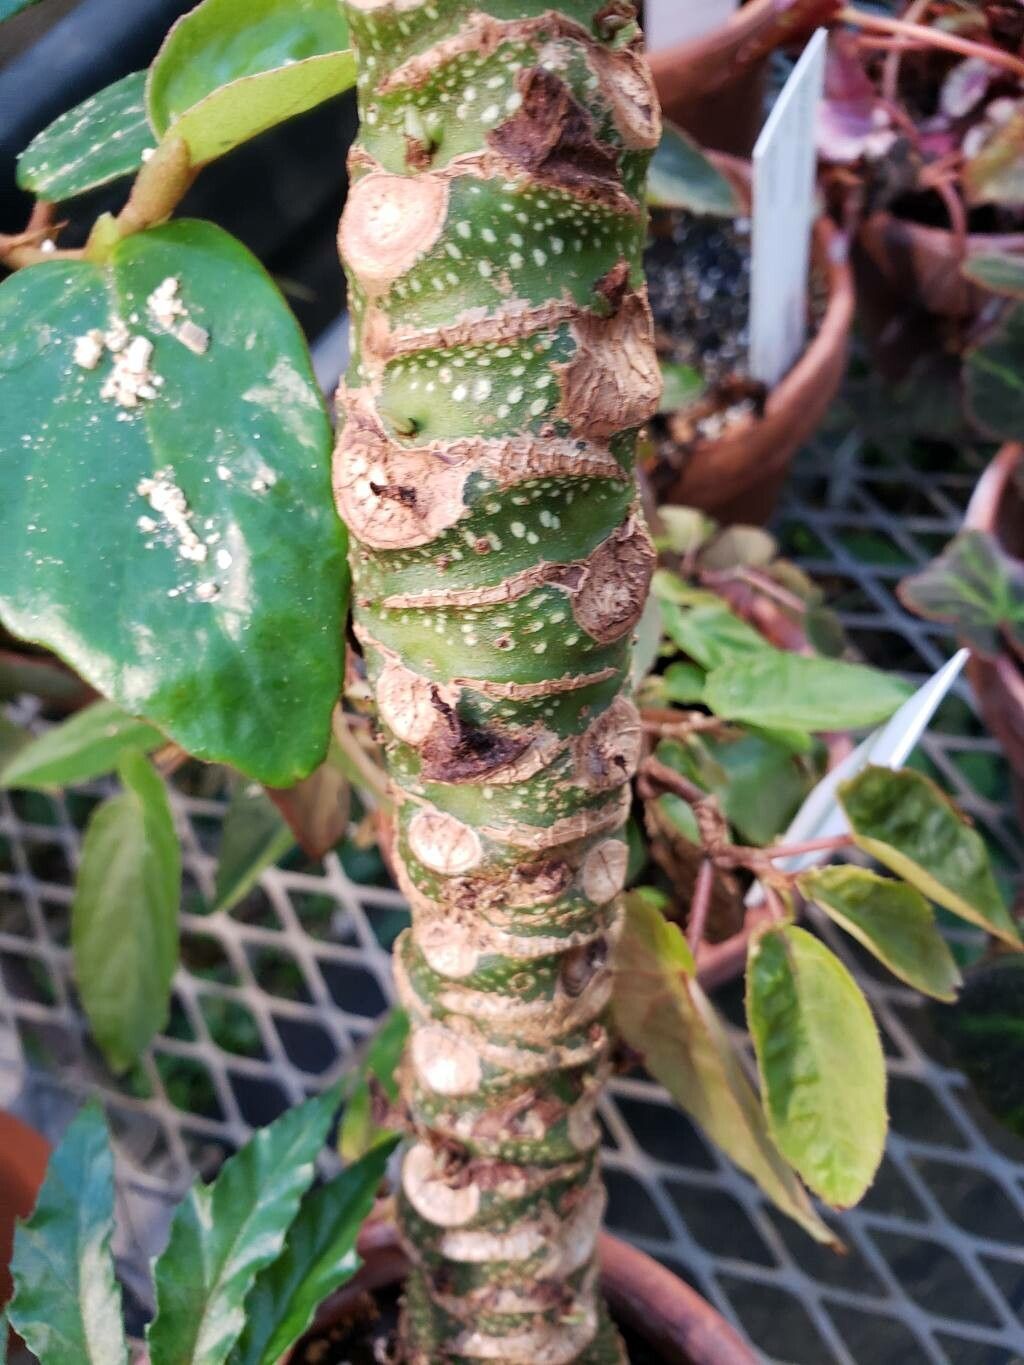
Hello there, fellow plant lovers! Today, we’re diving into the wonderful world of propagation with a plant that never fails to charm: Begonia carolineifolia, or the Handled Leaf Begonia. Its striking, often finger-shaped leaves and the sheer joy of multiplying your collection make it a truly special one to work with. If you’re new to the leafy wonders of begonias, don’t worry; while it has its quirks, propagating this beauty is absolutely achievable and incredibly rewarding.
The Best Time to Start
For Begonia carolineifolia, you’ll find the most success when the plant is actively growing. This typically means late spring through summer. During these warmer months, the plant has the energy to put forth new roots and foliage more readily. You can certainly try in early fall, but growth might be slower. Avoid propagating during the plant’s dormancy period in winter.
Supplies You’ll Need
Gathering your tools beforehand makes the whole process smoother. Here’s what I usually have on hand:
- Sharp Pruning Shears or a Clean Knife: For making clean cuts.
- Seed Starting Mix or a Well-Draining Potting Mix: A blend of peat moss, perlite, and maybe a bit of compost works wonderfully. Avoid heavy, dense soils.
- Small Pots or Propagation Trays: Anything that can hold your cuttings and soil.
- Clear Plastic Bags or Domes: To create a humid environment.
- Rooting Hormone (Optional but Recommended): A powder or gel can give your cuttings a helpful boost.
- Watering Can with a Fine Rose: For gentle watering.
- A Small Spray Bottle: For misting.
Propagation Methods
Begonia carolineifolia is quite versatile, and you have a few excellent options for making more plants.
Stem Cuttings
This is my go-to method for a good reason – it’s efficient!
- Take the Cutting: During the active growing season, select a healthy stem. Using your sharp shears or knife, make a clean cut just below a leaf node (that little bump where a leaf joins the stem). You want pieces that are about 3-4 inches long, with at least two healthy leaf nodes.
- Prepare the Cutting: Gently remove the lower leaves, leaving one or two at the top. If your leaves are very large, I sometimes cut them in half to reduce water loss while the cutting roots. This also means you have more cuttings from each leaf, which I find very satisfying.
- Apply Rooting Hormone (Optional): Dip the cut end into your rooting hormone powder or gel. Tap off any excess.
- Plant the Cutting: Fill your small pots with your prepared soil mix. Make a hole with your finger or a pencil deep enough to accommodate the lower leaf node. Insert the cutting so that the node is buried in the soil. Gently firm the soil around it.
- Create Humidity: Water the soil lightly until it’s evenly moist but not soggy. Then, cover the pot with a clear plastic bag or a propagation dome to trap humidity. You can use a skewer or two to keep the bag from touching the leaves.
- Placement: Place your newly potted cuttings in a spot with bright, indirect light. Avoid direct sun, which can scorch the delicate leaves.
Leaf Cuttings
This method is a bit more patient but yields beautiful results, especially with the unique patterns of Begonia carolineifolia.
- Select a Healthy Leaf: Choose a mature, healthy leaf from your plant.
- Prepare the Leaf: Using your clean knife, carefully cut the leaf into several sections. Each section should ideally have at least one main vein running through it.
- Plant the Sections: Fill a shallow tray or pot with your well-draining mix. Lay the leaf sections on top of the soil, ensuring the cut edges or the veins are making contact with the soil. You can gently press them down. Some people like to gently pin them down with pebbles or small pieces of wire.
- Water and Cover: Water the soil lightly and cover the tray with a clear plastic lid or bag to maintain high humidity.
- Placement: Keep them in bright, indirect light.
The “Secret Sauce” (Pro Tips)
Here are a few little tricks I’ve learned that can really make a difference:
- Don’t Let Leaves Touch the Water (for Water Propagation): If you decide to try rooting stem cuttings in water (which is also an option!), make sure that only the cut end of the stem is submerged. If the leaves are dangling in the water, they’ll rot quickly, and you’ll have a sad, mushy cutting instead of a rooter. Change the water every few days.
- Embrace Bottom Heat: If you have a seedling heat mat, using it under your propagation trays can be a game-changer. It gently warms the soil, encouraging robust root development. It’s not strictly necessary, but it definitely speeds things along and improves success rates, especially for more challenging propagations.
- Don’t Overwater! I cannot stress this enough. Begonias, especially cuttings, are susceptible to rot if the soil stays too wet. The goal is consistently moist, not soggy. You should be able to gently squeeze the soil and have just a drop or two of water come out.
Aftercare & Troubleshooting
Once you see new little roots emerging from the bottom of the pot (you might see them peeking through drainage holes or gently tugging on the cutting if it feels resistant), that’s a great sign! You can start to gradually acclimate your new plants to lower humidity by opening the plastic bag a little more each day over a week or two. Continue to keep them in bright, indirect light and water when the top inch of soil feels dry.
The most common issue you’ll encounter is rot. If a cutting turns mushy, black, or smelly, it’s likely rotted. This is almost always due to overwatering or poor air circulation. If you catch it early, you can sometimes salvage a healthy part of the stem and try again. Another sign of stress is yellowing leaves, which can also indicate too much or too little water, or sometimes not enough light.
A Encouraging Closing
Propagating plants is a journey, and patience is truly your best companion. Don’t be discouraged if not every cutting succeeds. Each attempt is a learning experience. Marvel at the tiny roots, the unfurling leaves, and the satisfaction of knowing you’ve helped a new life begin. Happy propagating, and enjoy your ever-growing begonia family!
Resource:
https://identify.plantnet.org/k-world-flora/species/Begonia%20carolineifolia%20Regel/data