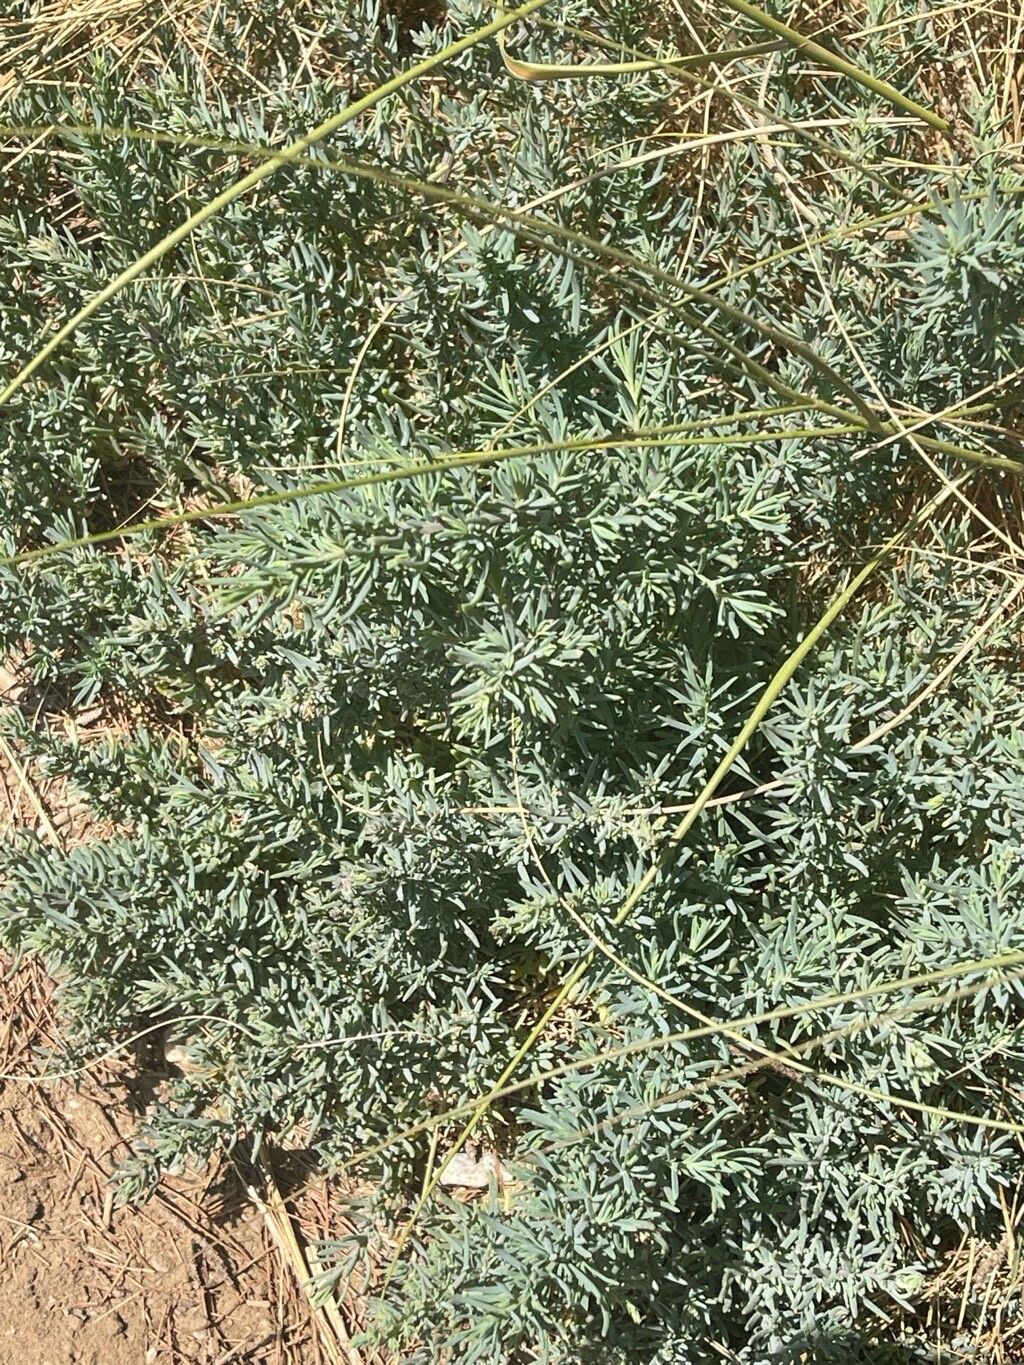
Hello there, fellow garden enthusiasts! Today, we’re diving into the wonderfully saline world of Suaeda maritima, more commonly known as annual seablite. This tough, salt-tolerant succulent might not be the flashiest plant in the garden, but its unique charm and resilience make it a real winner, especially if you have those tricky coastal spots or well-drained, sandy areas. Getting more of these beauties for yourself through propagation is incredibly rewarding, and I’m happy to share that, for committed beginners, Suaeda maritima is quite forgiving. You’ll likely have a good success rate!
The Best Time to Start
For Suaeda maritima, timing is key, and late spring to early summer is your sweet spot. This is when the plant is actively growing, and the cuttings will have the most energy to root. Waiting until after the initial flush of growth allows us to take healthy, vigorous pieces without stressing the mother plant too much.
Supplies You’ll Need
Before we get our hands dirty, let’s gather our essentials:
- Sharp, clean pruning shears or a sharp knife: For making clean cuts.
- Well-draining potting mix: A blend of coarse sand, perlite, and a bit of compost is ideal. Think cactus or succulent mix.
- Small pots or trays: With drainage holes, of course!
- Rooting hormone (optional but recommended): This gives your cuttings a little boost.
- Watering can or spray bottle: For gentle watering.
- Plastic bags or a propagator: To create a humid environment if needed.
Propagation Methods
Suaeda maritima is most commonly propagated from stem cuttings. It’s straightforward and yields excellent results.
Stem Cuttings:
- Take your cuttings: Healthy, non-flowering stems are best. Using your clean shears, make a cut just below a leaf node. You want cuttings that are about 3-6 inches long. Remove any leaves from the bottom half to prevent them from rotting once planted.
- Callus over (optional but helpful): If you have the time, you can let the cut end of the cuttings air dry for a few hours or overnight. This helps to form a callus, which can reduce the risk of rot.
- Apply rooting hormone (if using): Dip the cut end of the stem into your rooting hormone powder or gel. Tap off any excess.
- Plant your cuttings: Make a small hole in your well-draining potting mix with a pencil or your finger. Gently insert the callused or hormone-treated end of the cutting into the hole. Firm the soil gently around the base.
- Water gently: Water the soil thoroughly but avoid waterlogging. A good soak is perfect.
- Create humidity: You can cover the pots or trays with a clear plastic bag or place them in a propagator. This will help keep the humidity high, which is crucial for cuttings that haven’t developed roots yet. Make sure to add a few small ventilation holes in the bag to prevent mold.
The “Secret Sauce” (Pro Tips)
Here are a couple of tricks I’ve learned over the years:
- Don’t let those lower leaves touch the soil: This is so important! Any foliage sitting directly on or in moist soil is a prime spot for rot to take hold. Pinch them off cleanly.
- Bottom heat is your friend: If you’re struggling with rooting or want to speed things up, a heated propagator mat can make a significant difference, especially if the ambient temperature is a bit cool. It encourages root development from below.
- Be patient with watering: While you want the soil to be consistently moist, it shouldn’t be soggy. Let the top inch of soil dry out slightly between waterings. Overwatering is the quickest way to lose a cutting.
Aftercare & Troubleshooting
Once you see signs of new growth at the tip of your cutting, it’s a good indication that roots are forming! You can gently check by giving the cutting a very light tug. If there’s resistance, you’ve got roots!
Start gradually acclimatizing your new plant to normal conditions. Open the plastic bag a little more each day over a week before removing it entirely. Continue to water as needed, allowing the soil to dry slightly between waterings.
Troubleshooting: The most common issue you’ll face is rot. If your cuttings go soft, turn mushy, or develop black, slimy stems, it’s usually a sign of overwatering or poor drainage. Sadly, a rotted cutting is usually a lost cause, but don’t despair! Just try again with fresh material and adjust your watering and soil mix. Yellowing leaves can also indicate overwatering or, sometimes, insufficient light.
A Encouraging Closing
Propagating Suaeda maritima is a wonderfully satisfying way to expand your collection or share these resilient plants with friends. It takes a little practice, but with these tips, you’re well on your way. Be patient with your cuttings, observe them closely, and most importantly, enjoy the process of coaxing new life into being. Happy gardening!
Resource:
https://identify.plantnet.org/k-world-flora/species/Suaeda%20maritima%20(L.)%20Dumort./data