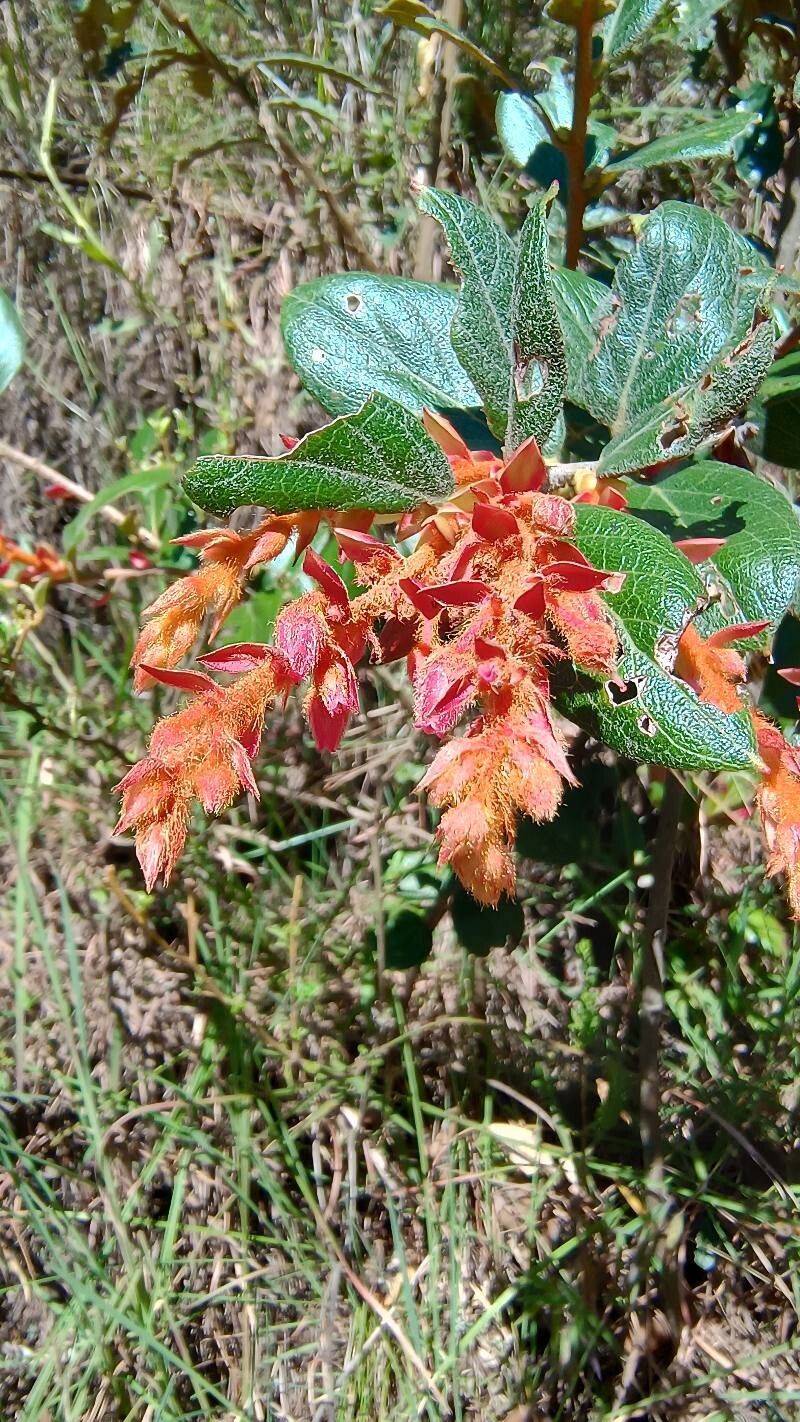
Well hello there, fellow garden lovers! I’m so excited to chat with you today about a little gem that’s captured my heart over the years: Gaultheria eriophylla. Also known as the Chilean Wintergreen, this beauty boasts glossy, evergreen leaves and charming little bell-shaped flowers followed by delightful red berries. It’s truly a year-round charmer for any shady nook.
Now, I know what you might be thinking – is propagating it a real challenge? For beginners, I’d say it leans towards being moderately easy, but with a few key tricks up our sleeves, you’ll be well on your way to a whole garden full of these beauties! The real reward comes from nurturing a tiny cutting into a thriving plant; it’s a feeling like no other.
The Best Time to Start
For Gaultheria eriophylla, the sweet spot for propagation is generally late spring to early summer. This is when the plant is actively growing, and you’ll find plenty of young, tender stems that are more amenable to rooting. Think of it as capturing that burst of youthful energy!
Supplies You’ll Need
Here’s what I always have on hand when I’m propagating:
- Sharp pruning shears or a clean knife: For making neat cuts.
- Rooting hormone: A liquid or powder to give your cuttings a helpful boost.
- Potting mix: A well-draining blend is crucial. I like a mix of equal parts peat moss and perlite, or a good quality seed starting mix. Avoid heavy garden soil!
- Small pots or seedling trays: With drainage holes, of course.
- Plastic bags or a propagation dome: To create a humid environment.
- Watering can with a fine rose: For gentle watering.
Propagation Methods
I’ve had the most success with stem cuttings for Gaultheria eriophylla. It’s straightforward and consistently rewarding.
Stem Cuttings:
- Take your cuttings: Choose healthy, non-flowering stems from your mature plant. Using your sharp pruning shears, snip off pieces that are about 4-6 inches long. Make the cut just below a leaf node (where a leaf attaches to the stem).
- Prepare the cuttings: Gently remove the leaves from the bottom half of each cutting. You want to expose the nodes where roots will form. If the remaining leaves are very large, I like to cut them in half to reduce water loss.
- Dip in rooting hormone: Dip the cut end of each prepared cutting into your chosen rooting hormone, tapping off any excess. This step really helps things along!
- Plant the cuttings: Fill your small pots or trays with your well-draining potting mix. Make a small hole in the center of the mix with your finger or a pencil. Insert the cutting into the hole, ensuring the nodes are covered by the soil. Gently firm the soil around the base of the cutting.
- Water gently: Water the soil thoroughly until it’s evenly moist but not soggy.
- Create humidity: Cover the pots with a plastic bag or a propagation dome. This traps moisture and creates a greenhouse effect, which is vital for successful rooting. Make sure the plastic isn’t touching the leaves if you can help it.
- Find a good spot: Place the pots in a bright location that receives indirect sunlight. Avoid direct sun, as it can scorch the delicate cuttings.
The “Secret Sauce” (Pro Tips)
Here are a couple of things that have made a big difference for me:
- Bottom Heat is Your Friend: If you have an old heating mat, place your pots on it. The consistent warmth from below really encourages root development. My success rate jumped significantly once I started using bottom heat.
- Patience with Peat: When using peat moss in your mix, especially if it’s been allowed to dry out, it can become hydrophobic (water-repellent). To combat this, I always give my peat-based mixes a good soak before I plant my cuttings, ensuring it’s thoroughly moistened.
Aftercare & Troubleshooting
Once your cuttings have rooted (you’ll know when you see new leaf growth or feel a gentle tug when you very carefully test the resistance in the soil), it’s time for them to grow!
- Gradual Acclimation: Slowly start to remove the plastic bag or dome, giving them a few hours of fresh air each day for a week. This helps them adjust to the drier air.
- Continued Care: Keep the soil consistently moist but not waterlogged. Gaultheria eriophylla prefers its roots to be a little on the drier side than constantly soggy.
- Watch for Rot: The most common enemy of cuttings is rot. If you notice your cutting becoming black and mushy, or if mold appears on the soil, it’s likely too wet or not getting enough air circulation. Sadly, these cuttings are usually a lost cause, but learn from it and try again! Another sign of trouble is wilting that doesn’t improve after watering – this can also indicate root rot.
A Friendly Closing
Propagating your own Gaultheria eriophylla is a truly rewarding journey. Don’t get discouraged if not every cutting takes. Gardening is all about learning and experimenting. Be patient, observe your little ones closely, and enjoy the process of creating new life from a simple stem. Happy propagating!
Resource: