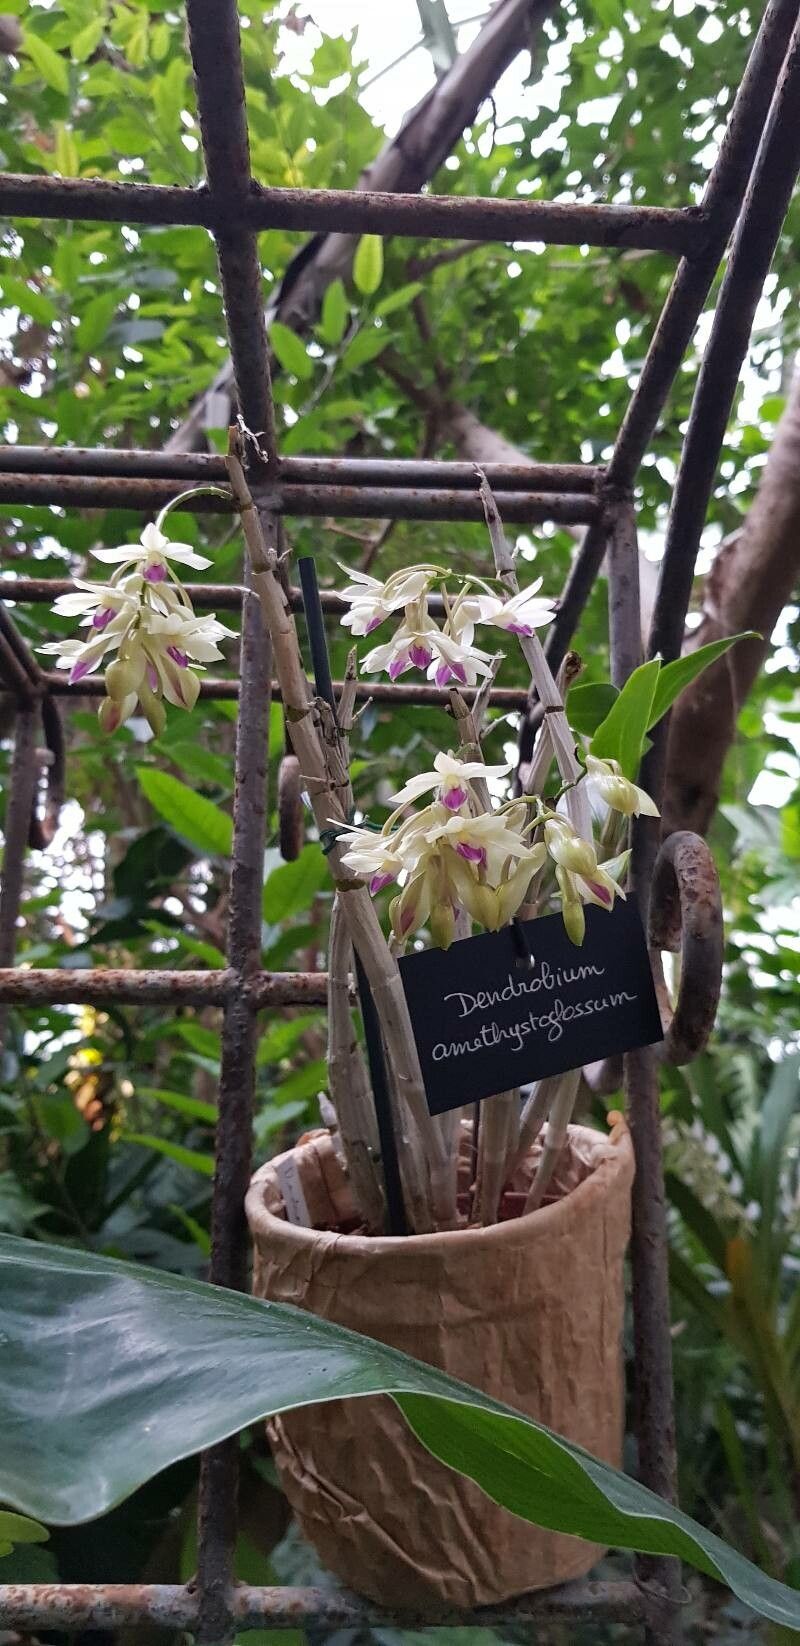
Hello there, fellow plant lovers! It’s so lovely to have you join me. Today, we’re diving into the enchanting world of Dendrobium amethystoglossum. If you’ve ever seen one of these beauties gracing a conservatory or a friend’s greenhouse, you’ll know why they’re so captivating. Their delicate, amethyst-colored lips are just stunning, aren’t they? Propagating them is a wonderful way to share that beauty and expand your own collection. It’s a process that requires a little patience, but the rewards are truly magnificent. For those new to orchid propagation, I’d say Dendrobium amethystoglossum falls into the “moderately challenging” category. It’s not one of those that sprouts babies from every leaf, but with the right approach, you’ll be successful.
The Best Time to Start
Generally, the best time to propagate Dendrobium amethystoglossum is during its active growing season. This usually means late spring to early autumn. You’ll want to wait until new pseudobulbs (those swollen stem-like structures) have fully matured and are starting to show signs of new root or shoot development. Trying to propagate from dormant or recently bloomed canes isn’t as fruitful. Look for healthy, plump growth; that’s your signal!
Supplies You’ll Need
Gathering your supplies beforehand makes the whole process so much smoother. Here’s what I always have on hand:
- Sharp, sterilized pruning shears or a clean knife: For making precise cuts. Sterilize with rubbing alcohol between each cut to prevent disease.
- Orchid potting mix: A well-draining mix is crucial. I often use a blend of fine bark, perlite, and a bit of charcoal. You can find pre-made orchid mixes specifically for epiphytic orchids.
- Small pots or containers: Clean plastic or terracotta pots with plenty of drainage holes.
- Rooting hormone (optional but recommended): A powdered or liquid rooting hormone can give your cuttings a helpful boost.
- Sphagnum moss: For some methods, high-quality long-fibered sphagnum moss is invaluable.
- Watering can with a fine rose or spray bottle: For gentle watering.
- Labels and a permanent marker: You’ll thank yourself later for keeping track of your new babies!
Propagation Methods
Dendrobium amethystoglossum is best propagated through division when the plant is mature, or by taking stem cuttings from healthy growth.
Method 1: Division (for mature plants)
This is the most straightforward method when you have a well-established plant.
- Gently unpot your Dendrobium amethystoglossum. Try to disturb the roots as little as possible.
- Inspect the root system and pseudobulbs. Identify sections of the plant that have at least two or three healthy pseudobulbs and a good root system.
- Using your sterilized pruning shears or knife, carefully divide the plant. Make sure each division has enough roots to support itself. If there are a lot of tangled roots, you might need to gently tease them apart or even trim away some older, dead roots.
- Pot each division into its own container with fresh orchid mix. Ensure the base of the pseudobulbs is at the surface of the mix.
- Water lightly after potting and place in a shaded spot with good air circulation.
Method 2: Stem Cuttings (Keikis)
This method involves encouraging “keikis” – baby plantlets that form on the mother plant – or taking cuttings from mature canes.
- Identify a healthy cane on your mother plant. Look for one that is fully mature and plump. If you’re trying to encourage keikis, you can make small cuts or even scrape away a tiny bit of tissue just above a node (where a leaf attaches), then apply a bit of keiki paste. This is a bit more advanced and sometimes takes trial and error.
- For taking cuttings, select a segment of the cane with at least two or three healthy nodes (joints).
- Using your sterilized shears, carefully cut the cane segment. Make sure your cut is clean.
- If the cane has leaves, you can leave them on, but ensure they are healthy.
- Dip the cut end of the cane segment into rooting hormone (if using).
- Now, there are a couple of ways to proceed:
- Water Propagation: Place the cane segment in a jar or vase filled with clean water. Make sure none of the leaves are submerged in the water. Change the water every few days to keep it fresh. Keep in bright, indirect light. Roots should begin to form in a few weeks.
- Moist Sphagnum Moss: Moisten some long-fibered sphagnum moss until it’s damp but not soaking wet. Place the cane segment on top of the moss, or gently tuck it into the moss, ensuring the nodes are accessible. Place this in a clear plastic bag or a small terrarium to maintain high humidity. Keep in bright, indirect light.
The “Secret Sauce” (Pro Tips)
Here are a few pointers that have made a world of difference for me:
- Don’t drown your cuttings! This is probably the most common mistake. While humidity is good for propagation, standing water on leaves or at the base of the cane will lead to rot faster than you can say “uh oh.” For water propagation, just the cut end should be in the water. For moss, it should be just slightly damp.
- Bottom heat is your friend. If you’re doing stem cuttings, placing the pot or container on a seedling heat mat can significantly speed up root development. Orchids love a little warmth from below to encourage root growth.
- Patience is a virtue, truly. Dendrobium amethystoglossum can be a bit slow on the uptake with rooting. Don’t be discouraged if you don’t see roots forming immediately. Keep it in the right conditions, and give it time. I’ve had cuttings take weeks, sometimes even a couple of months, to show significant root growth.
Aftercare & Troubleshooting
Once you see good root development (usually an inch or two long) on your water-propagated cuttings, or if you’ve divided and potted, it’s time for a little gentle aftercare.
- Potting up: For water-propagated cuttings, pot them into your orchid mix as you would a division. Water lightly and keep them in a shadier spot for the first week or two.
- Watering: Water when the potting mix is starting to dry out. Don’t let it become bone dry, but also avoid waterlogged conditions.
- Light: Provide bright, indirect light. Direct sunlight will scorch the tender new growth.
- Humidity: Maintain good humidity, especially for very young plants. Misting lightly or placing them in a humid location (like a greenhouse or terrarium) can be beneficial.
Now, what if things aren’t going as planned?
- Rot: This is the most common problem. If you see the cane segment turning black and mushy, it’s likely rot. Unfortunately, this is usually a sign that the cutting is lost. Ensure you’re not overwatering and that your potting mix is very free-draining.
- No root growth: If weeks go by and you see absolutely no sign of roots, check your conditions. Is it warm enough? Is there enough indirect light? Sometimes, a cutting just isn’t viable. Don’t blame yourself; it happens!
A Little Encouragement to Finish
Propagating orchids can be a truly rewarding journey. It’s a chance to learn more about these fascinating plants and to create new life from something you already have. Be patient with your Dendrobium amethystoglossum, celebrate every little sign of progress, and most importantly, enjoy the process. Happy growing!
Resource:
https://identify.plantnet.org/k-world-flora/species/Dendrobium%20amethystoglossum%20Rchb.f./data