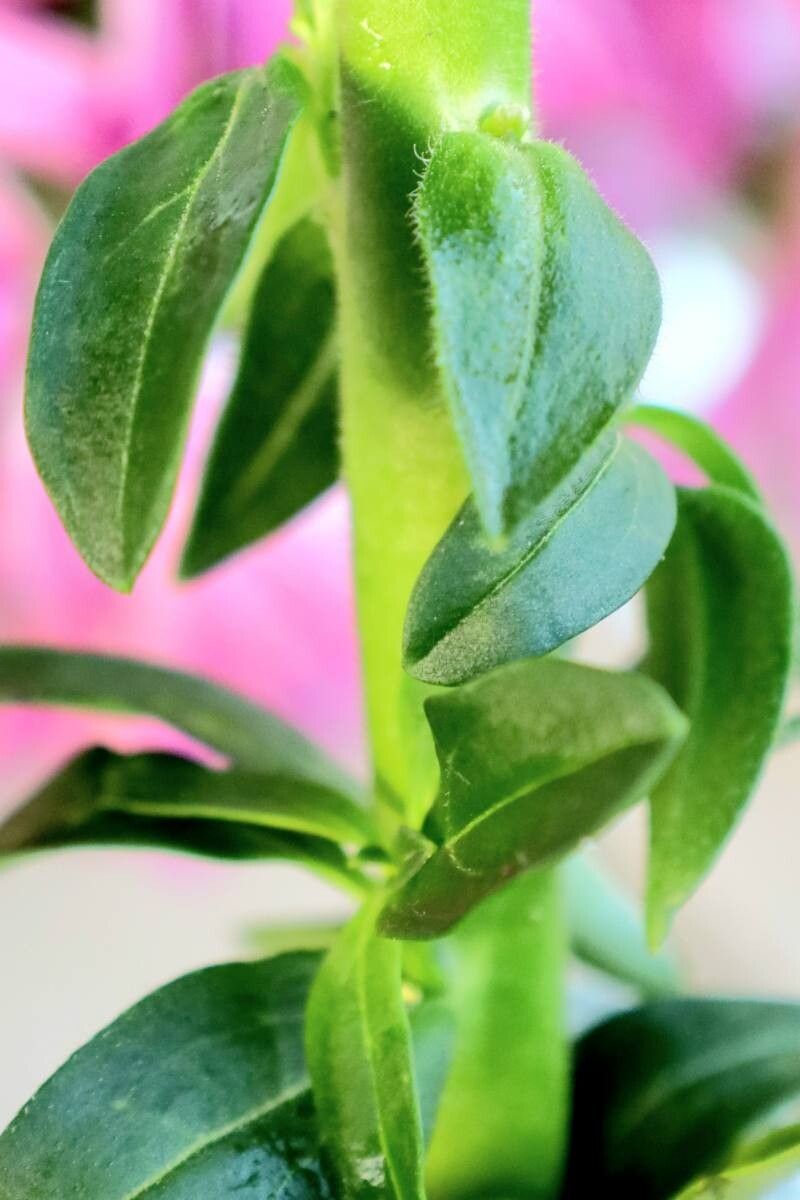
Hello there, fellow plant enthusiasts! I’m so excited to chat with you today about a truly charming little bloom: Antirrhinum australe, or as some of us fondly call it, the Southern Snapdragon. If you’ve ever admired its delicate, dainty flowers swaying gently in the breeze, you know exactly why it’s worth getting to know better. Propagating these beauties is incredibly rewarding, and I’m here to tell you it’s not as daunting as you might think! For beginners, I’d say it’s a solid medium effort – a little patience and the right approach go a long way.
The Best Time to Start
When it comes to giving your Antirrhinum australe the best shot at new life, late spring to early summer is generally your sweet spot. The plant is usually in its active growing phase then, meaning it has plenty of energy to put into developing roots. You want to work with healthy, vigorous stems that aren’t flowering or setting seed. Think of it as capturing that peak vitality!
Supplies You’ll Need
To set yourself up for success, here’s a little checklist of what you’ll want to have on hand:
- Sharp, clean pruning shears or a sharp knife: For making clean cuts.
- Rooting hormone (optional but recommended for stem cuttings): A little boost can speed things up.
- Seedling tray or small pots (around 2-3 inches): With good drainage holes, of course!
- Propagating mix or a light, sterile potting mix: I like a blend of peat moss, perlite, and a touch of compost.
- Watering can with a fine rose or a mister: For gentle watering.
- Clear plastic bag or propagation dome: To create a humid environment.
- Labels and a pen: To keep track of your propagates!
Propagation Methods
Let’s get our hands dirty! For Antirrhinum australe, I find stem cuttings to be the most reliable and straightforward method.
Stem Cuttings
- Select Your Cuttings: Look for healthy, non-flowering stems that are about 3-4 inches long. Gently snap or carefully cut them from the parent plant, just below a leaf node (where the leaves attach to the stem).
- Prepare the Cuttings: Remove the lower leaves from the bottom half of the cutting. This helps prevent them from rotting in the soil and encourages the plant to focus energy on root development. If your cutting has a flower bud, pinch it off.
- Apply Rooting Hormone (Optional): Dip the cut end of the stem into your rooting hormone powder, tapping off any excess. This step isn’t strictly necessary for Antirrhinum australe, but it can provide a nice little jumpstart.
- Plant Your Cuttings: Fill your small pots or seedling tray with your moistened propagating mix. Make a small hole in the center with your finger or a pencil. Insert the cutting into the hole, ensuring the lower leaf nodes are buried. Gently firm the soil around the base.
- Create a Humid Environment: Water the soil gently after planting. Then, cover the pot or tray with a clear plastic bag or a propagation dome. This traps humidity, which is crucial for cuttings to root without drying out. You can prop the bag up with skewers if needed to keep it off the leaves.
The “Secret Sauce” (Pro Tips)
Over the years, I’ve learned a few little tricks that make a big difference.
- My absolute favorite is providing some gentle bottom heat. A seedling heat mat, set on a low setting, can significantly speed up root formation. You don’t want it too hot, just a cozy warmth.
- When watering, always aim for consistency, not saturation. You want the soil to be consistently moist, like a wrung-out sponge, but never waterlogged. Overwatering is the quickest way to invite trouble.
- And a quick note on drainage: never let your cuttings sit in a pool of water in their tray or saucer. If you see water accumulating, dump it immediately. Roots need air just as much as they need water!
Aftercare & Troubleshooting
Once your cuttings are potted, place them in a bright location but out of direct, harsh sunlight. The humidity created by the plastic bag will do most of the work in these early days.
You’ll know your cuttings are rooting when you see new leaf growth and gently tugging on the stem reveals resistance. This usually takes anywhere from 3 to 6 weeks, depending on conditions. Once they have a good root system, gradually acclimate them to normal room humidity by opening the plastic bag a little more each day over a week. Then, you can remove the covering entirely.
The most common issue you might face is rot. If you see stems turning mushy and black, it’s a sign of too much moisture. Make sure your mix is well-draining and you’re not overwatering. If you catch it early, you might be able to salvage healthy parts of the stem.
A Gentle Closing
Watching little Antirrhinum australe plants emerge from cuttings is a truly magical feeling. Be patient with yourself and your little propagations. Some will take off beautifully, while others might be slower to respond. The key is to enjoy the process, learn from each attempt, and celebrate every new root and tiny leaf. Happy propagating!
Resource:
https://identify.plantnet.org/k-world-flora/species/Antirrhinum%20australe%20Rothm./data