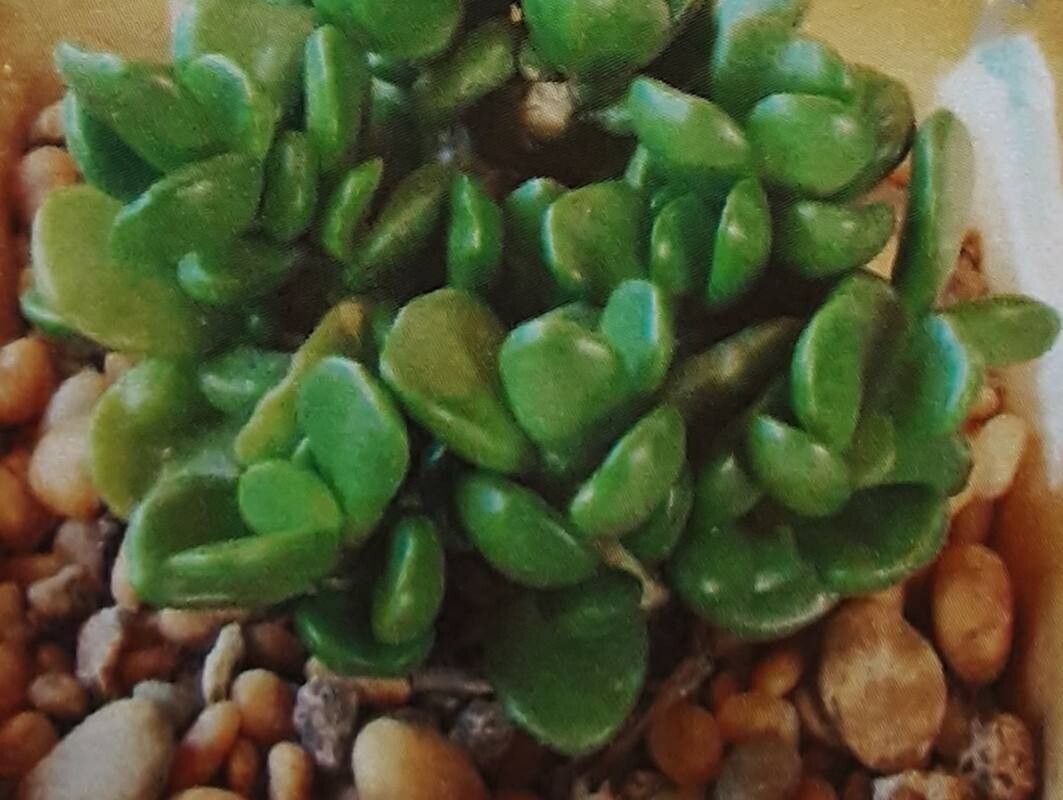
Hello fellow plant lovers! It’s so lovely to have you join me today. I’m here to chat about one of my absolute favorite little treasures: Adromischus nanus. If you haven’t met this charming succulent yet, allow me to introduce you. It’s a tiny marvel, with its signature, fuzzy, almost bean-like leaves. They form little rosettes, and honestly, they’re just too cute to resist. Propagating them is not only rewarding but it’s also a fantastic way to share this joy with others. Now, I will say, while not outrageously difficult, it’s not quite as foolproof as a spider plant. But with a little patience, even beginners can have a great deal of success.
The Best Time to Start
For Adromischus nanus, my go-to time for propagation is during its active growing season, which typically falls in late spring through summer. This is when the plant is full of energy and more likely to produce healthy roots. Starting when the days are longer and the temperatures are warmer gives your cuttings the best chance to thrive. Avoid propagating during the plant’s dormant period in winter.
Supplies You’ll Need
Gathering your tools makes the whole process smoother. Here’s what I always have on hand:
- Well-draining succulent or cactus mix: This is crucial! I usually blend my own with pumice or perlite for extra aeration.
- Sharp, clean pruning shears or a sharp knife: A clean cut heals better.
- Rooting hormone (optional but helpful): Especially good for stem cuttings.
- Small pots or propagation trays: Terracotta pots are wonderful because they breathe.
- A spray bottle: For gentle misting.
- Patience! (Seriously, it’s the most important tool.)
Propagation Methods
Adromischus nanus is quite obliging and offers a couple of straightforward ways to multiply.
1. Stem Cuttings
This is my preferred method for Adromischus nanus.
- Take your cuttings: Using your clean shears or knife, carefully snip off a healthy stem section, about 1-2 inches long. Try to get one with at least a few leaves.
- Allow to callous: This is a vital step! Lay the cuttings on a clean paper towel in a dry, shaded spot for 2-3 days. You want the cut end to dry out and form a protective scab. This prevents rot.
- Dip in rooting hormone (optional): If you’re using it, lightly dip the calloused end into the rooting hormone powder. Tap off any excess.
- Plant your cuttings: Fill your small pots with your well-draining succulent mix. Gently insert the calloused end of each cutting into the soil, about half an inch deep. They should stand upright on their own.
- Water sparingly: I like to give them a very light misting the day after planting, and then I wait until the soil is completely dry before watering again. You might only need to do this every 1-2 weeks.
2. Leaf Cuttings
While stem cuttings are faster, you can also try with individual leaves.
- Remove healthy leaves: Gently twist or snip off a healthy leaf from the mother plant. Again, try to get a clean break at the stem.
- Allow to callous: Just like stem cuttings, let these leaves dry and form a callous for 2-3 days.
- Place on soil: Lay the calloused leaves on top of your prepared succulent soil mix in a tray or pot. You don’t need to bury them.
- Misting: Mist the soil surface lightly every few days, just enough to keep the soil barely moist. The leaves should not be sitting in water. Over time, you’ll see roots emerge from the calloused end, and eventually, a tiny new plantlet will form. This method can take longer, so be patient!
The “Secret Sauce” (Pro Tips)
Here are a couple of little tricks that have made all the difference for me:
- Don’t rush the watering: Seriously, this is where many go wrong. Adromischus nanus is a succulent, it stores water in its leaves. Overwatering a new cutting is the fastest way to invite rot. Wait until the soil is bone dry, then water.
- Give them a warm, bright spot (but no direct scorching sun): Once planted, place your cuttings in a bright location, but out of direct, intense sunlight, especially during the hottest part of the day. A nice warm windowsill is perfect. If you have the option, a little bottom heat (like a seed starting mat set on low) can really speed up root development.
Aftercare & Troubleshooting
Once you see signs of rooting – usually little white nubs appearing at the cut end or the leaves starting to plump up and show growth – your plant is on its way!
- Increase watering gradually: As your new plant establishes, you can start watering a little more deeply, but always allow the soil to dry out completely between waterings.
- Potting up: When the new plantlets are a decent size and have a good root system, you can carefully pot them into their own individual small pots.
- Watch for rot: The most common issue is rot, which looks like a mushy, dark brown or black base. If you see this, it’s usually a sign of too much moisture or lack of airflow. There’s often no coming back from severe rot, but you can try to salvage a healthy section if it’s not too far gone.
A Encouraging Closing
Propagating plants is a journey, and Adromischus nanus is a delightful one to embark on. Be patient with yourself and your little cuttings. Enjoy observing the subtle changes, the emergence of new roots, and the thrill of seeing a tiny new life form. The satisfaction of nurturing a new plant from a small piece of another is truly unmatched. Happy propagating!
Resource:
https://identify.plantnet.org/k-world-flora/species/Adromischus%20nanus%20(N.E.Br.)%20Poelln./data