Oh, hello there! I’m so glad you’ve stopped by. Today, we’re diving into the wonderful world of propagating Japanese Red Pines, or Pinus densiflora. I’ve had these beauties gracing my garden for years, and there’s a special kind of joy in coaxing a new life from an existing one.
Why Grow Your Own Japanese Red Pines?
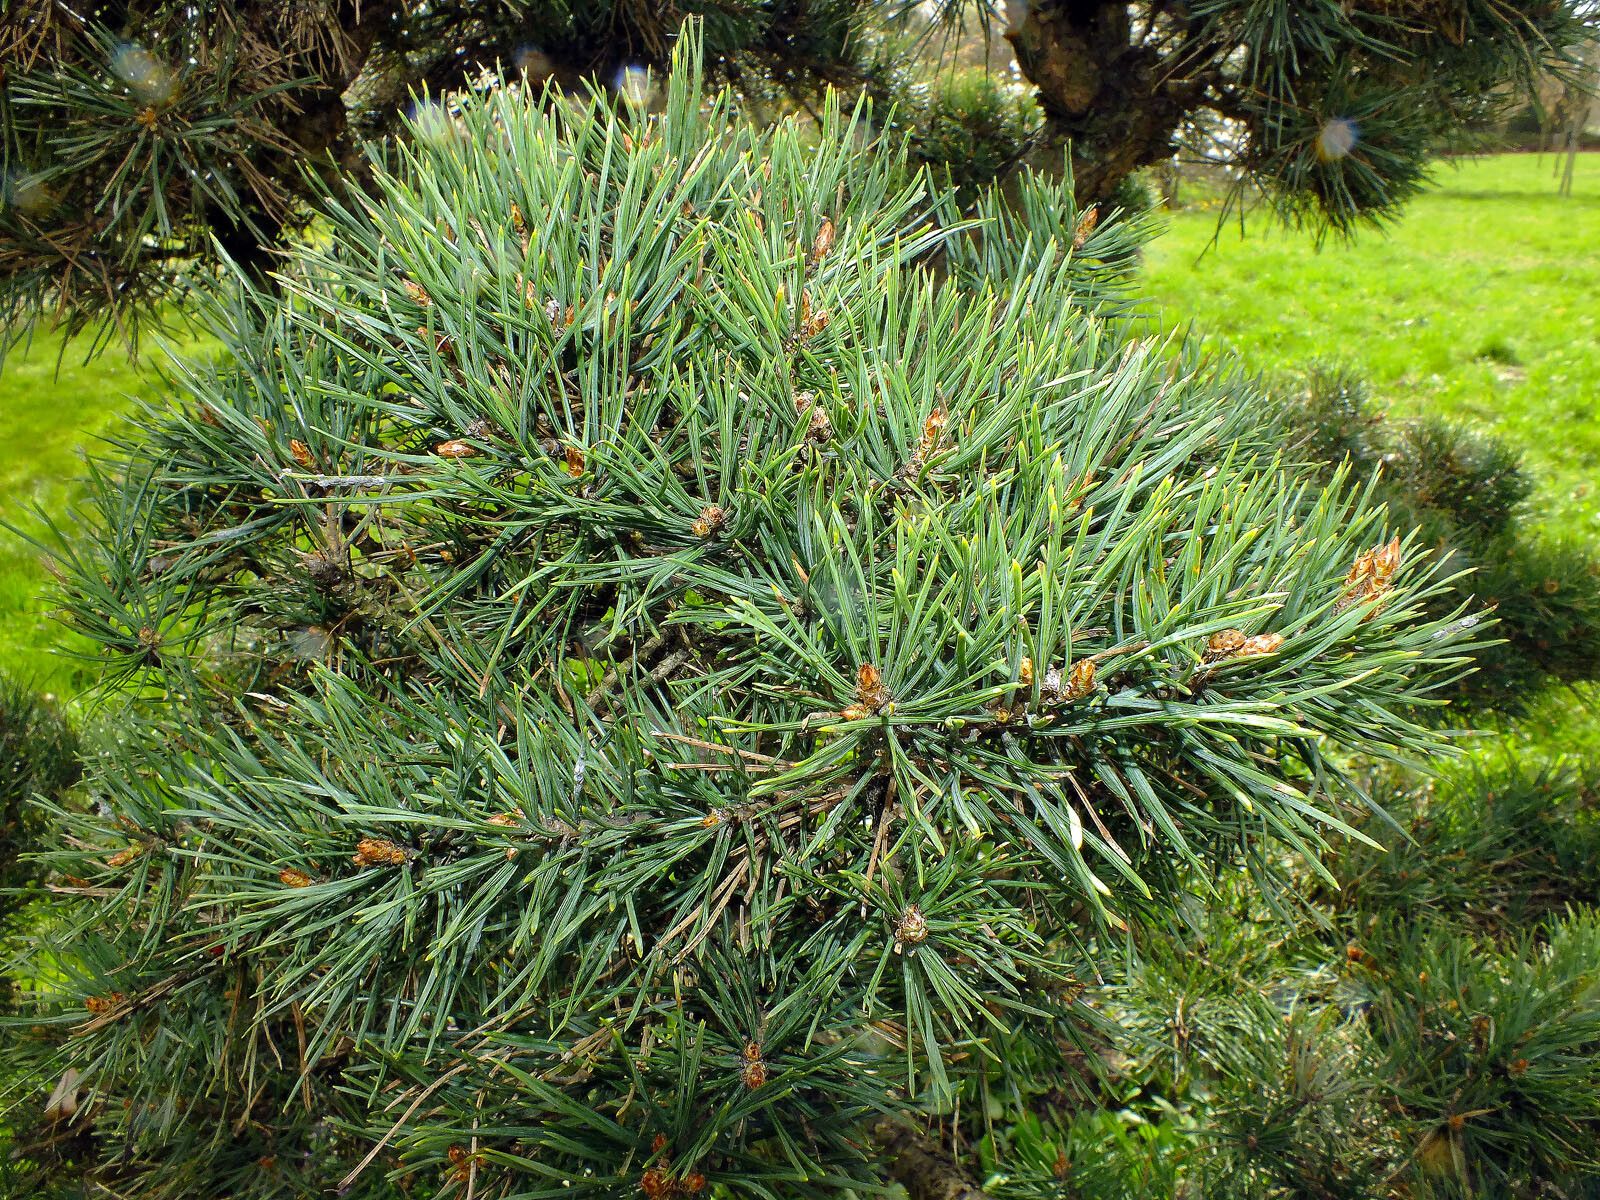
There’s something truly captivating about Pinus densiflora. Their graceful silhouettes, unique bark that peels in vibrant shades, and the way they catch the light are just stunning. And believe me, propagating them yourself is incredibly rewarding. It’s not necessarily a “set it and forget it” kind of project, but the satisfaction of nurturing a tiny seedling into a future garden masterpiece? Priceless. For beginners, I’d say it’s moderately challenging. It requires a bit of patience and understanding of the plant’s needs, but the payoff is absolutely worth the gentle learning curve.
When to Get Your Hands Dirty
The best time to take cuttings from your Pinus densiflora is during the late spring or early summer. This is when the new growth, often called “candles,” is still soft and pliable, but has started to firm up just a bit. This stage, known as semi-hardwood, offers the ideal balance of flexibility and established tissue for rooting.
What You’ll Need in Your Toolkit
Getting ready for propagation is half the fun! Here’s a quick rundown of what I usually gather:
- Sharp Pruning Shears or a Knife: For making clean cuts.
- Rooting Hormone: A powder or gel specific for woody plants.
- Well-Draining Potting Mix: I often use a 50/50 blend of perlite and peat moss, or a specialized conifer cutting mix.
- Small Pots or Trays: With drainage holes, of course!
- Plastic Bags or a Propagator: To create a humid environment.
- Rubbing Alcohol or Bleach Solution: For sanitizing your tools.
- Labels: To keep track of which cuttings are which!
Bringing New Pines to Life: Stem Cuttings
This is the most common and generally successful method for Pinus densiflora. Here’s how I do it:
- Select Your Material: Look for healthy, vigorous branches from your semi-hardwood growth. You want pieces that are about 4-6 inches long.
- Make the Cut: Using your clean shears or knife, make a clean cut just below a leaf node (where the needles emerge).
- Prepare the Cutting: Gently strip off the needles from the bottom 2-3 inches of the cutting. You can also lightly wound the bark at the very base to encourage rooting.
- Dip in Rooting Hormone: Moisten the cut end of the stem and dip it into your rooting hormone, tapping off any excess.
- Plant Your Cuttings: Fill your pots with the well-draining mix. Make a small hole with a pencil or dowel and carefully insert the cutting. Gently firm the soil around it.
- Water and Cover: Water thoroughly, allowing excess to drain. Then, place the pots in a plastic bag, creating a mini-greenhouse. Make sure the bag doesn’t touch the needles. You can use stakes to prop it up.
The “Secret Sauce” – My Insider Tips
Here are a few little tricks I’ve learned over the years that can really boost your success rate:
- The Bottom Heat Trick: Many woody plants, including conifers, benefit immensely from a little warmth from below. Placing your pots on a heated propagation mat can significantly speed up root development. It mimics the warmth of the soil in summer.
- Be Patient with Dormancy: Don’t rush things! Conifers can be slow to root. For Pinus densiflora, I often leave cuttings undisturbed for 3-6 months, sometimes even longer, in a cool but not freezing location. You might not see visible roots for a while, but they could be forming underground.
- Sanitation is Key: I can’t stress this enough. Always sterilize your tools before and between every cut. Using rubbing alcohol or a weak bleach solution prevents the spread of diseases that can ruin your efforts before they even begin.
Nurturing Your New Sprouts & What to Watch For
Once your cuttings show signs of rooting – a gentle tug will reveal resistance, or you might see tiny new needles beginning to form – it’s time for a little extra care.
Gradually introduce them to less humid conditions by opening the plastic bag for longer periods. Continue to keep the soil consistently moist but not waterlogged. This is where good drainage is crucial.
The most common issue you might encounter is rot. If you see your cuttings turning black and mushy, or develop fuzzy grey mold, it’s usually a sign of too much moisture and poor air circulation. If you catch it early, you might be able to trim away the affected parts, but often, it’s best to just start again with fresh cuttings and ensure better drainage and ventilation next time. Don’t get discouraged!
Happy Roots and Growing!
And there you have it! Propagating Pinus densiflora is a journey, and like all good journeys, it’s best enjoyed with a bit of patience and a whole lot of love for your plants. Don’t be afraid to try. Even if your first few attempts aren’t perfect, you’ll learn something new with each one. Enjoy the process, and soon enough, you’ll have your very own nursery of these magnificent Japanese Red Pines!
Resource:
https://identify.plantnet.org/k-world-flora/species/Pinus%20densiflora%20Siebold%20&%20Zucc./data