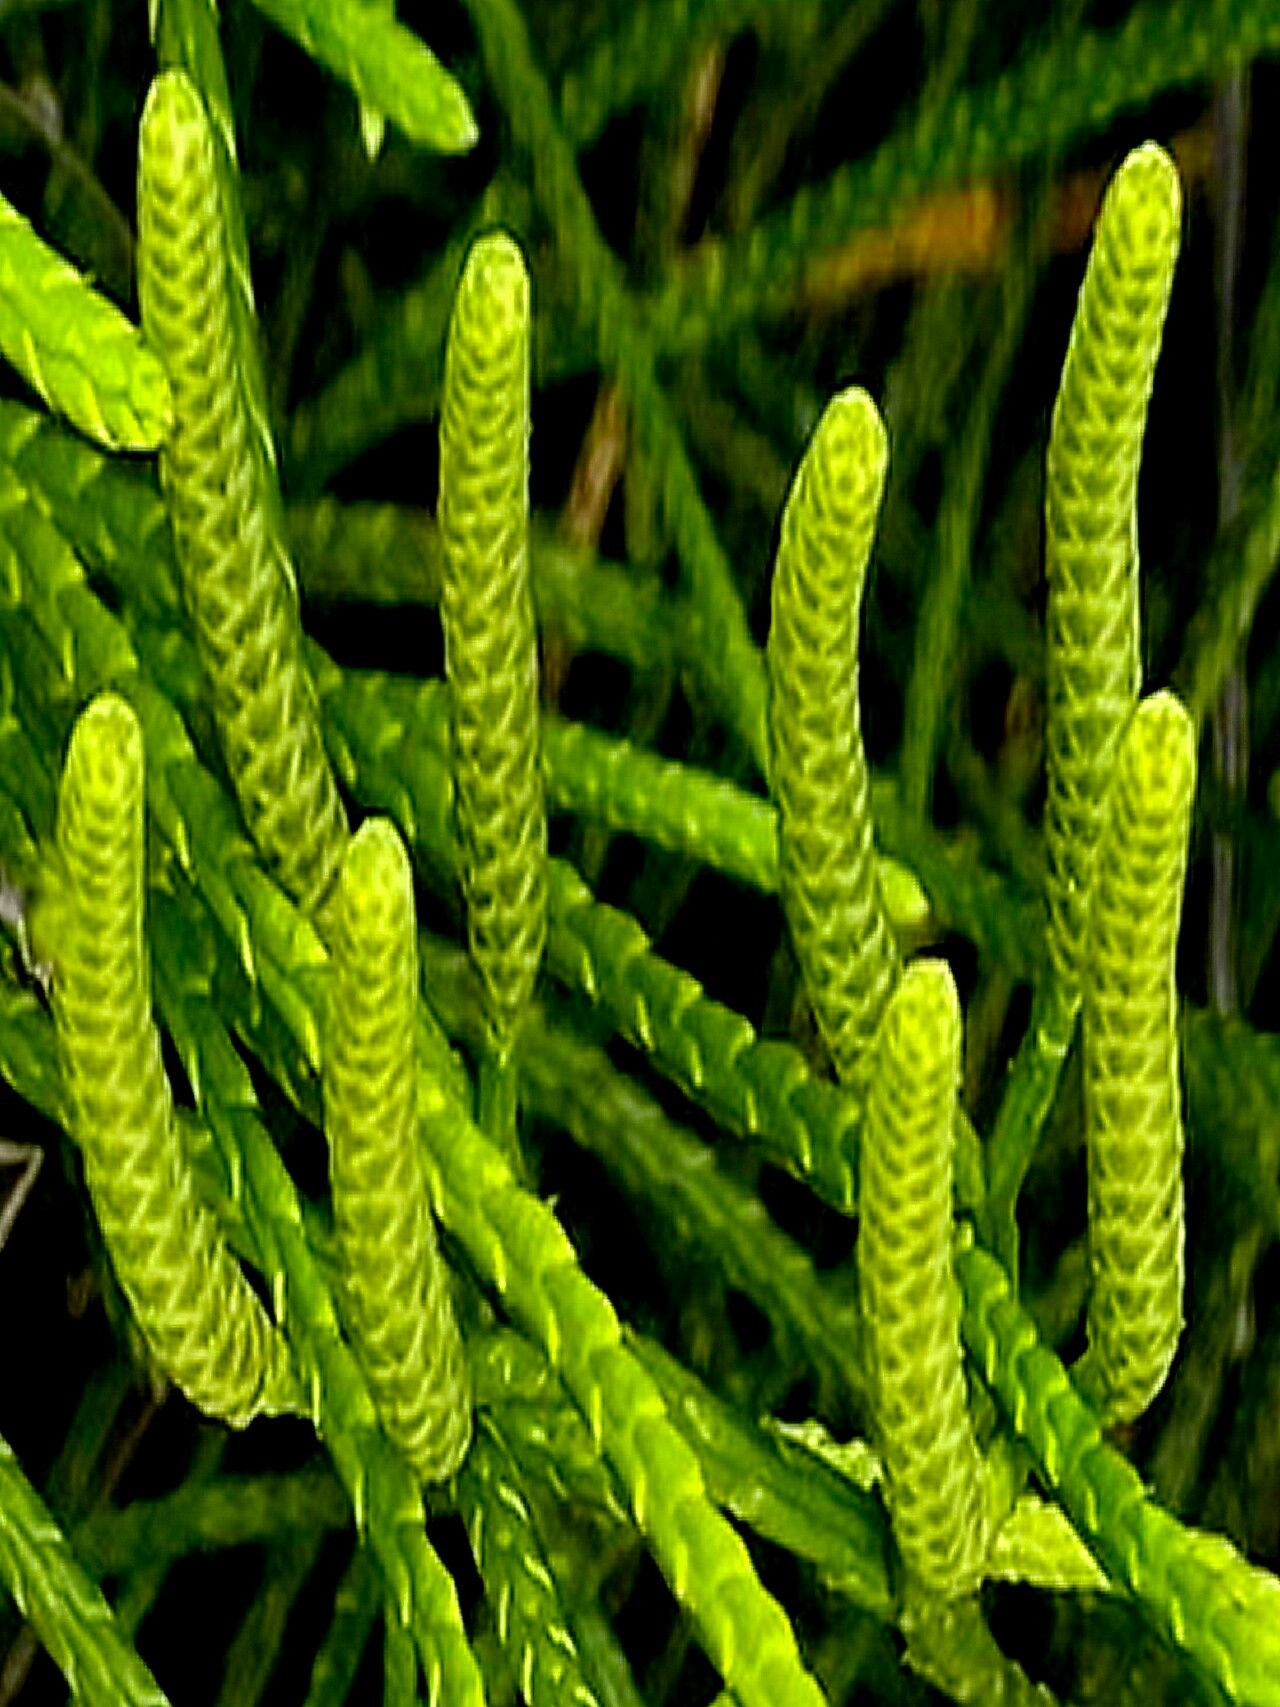
Hello fellow plant lovers! Today, we’re diving into the wonderful world of Lycopodium thyoides. You know, those gorgeous, trailing clubmosses that bring such a lush, ancient feel to any space? Their delicate fronds and unique texture are just captivating, and there’s something incredibly satisfying about nurturing a new little life from an existing plant. Now, I’ll be honest, Lycopodiums can be a bit of a puzzle for complete beginners. They’re not as straightforward as, say, a pothos, but with a little patience and the right approach, you can absolutely succeed.
The Best Time to Start
For Lycopodium thyoides, the sweet spot for propagation is typically in the late spring or early summer. This is when the plant is actively growing and has plenty of energy to put into developing new roots. You’re looking for healthy, vigorous stems that aren’t flowering or just finished. Think of it as capturing that peak growing surge!
Supplies You’ll Need
Gathering your supplies beforehand makes the whole process so much smoother. Here’s what I always have on hand:
- Sharp, clean pruning shears or a sharp knife: For making clean cuts. Sterilize them between plants to prevent disease spread!
- Well-draining potting mix: I usually go for a blend of peat moss or coco coir, perlite, and a bit of fine bark. You want something that holds moisture but doesn’t become waterlogged.
- Small pots or propagation trays: Clean ones, of course.
- Rooting hormone (optional but helpful): A powdered or gel type can give your cuttings a nice boost.
- Clear plastic bags or a propagation dome: To create a humid environment.
- Watering can or spray bottle: For gentle watering.
- Labels: To remind you what you’ve planted!
Propagation Methods
Lycopodium thyoides can be propagated primarily through stem cuttings. It’s quite effective if you get the conditions right.
- Select Your Cuttings: Gently examine your mature Lycopodium. Look for healthy, non-woody stems that are about 3-5 inches long. You want stems with several sets of leaves.
- Make the Cut: Using your clean shears or knife, make a clean cut just below a leaf node. This is a crucial spot where roots are likely to form.
- Prepare the Cutting: Gently remove the lower leaves from the cutting. This prevents them from rotting in the soil and exposes the nodes for better root development.
- Dip in Rooting Hormone (Optional): If you’re using rooting hormone, dip the cut end of the stem into the powder or gel according to the product’s instructions. Tap off any excess.
- Plant Your Cuttings: Fill your small pots or trays with your prepared, slightly moist potting mix. Make small pre-made holes with a pencil or dowel to avoid disturbing the rooting hormone. Insert the cut end of each stem into the hole, ensuring the nodes where you removed the leaves are below the soil surface. Lightly firm the soil around the cutting.
- Create a Humid Environment: Water the soil very gently. Then, cover the pots loosely with a clear plastic bag or place them under a propagation dome. This traps humidity, which is vital for cuttings to root.
- Placement: Place the pots in a bright, indirect light location. Avoid direct sunlight, as it can scorch the delicate cuttings.
The “Secret Sauce”
Here are a few tricks I’ve learned over the years that really make a difference:
- “Air Layering” is your friend: Before you even take a cutting, try air layering on a strong, healthy stem still attached to the parent plant. Make a small nick in the stem just below where you want roots to form, pack it with some moist sphagnum moss, and wrap it all tightly in plastic wrap or foil. Once you see roots developing within the moss, you can carefully cut the stem below the new roots and plant it.
- The Mystery of Bottom Heat: While not strictly necessary, I’ve found that providing a little gentle bottom heat can significantly speed up root formation. A propagation mat set on its lowest setting works wonders. It mimics the warmth of spring soil and encourages those roots to get going.
- Don’t Let the Leaves Dangle: If you try water propagation (though stem cuttings in soil are generally more successful for Lycopodiums), make sure no leaves are submerged in the water. Even a tiny bit of submerged foliage will quickly rot and can take your cutting down with it.
Aftercare & Troubleshooting
Once you see new growth appearing, that’s a fantastic sign that your cuttings have rooted! At this stage, you can gradually acclimate them to lower humidity. Start by opening the plastic bag for a few hours each day, then remove it entirely over a week or so. Continue to keep the soil consistently moist but not soggy.
The most common issue you might face is rot. If your cuttings turn mushy, black, or start to decay, it’s usually a sign of too much moisture and poor air circulation. Unfortunately, at that point, it’s often too late to save them. Another sign of distress is if leaves start to turn brown and crispy, which can indicate the cutting has dried out or isn’t getting enough humidity.
A Encouraging Closing
Propagating Lycopodiums is a journey, not a race. Be patient with your little green hopefuls. Don’t get discouraged if your first few attempts aren’t perfect. Every gardener learns through trial and error. Celebrate every tiny new leaf and every hint of root development. Enjoy the process of watching new life emerge, and soon you’ll have a whole collection of your own beautiful Lycopodiums to share or cherish. Happy propagating!
Resource:
https://identify.plantnet.org/k-world-flora/species/Lycopodium%20thyoides%20Willd./data