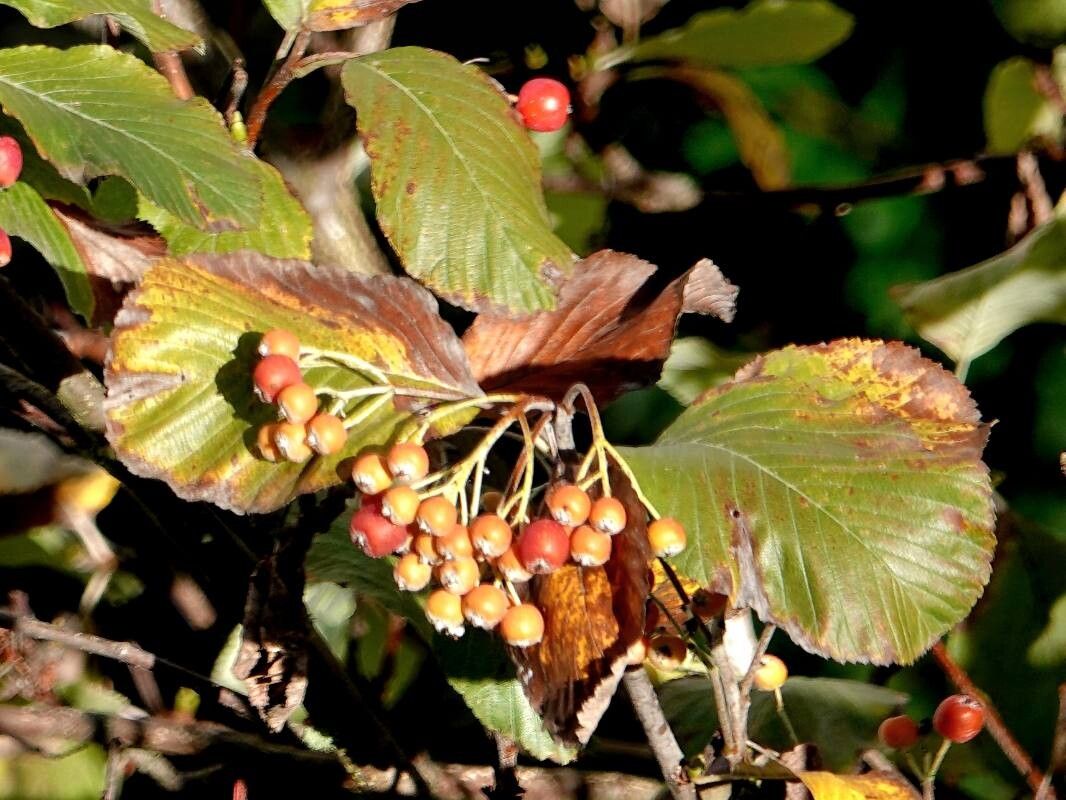
Hey there, fellow plant lovers! I’m so excited to talk about a true gem today: Karpatiosorbus latifolia. Have you seen those gorgeous, glossy leaves? It’s a plant that just radiates elegance, and honestly, watching a tiny cutting transform into a full-blown beauty is one of the most satisfying gardening experiences. Many folks think propagating tricky plants is best left to the pros, but I’m here to tell you that while Karpatiosorbus latifolia can be a little particular, it’s absolutely achievable. With a few key insights, you’ll be well on your way to a whole new generation of these stunning plants.
The Best Time to Start
For the highest success rate with Karpatiosorbus latifolia, I always recommend working with it during its active growing season. Think late spring into early summer. This is when the plant has ample energy reserves and is actively producing new growth, making it more receptive to taking root. Trying to propagate when it’s dormant is like asking someone to run a marathon after a long nap – it’s just not going to be as successful.
Supplies You’ll Need
Here’s what you’ll want to have on hand before you get your hands dirty:
- Sharp Pruning Shears or a Craft Knife: Cleanliness is critical here. Look for something that makes a clean cut, not a ragged tear.
- Rooting Hormone (Optional but Recommended): A good rooting hormone powder or gel can give your cuttings a significant boost, especially for Karpatiosorbus latifolia.
- Well-Draining Potting Mix: A blend of peat moss, perlite, and a bit of compost works wonderfully. You want it to hold moisture but not become waterlogged.
- Small Pots or Seedling Trays: Cleanliness is paramount here too!
- Clear Plastic Bag or Dome: To create a humid environment for your cuttings.
- Watering Can with a Gentle Rose: To avoid disturbing delicate roots.
- Rubbing Alcohol: For sterilizing your tools between cuts.
Propagation Methods
I’ve found the most reliable way to propagate Karpatiosorbus latifolia is through stem cuttings. It’s straightforward and offers a great chance of success if you’re patient.
Stem Cuttings
- Select Your Cuttings: During the active growing season, choose healthy, non-flowering stems that are about 4-6 inches long. Look for stems that are slightly firm but still flexible, not woody or super soft.
- Make the Cut: Using your sterilized shears or knife, make a clean cut just below a leaf node (the point where a leaf attaches to the stem). This is where roots are most likely to form.
- Prepare the Cutting: Gently remove the lower leaves, leaving just a couple at the top. This prevents them from rotting in the soil.
- Apply Rooting Hormone (If Using): Dip the cut end of the stem into your rooting hormone, tapping off any excess.
- Plant Your Cuttings: Fill your clean pots with your prepared potting mix. Make a small hole in the center with your finger or a pencil. Insert the cutting into the hole, ensuring the leaf nodes are below the soil surface. Gently firm the soil around the stem.
- Water Lightly: Water the soil gently so it’s moist but not soggy.
- Create Humidity: Cover the pot with a clear plastic bag, or use a plastic dome. Make sure the leaves aren’t touching the plastic if possible. You can use stakes to support the bag if needed. Place the pot in a bright location, but out of direct sunlight.
The “Secret Sauce” (Pro Tips)
Here are a couple of things I’ve learned over the years that can really make a difference:
- Bottom Heat is Your Friend: If you have a seedling heat mat, using it under your propagation pots provides consistent, gentle warmth to the roots. This encourages faster root development and significantly increases your success rate. Don’t let your cuttings cook, but a cozy bottom is a game-changer.
- Patience with the Leaves: If you’re attempting water propagation as a very early step (though I prefer soil for this one), make absolutely sure that no leaves are submerged in the water. Only the stem should be in contact, otherwise, those leaves will quickly rot and take your cutting down with them.
Aftercare & Troubleshooting
Once you start seeing new leaf growth or feel a gentle tug when you lightly wiggle the cutting, that’s a good sign roots are forming! Gradually acclimate your new plant to normal room humidity by opening the plastic bag a little more each day over a week or so. Continue to keep the soil consistently moist.
The most common issue you’ll encounter is rot. If your cutting turns mushy or develops black spots, it’s likely due to too much moisture or poor air circulation. Unfortunately, a rotten cutting rarely recovers. If you see a bit of wilting or yellowing leaves, check your watering first. Sometimes, it’s just a sign they’re a bit stressed.
A Little Encouragement
Propagating a new plant can feel like a leap of faith sometimes, but seeing those roots emerge and that first new leaf unfurl is pure magic. Don’t be discouraged if your first try isn’t perfect. Each attempt is a learning experience. Be patient with your little Karpatiosorbus latifolia cuttings, give them what they need, and enjoy the journey of bringing more beauty into your home. Happy propagating!
Resource: