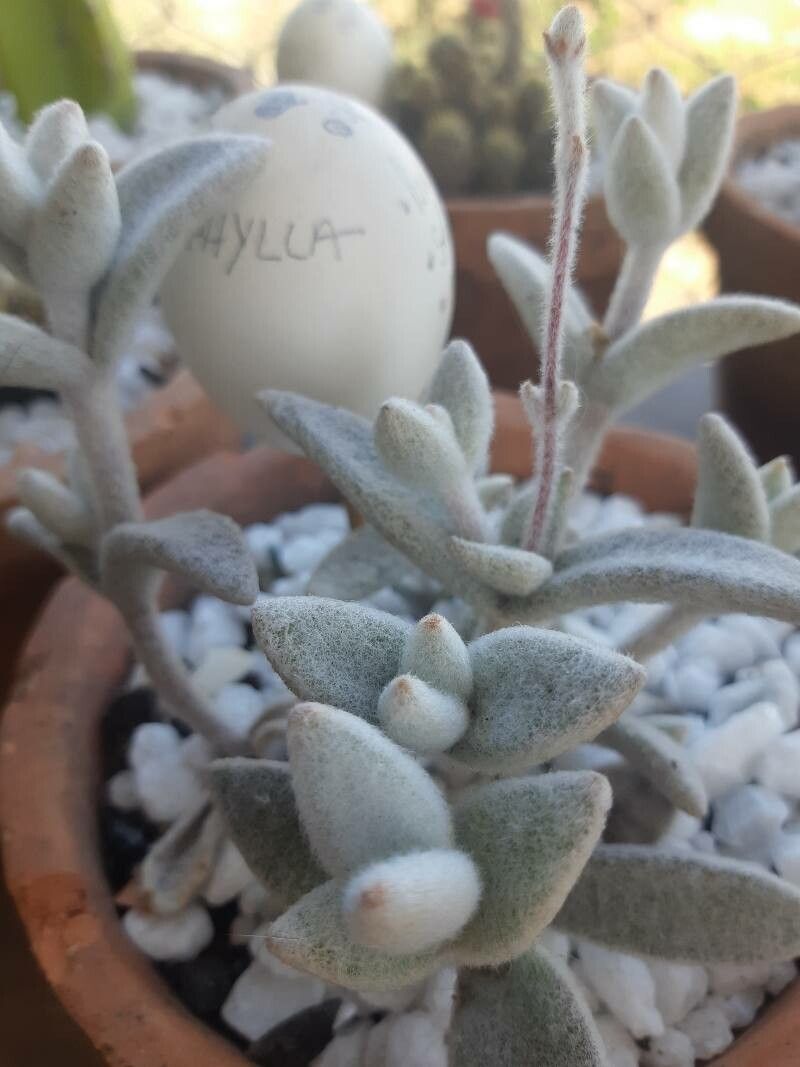
Hey there, fellow plant lovers! Today, I want to chat about one of my absolute favorite fuzzy beauties: Kalanchoe eriophylla, often called “Felt Bush” or “Flocked Kalanchoe.” If you’ve ever seen one of these with its soft, silvery-white, felt-like leaves, you know exactly what I mean. They’re just so delightfully tactile and add such a unique texture to any collection.
And the best part? Propagating them is surprisingly straightforward, even for those of you just starting to dip your toes into the world of plant babies. It’s incredibly rewarding to watch a tiny cutting transform into a thriving new plant.
The Best Time to Start
When it comes to propagation, timing is everything for a good strike. For Kalanchoe eriophylla, the prime time to get started is during its active growing season. Think late spring through summer. This is when the plant has plenty of energy to put into producing roots. Trying to propagate when it’s dormant in winter just won’t yield the same enthusiastic results.
Supplies You’ll Need
Before you dive in, let’s gather our tools. You don’t need a whole specialized setup, just a few key things:
- Sharp, clean pruning shears or a knife: Crucial for making clean cuts.
- A well-draining potting mix: I love a gritty succulent or cactus mix. You can also create your own by mixing equal parts potting soil, perlite, and coarse sand.
- Small pots or trays: Terracotta pots are great because they breathe.
- Rooting hormone (optional but helpful): Not strictly necessary for Kalanchoes, but it can give your cuttings a little boost.
- Watering can or spray bottle: For gentle watering.
- A sunny spot: But avoid direct, scorching sun, especially for newly rooted cuttings.
Propagation Methods
Kalanchoe eriophylla is a champion at reproducing, and you’ve got a couple of easy-peasy methods at your disposal.
Stem Cuttings
This is my go-to method, and it’s incredibly successful.
- Take your cuttings: With your clean shears, snip off sections of stem that are about 3-4 inches long. Look for healthy, non-flowering stems. You can even take multiple cuttings from one plant.
- Let them callous: This is a super important step for succulents. After you make your cut, let the cutting sit out on a counter for a day or two. You’ll notice the cut end dries up and forms a little scab. This prevents rot when you plant it.
- Plant your cuttings: Once calloused, insert the cut end of each stem into your prepared potting mix. Give them a gentle push so they stand upright.
- Water sparingly: Wait a few days after planting to water. Then, water lightly. You want the soil to be moist, not soggy. Overwatering at this stage is the quickest way to invite trouble.
Leaf Cuttings
While stem cuttings are my favorite, you can sometimes get lucky with leaves.
- Select healthy leaves: Gently twist or cut off a mature, healthy leaf from the stem.
- Allow to callous: Just like with stem cuttings, let the leaf sit out for a day or two until the cut end callouses over.
- Place on soil: Lay the calloused leaf on top of your well-draining potting mix. Don’t bury it! You can mist the soil very lightly every few days, just enough to keep it from drying out completely.
- Be patient: This method takes longer. You might see tiny plantlets or roots emerge from the calloused end.
The “Secret Sauce” (Pro Tips)
Here are a couple of things I’ve learned over the years that can really help your propagation efforts:
- Don’t touch the water (for leaf cuttings): If you’re experimenting with leaf propagation and using a tray, make sure the leaves themselves don’t sit in water. Roots will happily form in damp air, but soggy leaves are a fast track to mush.
- Bottom heat can be your friend: Especially if you’re propagating in cooler months or a drafty room, placing your pots on a gentle seedling heat mat can significantly speed up root development. Just a little warmth from below makes a big difference.
- Air circulation is key: Good airflow helps prevent fungal diseases. Avoid overcrowding your cuttings and if you have them in a propagation tray, consider leaving the lid slightly ajar or removing it periodically to let fresh air circulate.
Aftercare & Troubleshooting
Once you start seeing little roots emerging from the bottom of your pots or tiny plantlets forming, congratulations! You’re on your way.
- Gradual watering: Continue to water sparingly. Let the soil dry out a bit between waterings. As the plant grows and develops a stronger root system, you can increase watering slightly, but always err on the side of too little rather than too much.
- Light transition: When your cuttings seem securely rooted and are showing new growth, you can gradually introduce them to brighter light. Start with a few hours of bright, indirect sunlight and slowly increase exposure. Avoid harsh, direct sun, which can scorch new growth.
What if things go wrong? The most common culprit is rot. If you see your cuttings turning mushy, blackening, or just looking really sad and limp, it’s almost always from too much moisture. If you catch it early, you might be able to salvage a healthy section and try again, making sure to let it callous thoroughly and water much more cautiously.
A Little Patience Goes a Long Way
So, there you have it! Propagating Kalanchoe eriophylla is a rewarding journey, and with these tips, you’re well on your way to success. Remember to be patient; nature works at its own pace. Enjoy the process of nurturing these little ones into their own fuzzy glory. Happy gardening!
Resource: