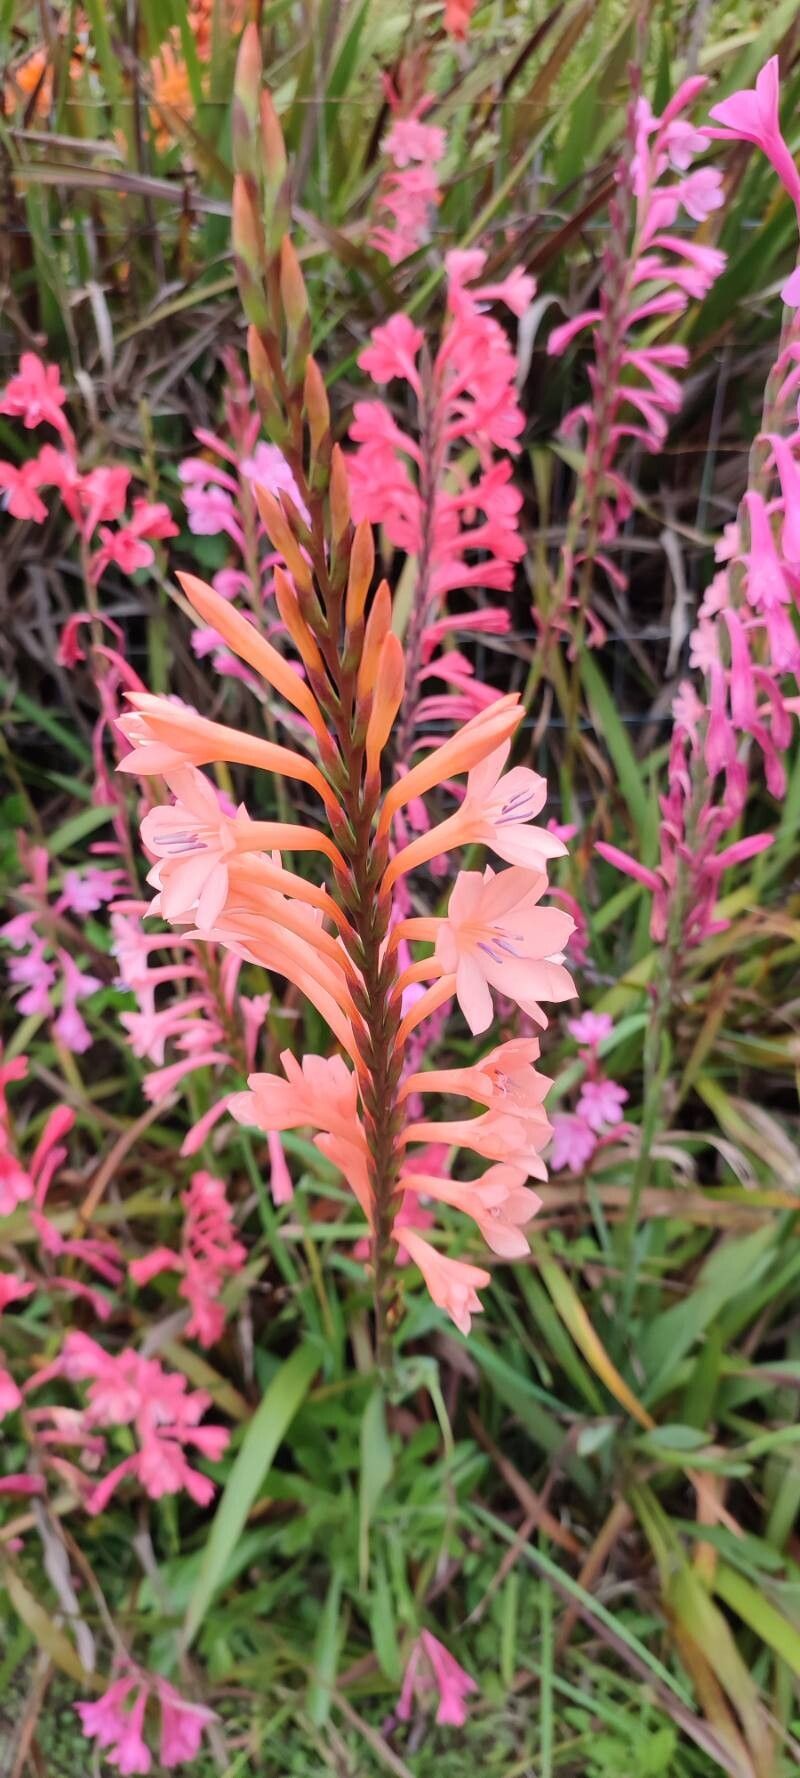
Oh, hello there! Pull up a chair and let’s chat about one of my absolute favorites – the Watsonia. You know, those elegant spikes of vibrant color that just sing in the garden from late spring through summer? They’re such stunners, and honestly, propagating them is an incredibly rewarding little project. If you’ve ever admired them and wished you had more, I’m here to tell you it’s quite doable! For beginners, it’s not the absolute easiest plant to start with, but with a little patience and a few pointers, you’ll be well on your way to success.
The Best Time to Start
The absolute sweet spot for propagating Watsonia borbonica is right after they’ve finished flowering and the foliage starts to yellow and die back. This usually happens in early to mid-summer. They’re done with their showy display and are naturally preparing to go dormant. This is when they’re channeling their energy underground, and it’s the perfect moment to divide those corms or take cuttings from the emerging offsets. Doing it too early can stress the plant when it’s still actively growing, or too late means you might miss the window before they go completely dormant.
Supplies You’ll Need
Gathering your tools beforehand makes the whole process so much smoother. Here’s what I recommend having on hand:
- Sharp pruning shears or a clean knife: For making clean cuts and lifting plants.
- Trowel: For gently digging.
- Well-draining potting mix: A blend of potting soil, perlite, and some coarse sand is ideal. You want water to drain away quickly.
- Rooting hormone powder (optional but recommended for cuttings): This gives your little propagations a helpful boost.
- Small pots or seed trays: With drainage holes, of course!
- Labels and a marker: To keep track of what you’ve planted and when.
- Watering can with a fine rose: For gentle watering.
Propagation Methods
Watsonia borbonica is best propagated through division of corms, and sometimes you can find small offsets that have grown from the parent corm. Stem cuttings aren’t typically the most reliable method for these specific plants, so we’ll focus on the underground treasures.
Division of Corms:
- Digging Up the Corms: In early to mid-summer, when the foliage is yellowing, carefully dig around the parent plant with your trowel or shovel. Gently lift the entire clump out of the soil.
- Cleaning Them Up: Gently shake off excess soil. You’ll see the main corm, and often, attached to its sides or base, are smaller cormels or offsets.
- Separating the Corms: Using your fingers or a clean knife, carefully separate the smaller cormels from the parent corm. Be gentle – you want to avoid damaging the tiny buds or the start of roots on the cormels. The parent corm can also be divided if it’s large and has multiple points of growth.
- Allowing Them to Dry (Optional but Recommended): For a day or two, let the cleaned corms sit in a warm, dry, and well-ventilated spot. This helps to heal any nicks or cuts and reduces the risk of rot when you replant them.
- Planting the Corms: Fill your pots or trays with your well-draining potting mix. Plant the corms about 2-4 inches deep, with the pointed end (where the shoot will emerge) facing upwards. Space them a few inches apart depending on their size.
- Watering Lightly: Water the newly planted corms gently. You want the soil to be moist but not waterlogged.
The “Secret Sauce” (Pro Tips)
Having done this a good few times, here are a couple of things that have made a real difference for me:
- Don’t let the parent corm sit out without a bit of a dry-off period. Even just a day or two in a warm, airy spot helps immensely in preventing any fungal issues when they’re replanted. It’s a small step but a significant one for success.
- Think about ventilation for your new pots. Once planted, place them in a spot where air can circulate freely. This is especially important if they’re in a greenhouse or a more confined area. Good airflow is your best friend against dampness-related problems.
- Resist the urge to water too much once they’re planted. Watsonias are quite forgiving if they dry out a little between waterings while dormant. Overwatering at this stage is the quickest way to invite rot. They’ll tell you when they’re ready to wake up in the fall with a bit of new green growth.
Aftercare & Troubleshooting
Once your corms are planted, the main thing is to keep them in a dry to moderately moist environment until you see signs of new growth in the autumn. Don’t expect much activity during the hottest part of summer.
The biggest concern you might encounter is rot. This usually shows up as a mushy, dark corm that smells unpleasant. If you see this, it’s best to discard that corm and check the soil moisture around its neighbors. If the soil is constantly wet, you’ll need to improve drainage or move the pots to a drier location.
When you spot those first brave green shoots appearing in the fall, you can then start watering them a little more regularly, but still, let the soil dry out slightly between waterings. As they grow, treat them just like you would a mature Watsonia, moving them to a larger pot or planting them out into the garden once they’re established.
A Encouraging Closing
Propagating Watsonia borbonica is a wonderful way to expand your collection and share these beauties with friends. It might feel a bit fiddly at first, but trust me, the joy of seeing those new plants emerge and eventually bloom is well worth the effort. Be patient, observe your plants, and enjoy the journey! Happy gardening!
Resource:
https://identify.plantnet.org/k-world-flora/species/Watsonia%20borbonica%20(Pourr.)%20Goldblatt/data