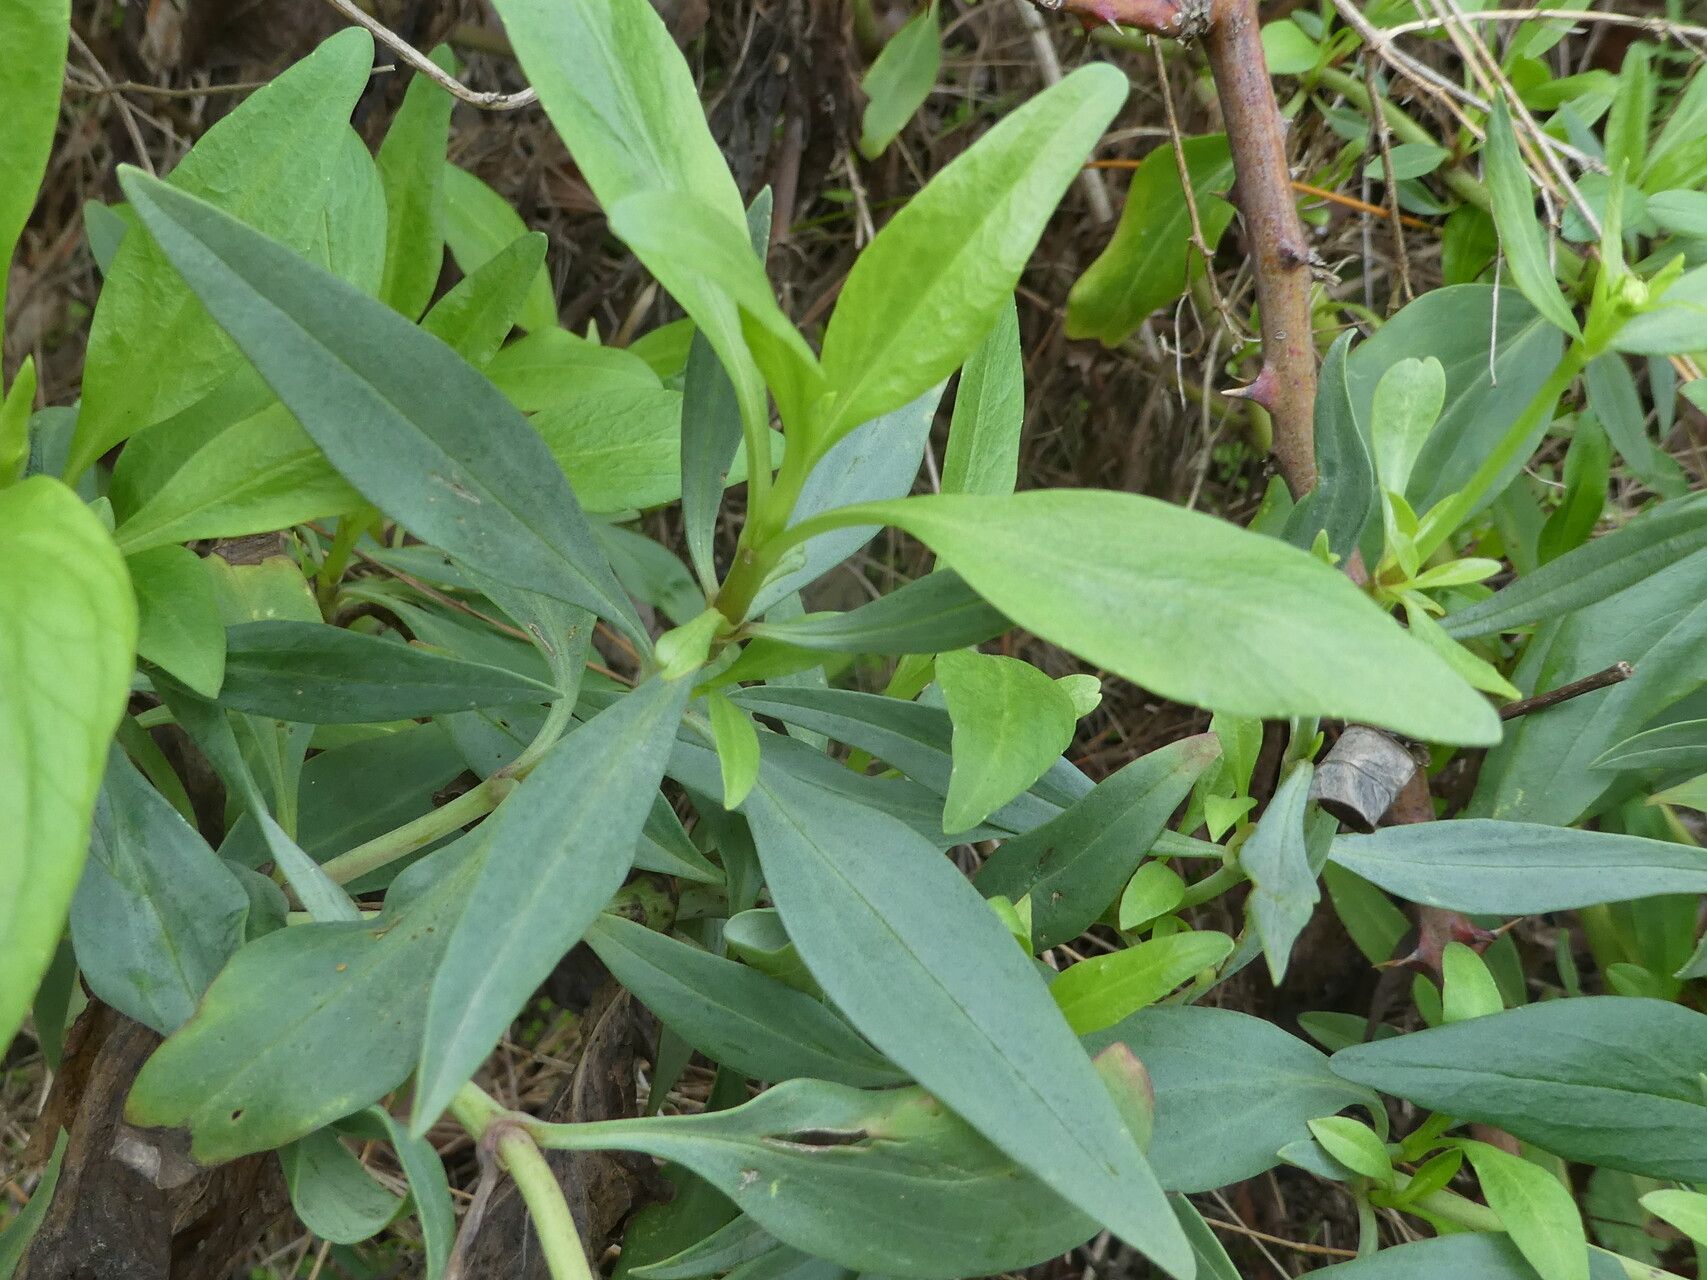
Hello fellow garden enthusiasts! I’m so excited to chat with you today about a truly lovely plant: Valeriana angustifolia, or narrow-leafed valerian. If you appreciate a plant that brings a delicate, airy charm to your garden, with fragrant little blooms that attract pollinators, you’ll adore this one. And the best part? Propagating it is a wonderfully rewarding endeavor. For many, Valeriana angustifolia is a beginner-friendly grower, making it a fantastic starting point for those looking to expand their plant collection without too much fuss.
The Best Time to Start
Timing is everything, right? For Valeriana angustifolia, early spring, just as new growth is emerging, is your golden ticket. This is when the plant is most vigorous and ready to send out those precious new shoots. You can also have success with cuttings taken in early summer, but the spring window generally offers the highest success rates.
Supplies You’ll Need
To get your Valeriana angustifolia propagation party started, gather these essentials:
- Sharp pruning shears or a clean knife: For taking precise stem cuttings.
- Small pots or seed trays: With good drainage holes, of course.
- Well-draining potting mix: I prefer a blend of equal parts peat moss, perlite, and a bit of compost. It keeps things light and airy for the roots.
- Rooting hormone (optional but recommended): This can give your cuttings a helpful boost.
- A plastic bag or propagator: To create a humid environment.
- Watering can with a fine rose: For gentle watering.
- Labels and a marker: To keep track of your efforts!
Propagation Methods
Let’s get our hands dirty! Stem cuttings are my go-to for Valeriana angustifolia, and they’re quite straightforward.
Stem Cuttings:
- Select your parent plant: Choose a healthy, non-flowering stem from your established Valeriana angustifolia.
- Take the cutting: Using your clean shears, cut a section about 4-6 inches long. Make this cut just below a leaf node (where a leaf attaches to the stem).
- Prepare the cutting: Gently remove the lower leaves from the bottom half of the cutting. You want to expose at least two leaf nodes to the rooting medium. You can even snip off the very tip of the cutting if it seems a bit leggy.
- Apply rooting hormone (optional): Dip the cut end into your rooting hormone. Tap off any excess.
- Plant your cutting: Fill your pots with your prepared potting mix. Make a small hole with a pencil or your finger, and firmly insert the cut end of the stem so that the exposed leaf nodes are just below the surface.
- Water gently: Water the soil thoroughly until it’s evenly moist but not waterlogged.
- Create humidity: Place the potted cuttings into a plastic bag or propagator. Seal it loosely, or poke a few small holes for ventilation. This traps moisture and keeps your cuttings from drying out.
The “Secret Sauce” (Pro Tips)
Here are a couple of tricks I’ve learned over the years that make a real difference:
- Don’t let the leaves touch the water: If you ever decide to try water propagation (though stem cuttings in soil are usually more reliable for Valeriana angustifolia), it’s crucial that no leaves are submerged. Leaves in water tend to rot, which will kill your cutting before it even has a chance to root. Always keep leaf tips above the waterline.
- Bottom heat is your friend: If you can, place your pots on a heat mat set to a low temperature (around 70-75°F or 21-24°C). This gentle warmth from below encourages root development and significantly speeds up the process. It’s like giving your little cuttings a cozy incubator!
Aftercare & Troubleshooting
Once you’ve planted your cuttings, place them in a bright location that receives indirect sunlight. Avoid direct sun, which can scorch those tender new shoots. Keep the soil consistently moist; you can check this by gently pressing your finger into the soil. If it feels dry, it’s time to water.
You’ll know your cuttings have started to root when you see new leaf growth or feel a gentle tug when you lightly pull on the stem. This usually takes 4-6 weeks. Once roots are established, you can gradually acclimate them to normal room conditions by opening the propagator vents or the plastic bag a little more each day.
If you encounter problems, the most common culprit is rot. This usually happens due to overwatering and poor air circulation. If you see mushy stems or leaves turning black, unfortunately, that cutting is likely lost. Don’t be discouraged! It just means you might need to adjust your watering schedule or ensure better airflow next time.
A Encouraging Closing
Propagating Valeriana angustifolia is such a rewarding experience. Seeing those tiny roots emerge and knowing you’ve helped a new plant come to life is incredibly satisfying. Be patient with your cuttings, enjoy the process of nurturing them, and soon you’ll have a whole new patch of fragrant, beautiful Valeriana to share with the bees and butterflies – and perhaps to give away to fellow garden lovers! Happy growing!
Resource:
https://identify.plantnet.org/k-world-flora/species/Valeriana%20angustifolia%20Mill./data