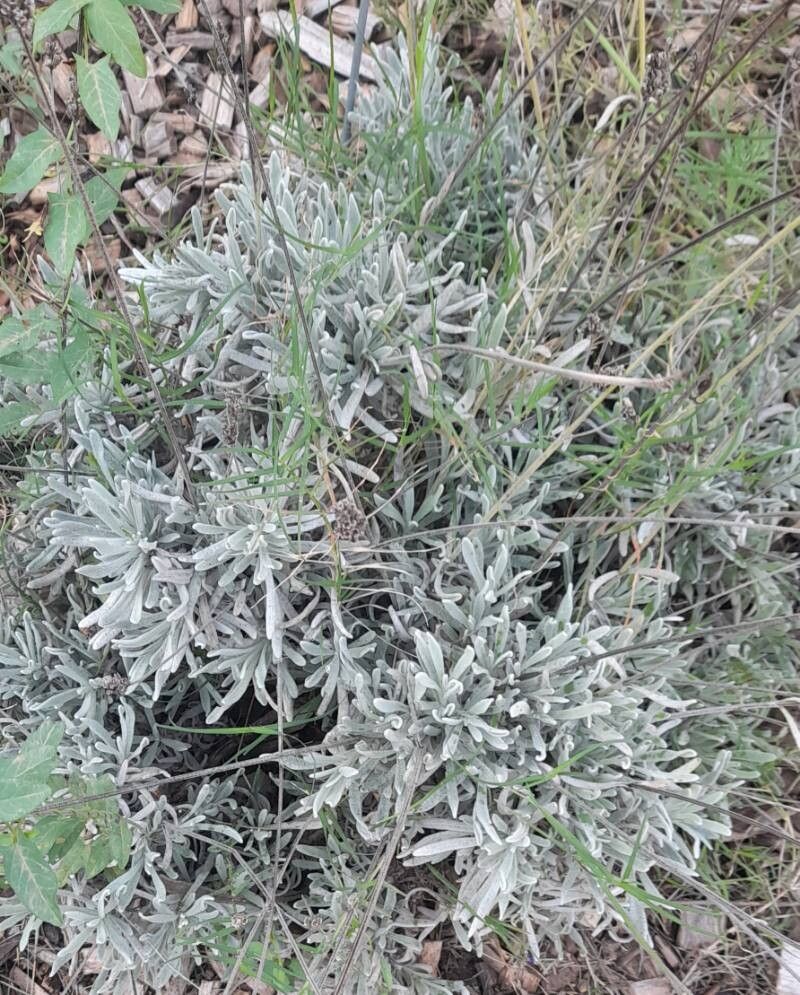
Oh, hello there! Come on in, grab a mug of something warm. We’re going to talk about one of my absolute favorite plants today: Lavandula lanata, or Woolly Lavender. If you’ve ever brushed past those silvery, fuzzy leaves and inhaled that intoxicating fragrance, you know exactly why it deserves a spot in our gardens. Propagating it yourself? Well, that’s where the real magic happens. It feels like giving a little piece of that beauty to yourself, and it’s incredibly rewarding. Now, for beginners asking if it’s a breeze, I’d say it’s a moderately easy plant to propagate. A little patience and a few key steps go a long way.
The Best Time to Start
When I’m looking to get more Woolly Lavender, I always aim for late spring or early summer, right after the main flush of flowering has passed. The plant is actively growing then, and those young, softwood stems are perfect for taking cuttings. Trying it too late in the season, when things start to cool down, can make it a bit trickier for roots to establish before winter.
Supplies You’ll Need
Here’s what I like to have on hand when I’m ready to get propagating:
- Sharp pruning shears or secateurs: Clean cuts are crucial.
- Rooting hormone powder or gel: This really gives your cuttings a boost. Look for one containing IBA (indole-3-butyric acid).
- A good potting mix: I usually mix equal parts perlite and peat moss, or use a specialized seed-starting or cutting mix. Good drainage is non-negotiable.
- Small pots or trays: About 3-4 inches deep is ideal. Make sure they have drainage holes.
- A plastic bag or clear propagation dome: To create a humid environment.
- A pen or marker: For labeling those precious cuttings!
- Watering can with a fine rose: For gentle watering.
Propagation Methods
The most reliable way I’ve found to propagate Lavandula lanata is through stem cuttings. It’s straightforward and gives you a high success rate.
- Take Your Cuttings: Head out to your Woolly Lavender and select young, healthy stems that are about 4-6 inches long. They should be somewhat flexible but not brand new, wispy growth. Cut just below a leaf node (the point where leaves emerge from the stem). This is where the rooting hormones are most effective.
- Prepare the Cuttings: Gently remove the leaves from the bottom half of the cutting. You want to leave just a few leaves at the very top to help with photosynthesis. If the remaining leaves are large, you can even cut them in half to reduce water loss.
- Apply Rooting Hormone: Dip the cut end of each stem into your rooting hormone, tapping off any excess.
- Pot Them Up: Make a hole in your prepared potting mix with a pencil or your finger. Gently insert the cutting, making sure the leaves aren’t buried. Firm the soil gently around the base of the cutting.
- Water Gently: Water thoroughly but carefully, ensuring the soil is moist but not waterlogged.
- Create Humidity: Cover the pots with a clear plastic bag or place them under a propagation dome. This traps moisture, which is vital for the cuttings. Make sure the plastic doesn’t touch the leaves if possible. Place them in a bright spot, but out of direct sunlight, which can scorch the delicate cuttings.
The “Secret Sauce” (Pro Tips)
Over the years, I’ve picked up a few tricks that seem to make a real difference:
- Cleanliness is Key: Always use sterilized tools and pots. Fungus and bacteria are the enemies of cuttings, and a clean start prevents a lot of headaches. A quick wipe with rubbing alcohol does wonders.
- Bottom Heat is Gold: If you have access to a propagation mat or a heating pad, placing your pots on it can significantly speed up root development. Lavender, like many Mediterranean plants, loves a little gentle warmth from below.
- Don’t Rush Watering: The compost should feel consistently moist but not soggy. Overwatering is a fast track to rot. I often check by gently pressing the soil – if it springs back, it’s likely okay. If it feels squishy, hold off.
Aftercare & Troubleshooting
Once you’ve potted up your cuttings, the wait begins! You should start to see new leaf growth or feel a gentle tug when you very cautiously test for resistance after about 3-6 weeks.
- Gradual Acclimation: As soon as you see signs of new growth, it’s time to gradually acclimate your new plants to the outside environment. Start by opening the bag or dome for a few hours each day, slowly increasing the time until they are fully exposed.
- Transplanting: Once they have a good root system (you might see roots poking out of the drainage holes), you can carefully transplant them into their own small pots with your regular potting mix.
- Signs of Trouble: The most common issue is rot, which usually shows up as a blackening or mushy stem base. This is almost always due to overwatering or poor drainage. If you spot this, unfortunately, that cutting is usually a goner. Another sign of failure is wilting that doesn’t perk up – this can mean the cutting is drying out too much.
There you have it! Propagating Lavandula lanata is such a satisfying endeavor. Don’t be discouraged if every single cutting doesn’t make it. Gardening is always a learning process, and each attempt teaches you something new. Just be patient, keep an eye on your little green babies, and enjoy the journey of growing your own fragrant, fuzzy lavender companions. Happy planting!
Resource:
https://identify.plantnet.org/k-world-flora/species/Lavandula%20lanata%20Boiss./data