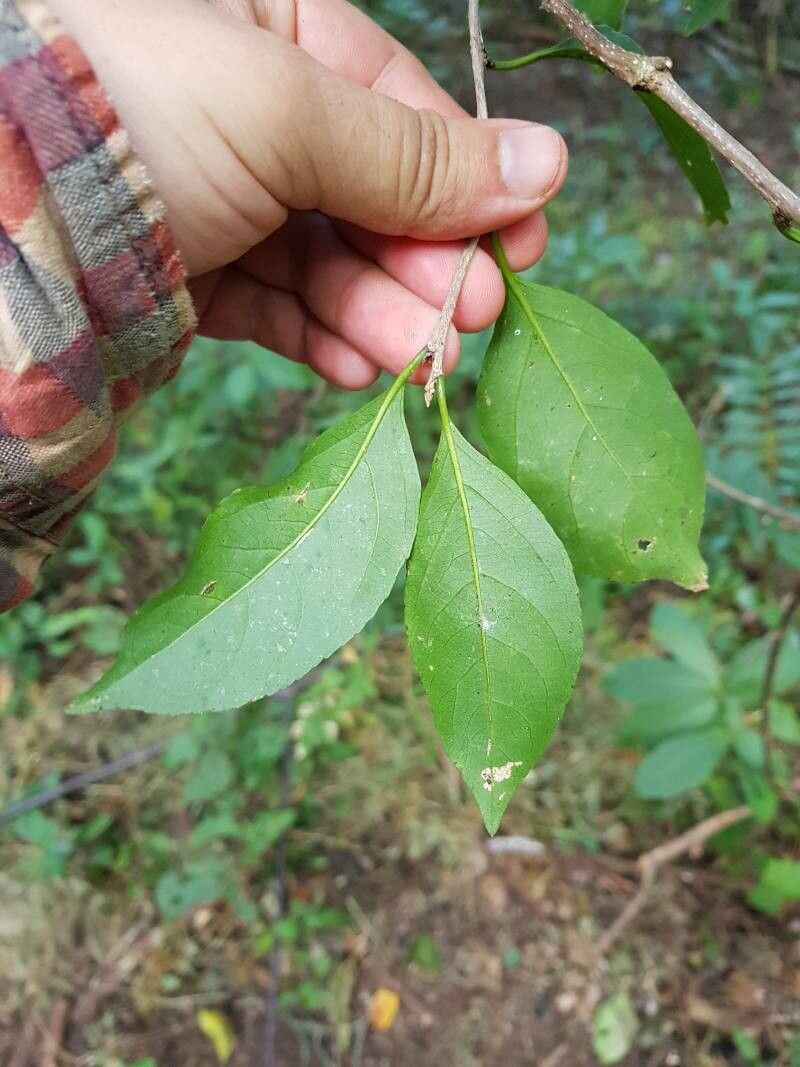
Hello, fellow plant lovers! I’m so delighted you’re here to chat about one of my absolute favorites: Casearia stjohnii. You know, that beautiful shrub with its glossy leaves and delicate, often fragrant blooms, adding such a wonderful touch of the tropics to any space. Growing it from seed can be a bit of a journey, but propagating it from cuttings? That’s where the real magic happens, and it’s incredibly rewarding to watch a little piece of your beloved plant take root and flourish. For beginners, I’d say Casearia stjohnii is moderately easy to propagate, but like anything, a little patience and the right technique go a long way!
The Best Time to Start
When it comes to a successful propagation, timing is everything. The ideal time to take cuttings from your Casearia stjohnii is during its active growing season. For most of us, this means late spring through to mid-summer. You’re looking for new, but not super soft, growth. Think of it as slightly woody, yet still pliable. This type of stem has plenty of stored energy to get things started. Avoid taking cuttings from old, woody stems or brand-new, floppy shoots.
Supplies You’ll Need
Before we get our hands dirty, let’s gather our tools. A little preparation makes the whole process go much smoother:
- Sharp Pruning Shears or a Knife: Cleanliness is key to prevent introducing diseases.
- Rooting Hormone (Optional but Recommended): A powder or gel helps encourage root development.
- Small Pots or Trays: About 3-4 inches in diameter are perfect. Make sure they have drainage holes!
- Well-Draining Potting Mix: I like a blend of equal parts peat moss, perlite, and a little bit of coarse sand.
- Clear Plastic Bags or a Small Greenhouse: To create a humid environment.
- Water: For misting and watering.
- Labeling Stakes: To keep track of your cuttings!
Propagation Methods
Here are my go-to methods for multiplying your Casearia stjohnii, focusing on the most reliable for this beauty.
Stem Cuttings
This is my favorite and usually the most successful method.
- Select Your Stems: Find those healthy, semi-hardwood stems we talked about.
- Make the Cut: Using your clean shears, cut a piece of stem about 4-6 inches long. Make your cut just below a leaf node (where a leaf attaches to the stem). This is where the magic happens for rooting.
- Prepare the Cutting: Gently remove the lower leaves. You want to leave just a couple of leaves at the top. If the remaining leaves are large, you can even cut them in half to reduce water loss.
- Apply Rooting Hormone: Dip the cut end into your rooting hormone, tapping off any excess.
- Potting Up: Fill your small pots with the moistened potting mix. Make a hole with your finger or a pencil and insert the cutting. Gently firm the soil around the stem.
- Create Humidity: Water lightly to settle the soil. Then, place the pot inside a clear plastic bag, creating a little mini-greenhouse. You can use stakes to keep the bag from touching the leaves. Alternatively, if you have a small propagation greenhouse, that works beautifully. Place it in a bright location, but out of direct sunlight.
Water Propagation (Use with Caution!)
While not my absolute favorite for Casearia, it can work for some.
- Select and Prepare: Follow steps 1-3 from Stem Cuttings.
- Place in Water: Instead of rooting hormone and soil, place the prepared cuttings in a jar or glass of clean water. Ensure that the leaf nodes are submerged, but try to keep the leaves themselves out of the water. This prevents them from rotting.
- Change Water Regularly: Refresh the water every few days to keep it clean and oxygenated.
- Wait for Roots: You should start to see tiny white roots forming over a few weeks. Once the roots are about an inch long, you can carefully transplant them into potting mix, following the steps for watering established cuttings.
The “Secret Sauce” (Pro Tips)
Here are a few things I’ve learned over the years that really make a difference:
- Bottom Heat is Your Friend: If you can, place your pots on a heated propagation mat. This gentle warmth from below encourages root development much faster than just warm air. It’s a game-changer!
- Don’t Be Afraid to Mist: Regularly lightly misting the leaves (especially if they’re enclosed in a plastic bag) helps keep them hydrated while they’re working on growing roots. Just a gentle spray is all it needs.
- Be Patient with Rooting Hormone Application: When using powder, a light coating is sufficient. If you use too much, it can actually inhibit rooting. A quick dip and tap is usually perfect.
Aftercare & Troubleshooting
Once your cuttings have developed a good root system (you’ll see roots emerging from the drainage holes or feel some gentle resistance when you tug lightly), it’s time for their next chapter.
- Gradual Acclimation: Slowly acclimate your new plants to normal conditions. Gradually open the plastic bag or greenhouse over a few days.
- Watering: Water thoroughly when the top inch of soil feels dry. Avoid overwatering, as this is the quickest way to invite root rot.
- Light: Continue to provide bright, indirect light.
- Troubleshooting: The main culprit to watch out for is rot. If your cuttings turn black and mushy, it’s usually a sign of too much moisture and not enough air circulation. Drooping or yellowing leaves can also indicate issues, often related to over or under-watering, or sometimes just the stress of propagation. Don’t be discouraged if some don’t make it; it’s part of the learning process!
Keep Growing!
Propagating your Casearia stjohnii is a wonderful way to extend the joy of this beautiful plant. Remember, nature works on its own schedule. Be patient, observe your cuttings closely, and celebrate each small success. Happy propagating, and may your gardens be ever full of life!
Resource:
https://identify.plantnet.org/k-world-flora/species/Casearia%20stjohnii%20I.M.Johnst./data