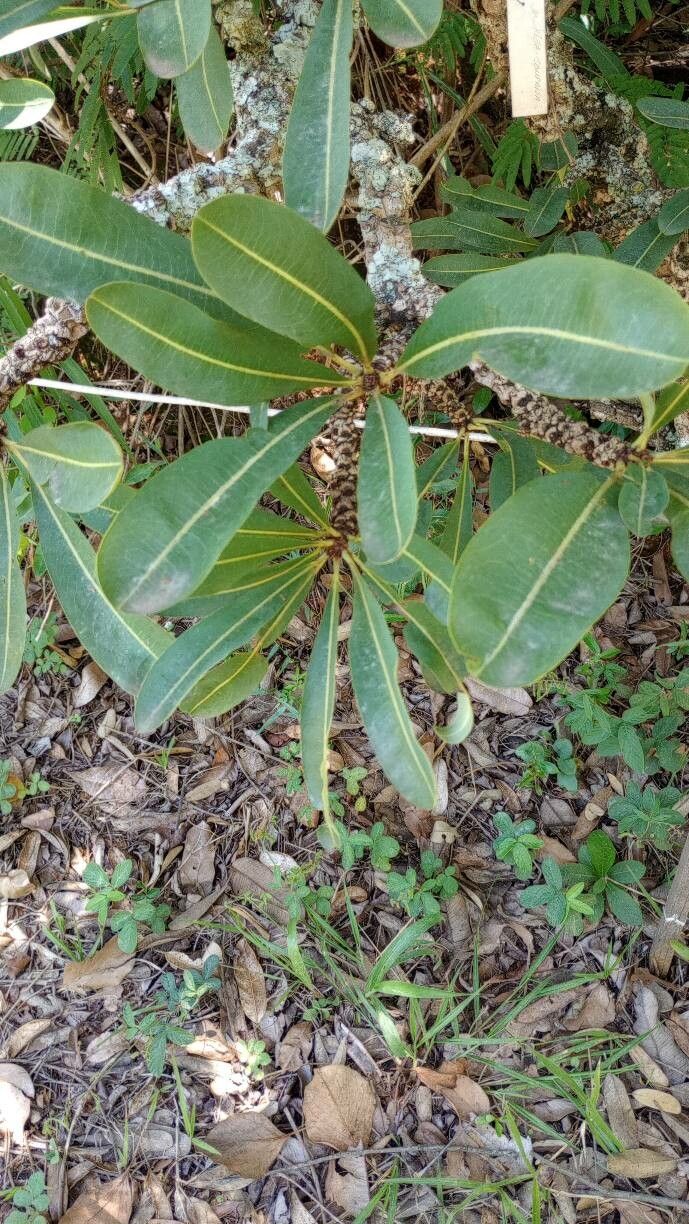
Oh, hello there, fellow plant enthusiast! It’s wonderful to be sharing a bit of my garden wisdom with you today. We’re diving into the fascinating world of Erythroxylum tortuosum, often called Coca-de-macho or sometimes just “tortuosum” for short. This plant, with its beautiful, often twisted stems and small, attractive berries, brings a unique tropical flair to any collection. It’s a real joy to watch one of these develop from a tiny cutting into a thriving specimen. If you’ve ever admired its sculptural form, you’ll find propagating it incredibly rewarding. Now, is it a beginner plant? Honestly, it can be a little fussy, but with a bit of care and patience, it’s absolutely achievable for even those with a budding green thumb.
The Best Time to Start
For the highest chance of success with Erythroxylum tortuosum, I’ve found that spring and early summer are your golden windows. This is when the plant is actively growing, or has just finished its main spring flush. You want to take cuttings from healthy, current-season growth that is semi-hardwood. This means it’s not so soft and green that it will easily rot, but not so old and woody that it struggles to form roots. Think of it as having the perfect balance of flexibility and structure.
Supplies You’ll Need
Gathering your tools before you begin is half the battle! Here’s what I always have on hand when I’m propagating:
- Sharp Pruning Shears or a Clean Knife: For making clean cuts. Sterilize them with rubbing alcohol first!
- Potting Mix: A well-draining, airy mix is crucial. I often use a blend of equal parts perlite, peat moss (or coco coir), and coarse sand. Some gardeners swear by a pre-made cactus/succulent mix with added perlite.
- Small Pots or Propagation Trays: Clean pots are a must to prevent disease.
- Rooting Hormone: While not always strictly necessary, it can significantly boost your success rate, especially with trickier plants like this. I prefer powdered forms.
- Clear Plastic Bag or Humidity Dome: To keep humidity high around your cuttings.
- Watering Can with a Fine Rose: For gentle watering.
- Optional: Heat Mat: This can be a game-changer for encouraging root development.
Propagation Methods
While Erythroxylum tortuosum can be a bit particular, propagating from stem cuttings is generally my go-to method. Here’s how I do it:
- Take Your Cuttings: In spring or early summer, select a healthy stem. Using your sterilized shears or knife, take a cutting that is 6-8 inches long. Make a clean cut just below a leaf node (where a leaf attaches to the stem). Remove the lower leaves, leaving just two or three at the top.
- Prepare the Cutting: Dip the cut end into your rooting hormone, tapping off any excess.
- Plant the Cutting: Fill your small pots with your well-draining potting mix. Make a hole in the center with a pencil or your finger. Gently insert the prepared cutting into the hole, ensuring the nodes you removed leaves from are below the soil surface. Firm the soil gently around the cutting.
- Create a Humid Environment: Water the soil thoroughly until it drains from the bottom. Then, place the pot inside a clear plastic bag and seal it, or cover it with a humidity dome. Make sure the leaves don’t touch the sides of the bag, as this can encourage rot.
- Find the Right Spot: Place your potted cutting in a bright, indirect light location. Avoid direct sun, which can scorch the tender cutting.
The “Secret Sauce” (Pro Tips)
Over the years, I’ve picked up a few tricks that seem to make all the difference:
- Bottom Heat is Your Friend: This is a big one, especially in cooler climates. Placing your pots on a gentle heat mat set to around 70-75°F (21-24°C) really encourages root development from below. It mimics the warmth of spring soil, jump-starting the process.
- Don’t Overwater, But Keep it Consistently Moist: This is a delicate balance. You want the soil to be consistently moist, but never waterlogged. Check the soil moisture by gently poking your finger in. If it feels dry, give it a gentle watering. The humidity in the bag will help reduce how often you need to water the soil directly.
- The “Bend Test”: After about 4-8 weeks, you can gently attempt to tug on the cutting. If you feel resistance, it means roots have formed! If it pulls out easily, it hasn’t rooted yet, or worse, it has rotted.
Aftercare & Troubleshooting
Once you feel that resistance and your cutting is showing new growth, it’s time to transition it. Gradually acclimate your new little plant to less humid conditions over a week or two. Remove the plastic bag or dome for longer periods each day. Continue to keep the soil consistently moist and in bright, indirect light.
The most common sign of failure is rot. If you see your cutting turning black and mushy, it’s usually a sign of too much moisture and not enough air circulation, or a lack of rooting hormone or sterile conditions. Unfortunately, once rot sets in deeply, it’s very difficult to save. Another sign is if the leaves start to yellow and drop, but the stem remains firm. This could indicate insufficient light or a need for slightly warmer temperatures. Don’t get discouraged if some cuttings don’t make it; it happens to the best of us! Just try again, perhaps adjusting your watering or humidity levels.
A Encouraging Closing
Propagating plants is as much an art as it is a science. It requires a bit of faith, a healthy dose of patience, and the willingness to observe and learn. Don’t be afraid to experiment! Each plant, and even each cutting, can be a little different. Most importantly, enjoy the process of nurturing new life. Seeing those tiny roots emerge is one of the most satisfying feelings for a gardener. Happy propagating!
Resource:
https://identify.plantnet.org/k-world-flora/species/Erythroxylum%20tortuosum%20Mart./data