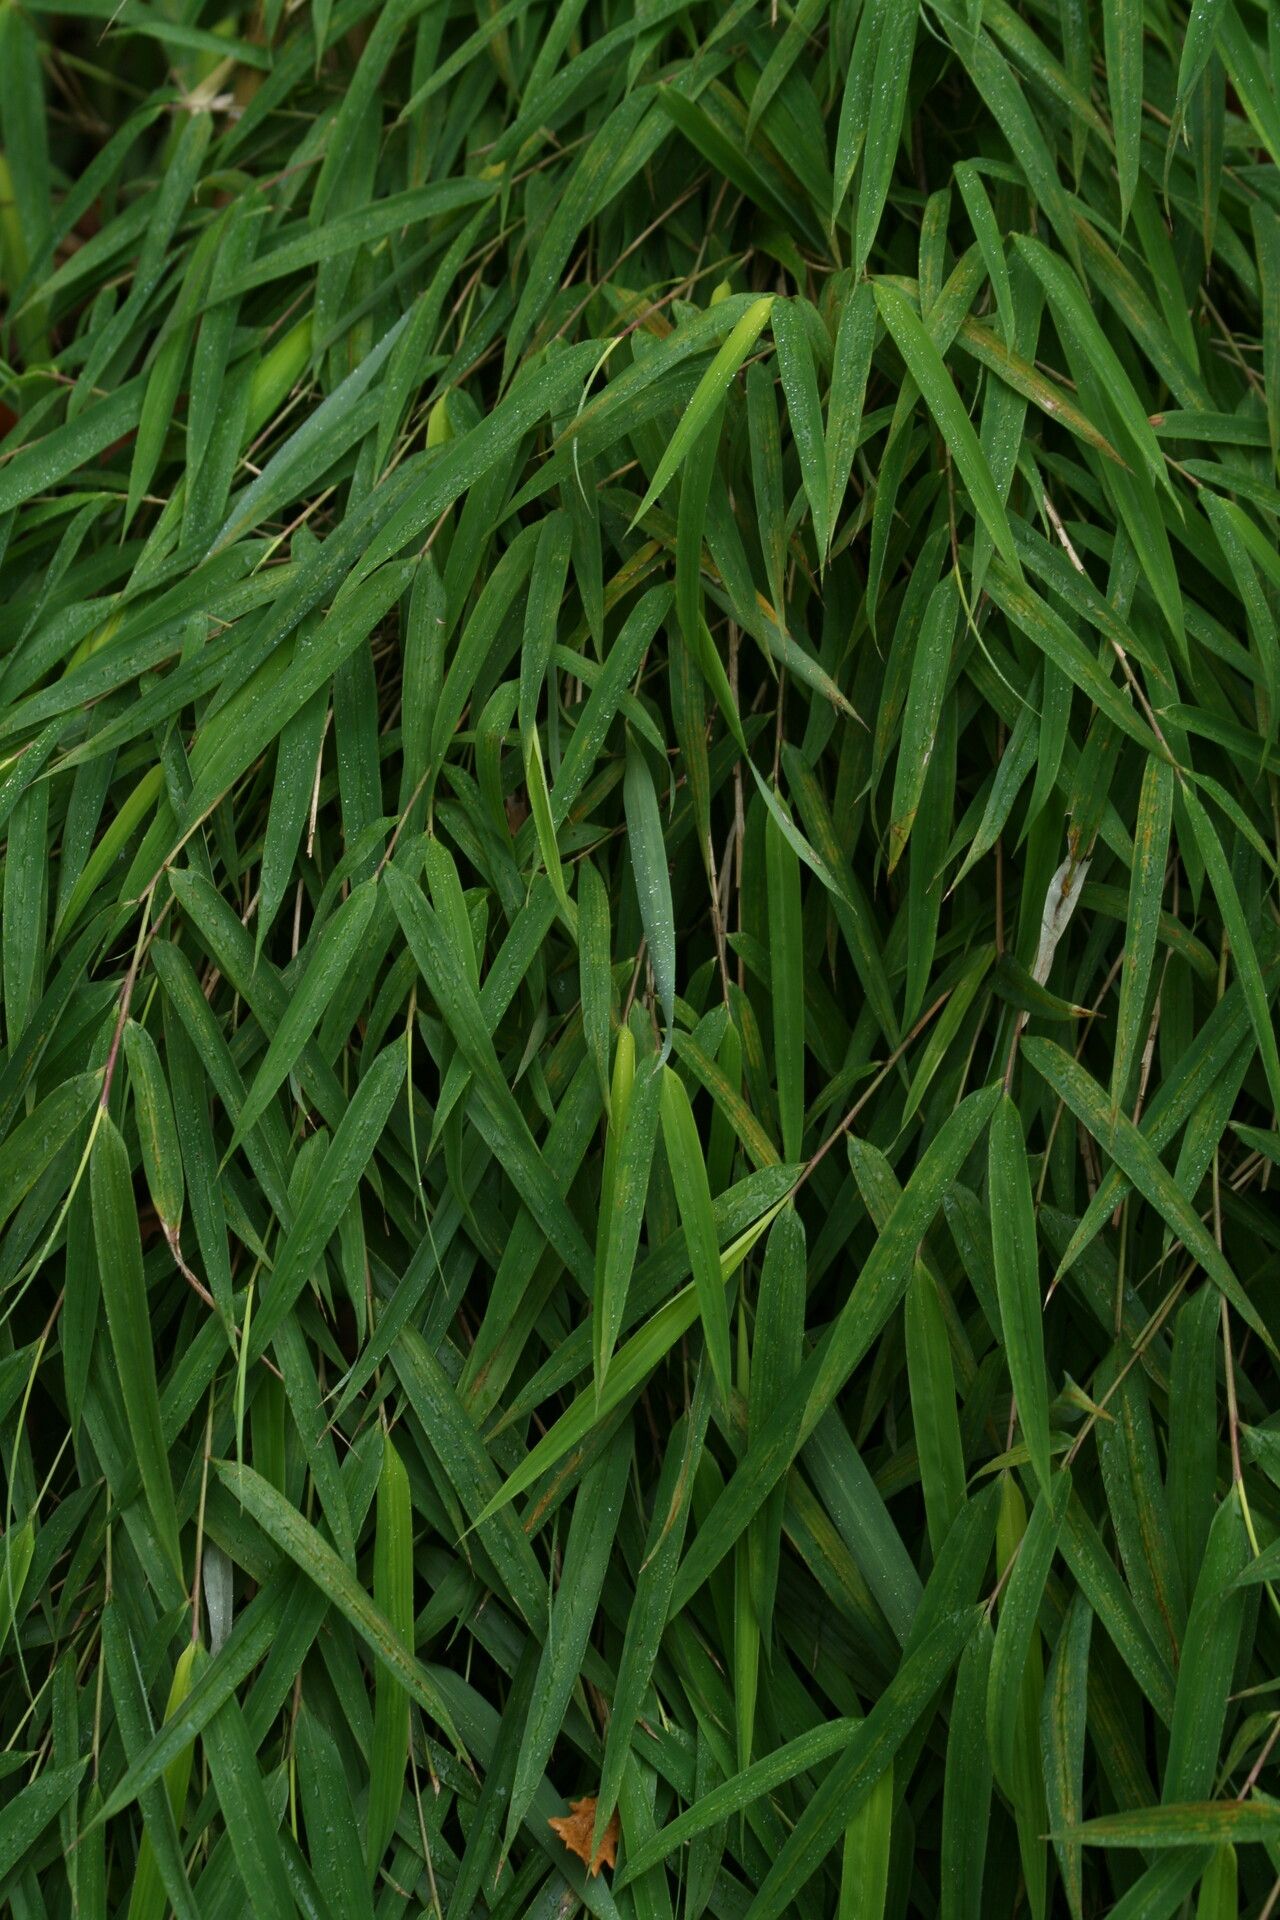
Hello, fellow garden enthusiasts! Today, we’re diving into the wonderful world of Yushania maling, a gorgeous bamboo that brings a touch of elegance and lushness to any space. Its graceful, arching culms and dense foliage create a serene atmosphere, and truthfully, the satisfaction of growing your own from scratch is truly something special.
Now, you might be wondering if Yushania maling is a tricky plant to propagate. For those just starting out, I’d say it’s a moderately easy plant. It requires a little attention to detail, but with a few key practices, you’ll be well on your way to success.
The Best Time to Start
For Yushania maling, I find the late spring to early summer is your sweet spot. Think of it as when the plant is truly waking up and has ample energy to put into new growth. This is when cuttings will have the best chance of rooting vigorously. You want to select pieces that are actively growing but not yet flowering if your plant does that.
Supplies You’ll Need
Gathering your supplies before you start makes the whole process so much smoother. Here’s what I always have on hand:
- Sharp Pruning Shears or a Knife: Clean cuts are crucial to prevent disease.
- Rooting Hormone (Optional but Recommended): This significantly boosts your success rate. Look for a powdered or gel form.
- Well-Draining Potting Mix: A good blend for me is about 50% peat moss and 50% perlite or coarse sand. Alternatively, a good quality potting soil mixed with perlite works well.
- Small Pots or Seed Trays: With drainage holes, of course!
- Plastic Bags or a Clear Dome: To create a humid environment.
- Watering Can or Spray Bottle: For gentle watering.
Propagation Methods
There are a few ways to go about propagating Yushania maling, but my favorite and most reliable for bamboo is stem cuttings and division.
Stem Cuttings
This is a fantastic way to get new plants from an established one.
- Select Your Cuttings: Look for healthy, semi-hardwood stems that are about pencil-thick. You want to take pieces that have at least two or three nodes (the little bumps where leaves emerge).
- Make the Cut: Using your sharp shears, make a clean cut just below a node. Then, make another cut about an inch or two above the top node. Remove all but the top one or two leaves. If the remaining leaves are large, I often cut them in half horizontally to reduce water loss.
- Apply Rooting Hormone: Dip the cut end of the stem into your rooting hormone, tapping off any excess.
- Plant Your Cuttings: Fill your small pots with your prepared, moistened potting mix. Make a hole in the center with your finger or a pencil and insert the cutting, ensuring the node where you applied the hormone is buried. Gently firm the soil around the stem.
- Create Humidity: Water the pot gently. Then, cover the pot with a plastic bag or a clear dome. You want to create a mini-greenhouse effect.
Division
If your Yushania maling has formed a dense clump, division is a wonderfully straightforward method.
- Dig Carefully: Gently dig around the perimeter of the clump with a spade. Try to disturb the roots as little as possible.
- Lift and Separate: Once you have it out of the ground or pot, you can often gently pull the root ball apart. For tougher clumps, you might need to use a clean, sharp spade or a knife to help separate sections.
- Ensure Each Division Has Roots and Shoots: Each new piece should have a healthy portion of roots and at least one or two visible shoots.
- Replant: Immediately replant your divisions in their new homes, whether that’s back into the original pot or a new spot in the garden. Water them thoroughly.
The “Secret Sauce” (Pro Tips)
Here are a few little tricks I’ve picked up over the years that make a big difference:
- Bottom Heat is Your Friend: For cuttings, placing your pots on a heat mat designed for seedlings can dramatically speed up root development. Think cozy soil for happy roots!
- Don’t Overwater: This is especially true for cuttings. While they need humidity, soggy soil is the fastest way to a rotted stem. Let the surface dry slightly between waterings, and make sure your pots have excellent drainage.
- Cleanliness is Key: Always use sterilized tools. Any dirt or bacteria can introduce diseases to your precious cuttings and lead to failure. I give my shears a quick wipe with rubbing alcohol between cuts.
Aftercare & Troubleshooting
Once your cuttings are potted, keep them in a bright, indirect light location. Avoid direct sun, which can scorch the delicate leaves. When you start to see new leaf growth emerging, that’s a great sign that roots are forming! You can gently tug on the cutting; if there’s resistance, it’s rooting.
Common issues? Rot is the biggest one. If your cutting looks mushy, black, or just wilts dramatically and won’t perk up, it’s likely rot. This is usually due to too much moisture or lack of airflow. If you catch it early, you might be able to salvage a section, but often it’s best to try again. For divisions, ensure they don’t dry out completely in the initial planting phase, but again, drainage is paramount.
A Encouraging Closing
Growing Yushania maling from cuttings or divisions is such a rewarding journey. Be patient with your new plants; sometimes it takes a few weeks or even months to see significant root development. Don’t get discouraged if a cutting doesn’t make it. Every gardener has had failures; it’s all part of the learning process. Enjoy the beauty of the plant and the satisfaction of nurturing it into a new life. Happy gardening!
Resource: