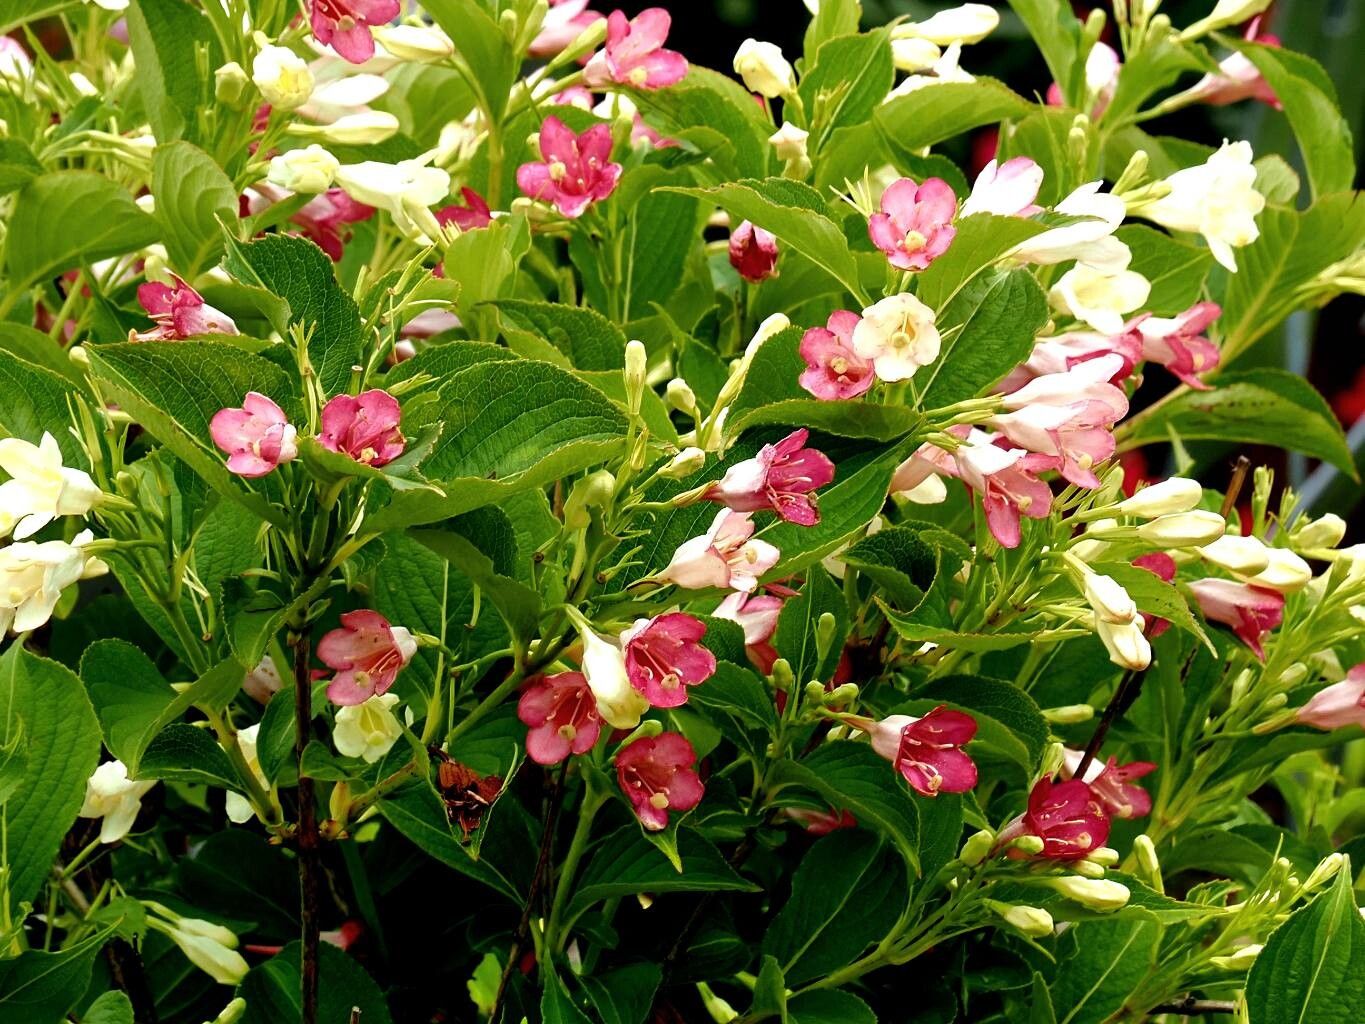
Oh, Weigela coraeensis! If you’re looking for a shrub that’s just bursting with charm, you’ve found a winner. Its delicate, trumpet-shaped blooms, often in shades of pink or white, are a absolute delight in late spring and early summer. Plus, the lovely fragrance is just the icing on the cake. Growing more of these beautiful plants from your existing ones is incredibly satisfying. Think of it as sharing a little bit of your garden’s magic with yourself! For those new to the gardening game, I’d say propagating Weigela is moderately easy. It takes a little attention to detail, but it’s far from out of reach for a beginner.
The Best Time to Start
For Weigela coraeensis, the sweet spot for taking cuttings is generally late spring to early summer, right after it finishes its main bloom. You want to be looking for new, semi-hardened growth. This means the stems are no longer floppy and green, but they haven’t turned completely woody and hard yet. This ‘greenwood’ stage has the best balance of flexibility and developing rooting potential.
Supplies You’ll Need
Here’s what you’ll want to have on hand:
- Sharp Pruning Shears or a Craft Knife: Make sure they’re clean! We don’t want to introduce any nasty little bugs or diseases.
- Rooting Hormone (Optional but Recommended): A powder or gel will give your cuttings a significant boost.
- Sterile Potting Mix: A mix designed for cuttings or seedlings, often containing peat moss or coco coir, works wonderfully. You can also mix your own with equal parts potting soil and perlite.
- Small Pots or a Propagation Tray: Clean pots with drainage holes are a must.
- A Clear Plastic Bag or Dome: To create a mini-greenhouse effect.
- Water: For misting.
- Labels and a Marker: So you remember what you planted where!
Propagation Methods
The most reliable way to propagate Weigela coraeensis at home is through stem cuttings. It’s a tried-and-true method that yields great results when done correctly.
- Gather Your Cuttings: Head out to your Weigela plant when it’s at the right growth stage (remember, semi-hardened wood). Look for healthy stems. Using your clean shears, take cuttings that are about 4 to 6 inches long. Make your cut just below a leaf node (where a leaf attaches to the stem).
- Prepare the Cuttings: Gently remove the leaves from the lower half to two-thirds of each cutting. You don’t want leaves to rot away in the soil. If the remaining leaves are very large, you can cut them in half horizontally to reduce water loss through transpiration.
- Apply Rooting Hormone: Dip the cut end of each stem into your rooting hormone, making sure it’s coated well. Tap off any excess.
- Plant Your Cuttings: Fill your small pots or propagation tray with your sterile potting mix. Make a hole in the center of each pot with a pencil or your finger.
- Insert and Firm: Gently place each prepared cutting into the hole, ensuring the rooting hormone is covered. Carefully firm the soil around the base of the cutting to ensure good contact. You want about half of the cutting to be below the soil line.
- Water Gently: Water your cuttings thoroughly but gently. You don’t want to dislodge them.
The “Secret Sauce” (Pro Tips)
Here are a couple of tricks I’ve learned over the years that really make a difference:
- Bottom Heat is Your Friend: If you can, place your pots on a propagation mat or in a warm spot. Warming the soil encourages the roots to develop much faster. It’s like giving them a cozy little bed to grow in.
- The “Tent” Trick for Humidity: Once planted, cover the pots with a clear plastic bag or propagation dome. This creates a humid environment inside, which is crucial for preventing the cuttings from drying out before they can root. Make sure no leaves are touching the plastic, as this can lead to rot. You might need to prop up the bag with small sticks.
Aftercare & Troubleshooting
Once your cuttings are planted, place them in a bright spot but out of direct, intense sunlight. Keep the soil consistently moist but not soggy. Mist the leaves occasionally if they look a bit stressed.
You’ll know your cuttings have rooted when you see new leaf growth and gentle resistance when you tug on the cutting. This can take anywhere from 4 to 8 weeks, so patience is key!
The most common issue you’ll encounter is rot, especially if the soil is too wet or the humidity is too high without enough air circulation. If you see a cutting looking mushy or developing black spots, it’s usually a sign of rot. Remove affected cuttings immediately to prevent it from spreading. Ensure good drainage and don’t overwater.
A Encouraging Closing
Don’t be discouraged if not every single cutting takes. Gardening is a journey, and learning from each attempt is part of the fun! Celebrate the successes, and keep trying. Soon enough, you’ll have a whole new collection of Weigela coraeensis to enjoy.Happy propagating!
Resource:
https://identify.plantnet.org/k-world-flora/species/Weigela%20coraeensis%20Thunb./data