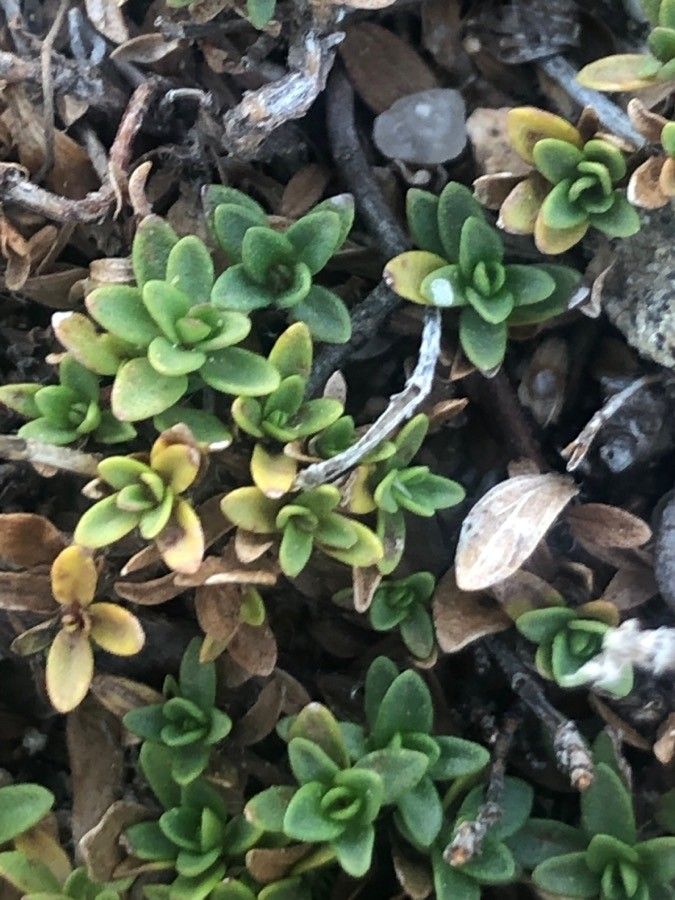
Oh, hello there! Come on in, grab a seat. I’ve got a fresh pot of coffee brewing. Today, we’re going to talk about a little gem that’s become a real favorite in my garden: Thymus bracteatus. You know, the one with those lovely pinkish-purple bracts that peek out from the foliage like tiny, delicate flags? It’s such a gorgeous addition, especially when it’s humming with happy pollinators.
Propagating it yourself is incredibly rewarding. Imagine filling your garden borders, herb spirals, or even just little pots on your patio with your very own plants! And the good news? For those of you just starting out on your plant-parenting journey, Thymus bracteatus is quite forgiving. You’ll likely have a lot of success with this one.
The Best Time to Start
My absolute favorite time to get started with Thymus bracteatus propagation is in the late spring or early summer. After the initial flush of growth in spring, the stems are usually firm but not too woody. This gives them a fantastic chance to root before the heat of high summer really kicks in, and it’s before the plant is putting all its energy into flowering. You can also try for a second round in late summer, but spring is my go-to.
Supplies You’ll Need
Don’t let a long list overwhelm you! You probably already have most of these around.
- Sharp, clean pruning shears or a sharp knife: For taking clean cuttings.
- A well-draining potting mix: I like to mix about 50% peat moss or coco coir with 50% perlite or coarse sand. This is crucial for preventing rot.
- Small pots or trays: Clean and with drainage holes, of course!
- Rooting hormone (optional but recommended): A powder or gel can really give your cuttings a boost.
- A mister or spray bottle: For keeping things humid.
- A plastic bag or propagation dome: To create a mini greenhouse effect.
Propagation Methods
My preferred method for Thymus bracteatus is taking stem cuttings. It’s reliable and you can get quite a few new plants from a single mother plant.
Stem Cuttings:
- Gather your cuttings: Select healthy, non-flowering stems from your mature Thymus bracteatus plant. You’re looking for stems that are about 3-4 inches long.
- Make the cut: Using your clean shears, take cuttings just below a leaf node (where a leaf attaches to the stem). Clean cuts are important to prevent disease.
- Prepare the cuttings: Gently remove the lower leaves from your cuttings. You want to leave just a few leaves at the very top. This helps the plant focus its energy on rooting, not on supporting a lot of foliage.
- Dip in rooting hormone (optional): If you’re using rooting hormone, dip the cut end of the stem into the powder or gel. Tap off any excess.
- Plant your cuttings: Fill your small pots or trays with your prepared potting mix. Make small holes in the soil with a pencil or your finger. Insert the cut end of each thyme cutting into the holes, ensuring the leaf nodes that you’ve bared are below the soil surface. Gently firm the soil around them.
- Water and cover: Water the soil thoroughly but gently. Then, cover the pots with a plastic bag, a propagation dome, or even place the tray inside a larger clear plastic bag. This creates a humid environment that cuttings love. Make sure the leaves aren’t touching the plastic if possible.
The “Secret Sauce” (Pro Tips)
Now, here are a couple of things I’ve learned over the years that can make a big difference:
- Don’t crowd your cuttings: Give each cutting a little breathing room in its pot or cell. If they’re all packed in too tightly, air circulation suffers, and that’s a fast track to fungal issues.
- Bottom heat is your friend: If you have a heating mat designed for seedlings, popping your pots on top of it can significantly speed up rooting. Thyme cuttings respond really well to a little warmth from below.
- Be patient with the prickles: Sometimes, tiny new shoots will appear long before you see roots. Don’t be fooled! The real test is gentle tugging. If there’s resistance, you’ve got roots!
Aftercare & Troubleshooting
Once your cuttings have taken, you’ll want to transition them gently.
- Gradual Acclimation: After about 3-4 weeks, or when you feel resistance when you gently tug a cutting, it’s time to start acclimating them. Gradually remove the plastic cover over a week or so, leaving it off for longer periods each day. This prevents the shock of moving from a humid environment to dry air.
- Watering: Continue to water gently, keeping the soil consistently moist but not waterlogged. Overwatering is the most common enemy of young cuttings.
- Light: Place your newly rooted cuttings in a bright spot, but out of direct, harsh sunlight. A filtered light from a window is perfect.
- Trouble Signs: The most common sign of failure is rot. If your cuttings turn black and mushy, or develop fuzzy gray mold, it’s usually a sign of too much moisture and not enough air circulation. If you see this, remove the affected cutting immediately and check your watering habits. Sometimes, a cutting just won’t make it, and that’s okay! It’s part of the process.
So there you have it! A straightforward way to multiply your beloved Thymus bracteatus. Don’t get discouraged if your first attempt isn’t perfect. Gardening is all about learning and experimenting. Just keep at it, enjoy the process, and before you know it, you’ll have a whole patch of this delightful herb to share. Happy planting!
Resource:
https://identify.plantnet.org/k-world-flora/species/Thymus%20bracteatus%20Lange%20ex%20Cutanda/data