Hello, fellow garden lovers! I’m so delighted you’re here to chat about one of my absolute favorite garden companions: Lobelia gibbosa. If you’re drawn to those delicate, often intensely blue flowers that dance in the breeze, you’re not alone. Getting more of these beauties into your garden is incredibly satisfying, and I’m here to share how I do it. Don’t worry, it’s not as daunting as it might sound!
Why Lobelia gibbosa is Worth Propagating
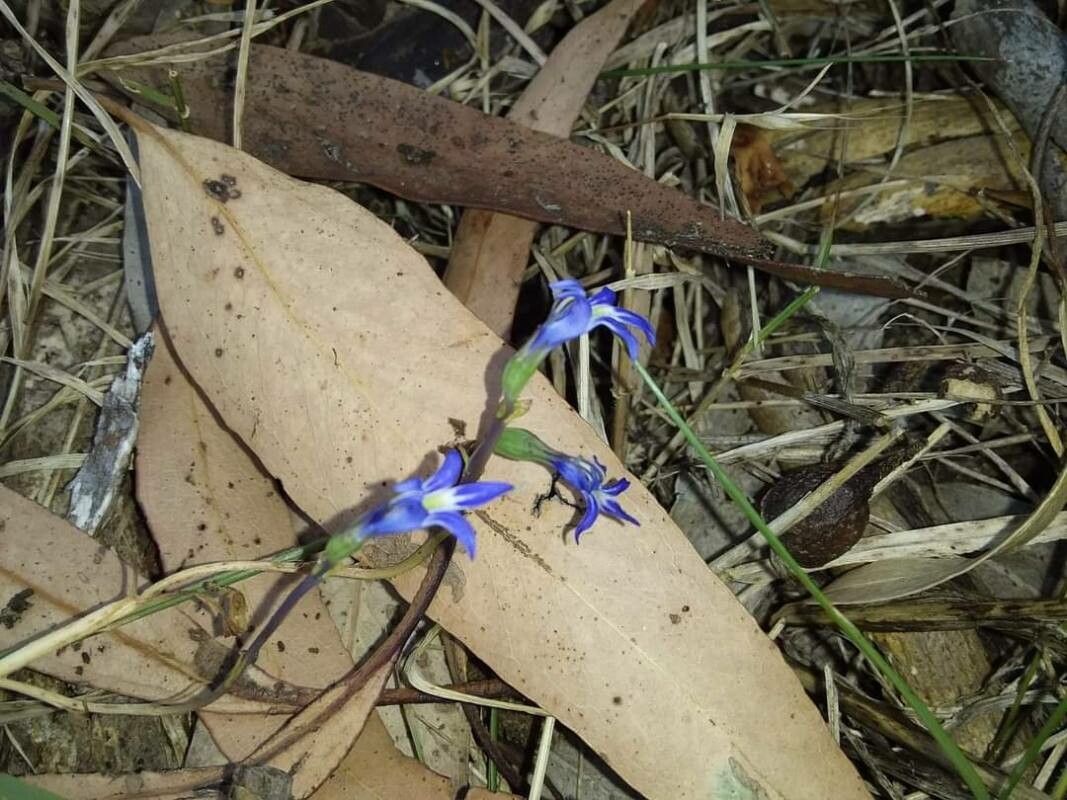
There’s something truly special about the airy, ethereal nature of Lobelia gibbosa. Its vibrant blooms can transform a dull corner into a focal point. Beyond just the aesthetic, propagating your own plants is immensely rewarding. You get to witness the miracle of new life from a parent plant you already cherish. For many gardeners, Lobelia gibbosa can be a moderately easy plant to propagate, making it a wonderful project for those looking to expand their propagation skills beyond the absolute beginner stage.
The Best Time to Start
My go-to time for propagating Lobelia gibbosa is late spring to early summer. This is when the plant is actively growing and has plenty of energy for producing new shoots. Waiting until after the first flush of bloom is a good indicator that the plant is strong and ready to be a parent.
Supplies You’ll Need
Before we get our hands dirty, let’s gather our tools:
- Sharp pruning shears or a clean knife: For making precise cuts.
- Seed-starting mix or a light, well-draining potting mix: Something that retains a bit of moisture but doesn’t stay soggy.
- Small pots or seedling trays: With drainage holes, of course!
- Rooting hormone (optional but recommended): A powder or gel to give cuttings a helpful boost.
- Plastic bags or a propagator lid: To create a humid environment.
- Watering can with a fine rose: For gentle watering.
- Labels and a marker: To keep track of your precious new plants!
Propagation Methods: My Preferred Approach
While division is an option for some lobelias, for Lobelia gibbosa, I’ve found the most success with stem cuttings. It’s straightforward and yields fantastic results.
Step 1: Take Your Cuttings
Gently select healthy, non-flowering stems from your mature plant. I aim for stems that are about 4-6 inches long. Using your sharp shears or knife, make a clean cut just below a leaf node (where the leaves attach to the stem). This is a crucial spot for root development.
Step 2: Prepare Your Cuttings
Carefully remove the lower leaves from the bottom half of each cutting. You want to expose the nodes where roots will emerge. If the remaining leaves are very large, you can gently snip them in half to reduce water loss through transpiration.
Step 3: Apply Rooting Hormone (If Using)
Dip the cut end of each prepared stem into your rooting hormone. Tap off any excess. This is like giving your cutting a little superpower to encourage root growth.
Step 4: Plant Your Cuttings
Moisten your prepared potting mix. Then, make small holes in the mix with a pencil or your finger. Insert the cut end of each cutting into a hole, ensuring at least one node is below the surface of the soil. Gently firm the soil around the base of each cutting.
Step 5: Create a Humid Environment
Water the soil very gently. Then, cover the pots or trays with a plastic bag or a propagator lid. This creates a mini-greenhouse, keeping the humidity high which is vital for cuttings to root without drying out. Place them in a bright spot, but out of direct, harsh sunlight.
The “Secret Sauce” (Pro Tips)
Now, for a couple of my personal tricks that often make a difference:
- Don’t Let Leaves Touch the Water: If you ever try water propagation (which I sometimes do for some plants, but not typically my preferred method for Lobelia gibbosa), ensure the leaves are well above the water level. Leaves submerged in water will rot and can take your cutting down with them.
- Bottom Heat is Your Friend: While not absolutely necessary for Lobelia gibbosa, placing your propagation tray on a gentle heat mat can significantly speed up root formation. It mimics the warmth of the soil in spring and encourages those roots to get going. Just ensure the mat isn’t too hot.
Aftercare & Troubleshooting
Once your cuttings have rooted – you’ll usually see new leaf growth within a few weeks – it’s time for slightly different care.
Caring for New Plants:
Gradually acclimatize your new seedlings to normal conditions by opening the plastic bag or propagator lid for increasing amounts of time each day. Once they feel sturdy and have a good root system, you can transplant them into their own small pots. Continue to keep them well-watered but not waterlogged.
Troubleshooting:
The most common culprit for failed cuttings is rot. This happens when the cuttings are too wet and not getting enough air circulation, or if the soil mix is too dense. If you see wilting, yellowing leaves, or soggy stems, it’s usually a sign of too much moisture. Remove any rotting cuttings immediately to prevent it from spreading. If your cuttings are drying out completely, it means your humidity isn’t high enough, or they’re in too much sun.
Keep Going and Enjoy the Process!
Propagating plants is a journey, and like any good journey, there might be a few bumps along the way. Don’t be discouraged if every single cutting doesn’t make it. The satisfaction of nurturing a new plant from a tiny piece of its parent is truly unparalleled. Be patient, observe your cuttings closely, and celebrate every little new leaf that unfurls. Happy growing!
Resource:
https://identify.plantnet.org/k-world-flora/species/Lobelia%20gibbosa%20Labill./data