Oh, hello there! Come on in, pull up a chair. I’ve just brewed some fresh coffee. Today, we’re going to chat about a particularly charming hydrangea: Hydrangea bifida.
A Whisper of White: Why Propagating Hydrangea bifida is a Triumph
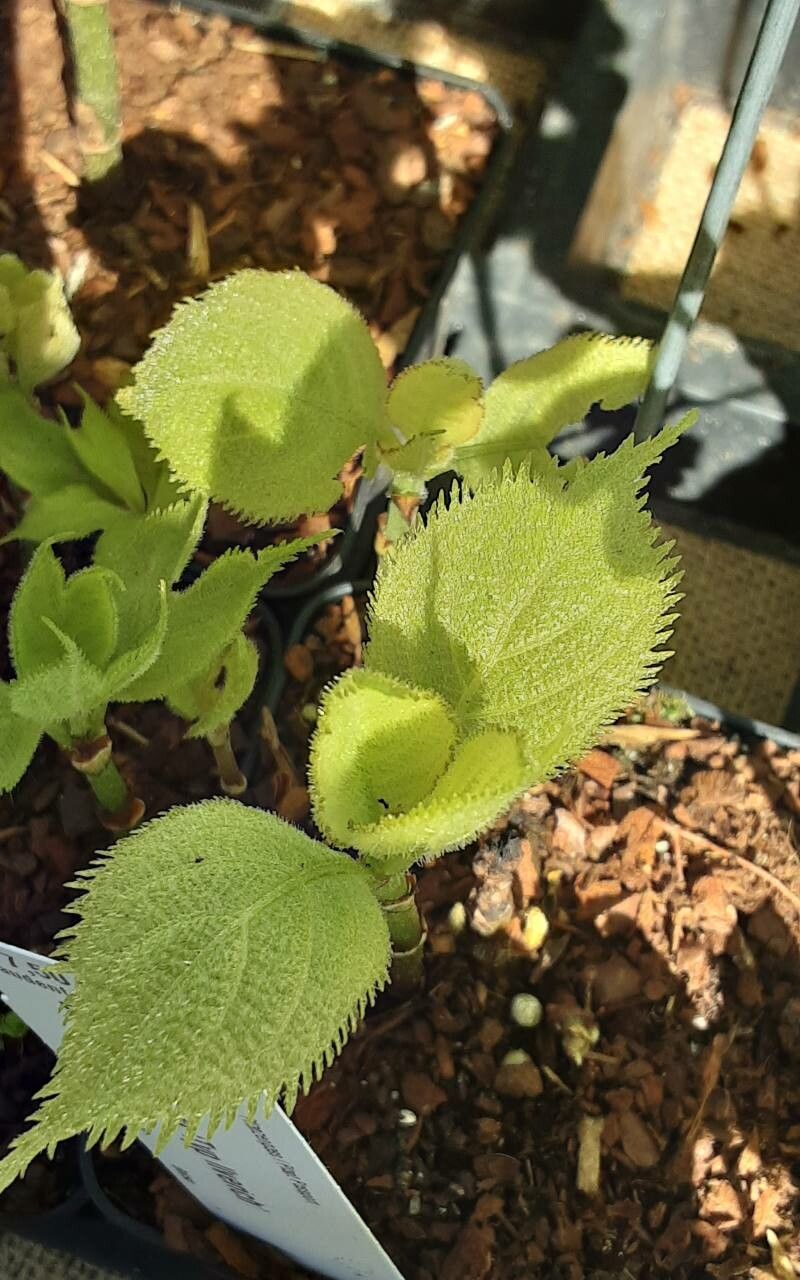
There’s something truly special about Hydrangea bifida. With its delicate, lacecap-like blooms, it’s a vision of understated elegance in any garden. And the joy of taking a little piece of that beauty and coaxing it into a brand-new plant? Well, that’s a feeling that never gets old, even after two decades! For those of you dipping your toes into the wonderful world of plant propagation, Hydrangea bifida is a moderately challenging but incredibly rewarding plant to try. It’s not as straightforward as, say, a pothos, but with a little patience and careful attention, you’ll likely be successful.
When to Get Your Hands Dirty
Timing is everything, isn’t it? For Hydrangea bifida, the absolute best time to take cuttings is in early to mid-summer. Look for stems that have flowered but are still flexible and green, not woody. This is when the plant has plenty of energy to fuel new growth and root development. Avoid taking cuttings too early in spring when the plant is just waking up, or too late in fall when it’s winding down for the season.
Your Propagation Toolkit
Gathering your supplies is half the battle, and it makes the whole process much smoother. Here’s what I typically have on hand:
- Sharp Pruning Shears or a Knife: For clean cuts, which are crucial for preventing disease and encouraging rooting.
- Rooting Hormone: A powder or gel that significantly increases your chances of success.
- Well-Draining Potting Mix: A good blend is often equal parts peat moss or coco coir, perlite, and a little bit of compost. This prevents waterlogged soil.
- Small Pots or Seedling Trays: Clean pots are a must!
- Plastic Bags or a Clear Dome: To create a humid environment for your cuttings.
- Watering Can with a Fine Rose: Gentle watering is key.
- Labels: To keep track of what you’ve planted and when!
The Art of the Cutting: Stem Propagation
This is my go-to method for Hydrangea bifida. It’s reliable and yields multiple new plants from a single parent.
- Select Your Stems: Head out to your Hydrangea bifida when it’s in that early to mid-summer sweet spot. Choose healthy, non-flowering stems from the current year’s growth. You’re looking for stems that are pencil-thick and still bendy.
- Make the Cuts: Using your sharp pruners, cut stems into sections about 4-6 inches long. Try to make the bottom cut just below a leaf node (where the leaves attach to the stem). This is where the magic of rooting often happens.
- Prepare the Cuttings: Gently remove the lower leaves from your cuttings, leaving just one or two pairs of leaves at the top. This reduces water loss through transpiration. If the remaining leaves are very large, you can snip them in half.
- Dip in Rooting Hormone: Dip the cut end of each stem into your chosen rooting hormone, tapping off any excess. This step is a real booster!
- Pot Them Up: Fill your pots with your well-draining potting mix. Make a hole in the center of each pot with a pencil or your finger. Insert the prepared cuttings into the holes, making sure the nodes with the removed leaves are buried in the soil. Gently firm the soil around the base of each cutting.
- Water Gently: Water your newly potted cuttings thoroughly but gently. Ensure the soil is moist but not soggy.
- Create Humidity: This is vital! Place the pots in a plastic bag (forming a little tent over them) or cover them with a clear dome. This traps moisture and creates the humid environment cuttings crave. Keep them out of direct sunlight, as this can scorch them.
The “Downtime” (Shh, It’s the Secret Sauce!)
Now, here are a few of my tried-and-true tricks that make all the difference:
- Don’t Let the Leaves Touch the Water (if you try water propagation, which I do sometimes!): If you ever opt for just sticking cuttings in water (less reliable for hydrangeas, but can work), never let the leaves sit in the water. They’ll rot, and your cutting will be done for. Always remove lower leaves to ensure only the stem is submerged.
- Bottom Heat is Your Best Friend: If you have a heat mat, popping your pots onto it can significantly speed up root development. It mimics that lovely warmth of spring soil and really encourages those roots to get going.
- Mist, Mist, Mist (but not too much): While the plastic bag or dome creates humidity, if you notice the inside of the bag looking dry, give the cuttings and soil a light misting with your spray bottle. But be careful not to overdo it; we don’t want mould to set in.
Waiting Game and What to Do
Here’s the exciting part: patience! It can take anywhere from 4 to 8 weeks, sometimes longer, for your Hydrangea bifida cuttings to develop roots. You can gently tug on a cutting to feel for resistance. If it feels firm and doesn’t wiggle easily, that’s a good sign of roots!
Once you see good root development, it’s time to gradually introduce them to less humid conditions. Slowly open the plastic bag a little each day over a week, or lift the dome for increasing periods. Once they’re used to it, you can transplant them into individual, slightly larger pots with their regular potting mix. Continue to keep them out of harsh direct sun until they look well-established.
Troubleshooting: The most common issue you’ll encounter is rot. If a cutting turns black and mushy, it’s likely succumbed to rot. This is usually a sign of overwatering, poor drainage, or not enough airflow. Don’t be discouraged; just try again with a fresh cutting and adjust your watering and ventilation. Another sign of failure is a cutting that shrivels and dries out completely, often because the humidity wasn’t high enough or it was placed in too much sun.
Go Forth and Grow!
Propagating Hydrangea bifida is a journey, and like all good gardening adventures, it involves a bit of trial and error. Don’t be disheartened if your first attempts aren’t perfect. Each season is a new opportunity to learn and refine your technique. Enjoy the process, celebrate every tiny root that appears, and soon you’ll have a whole new generation of these beautiful hydrangeas gracing your garden. Happy propagating!
Resource: