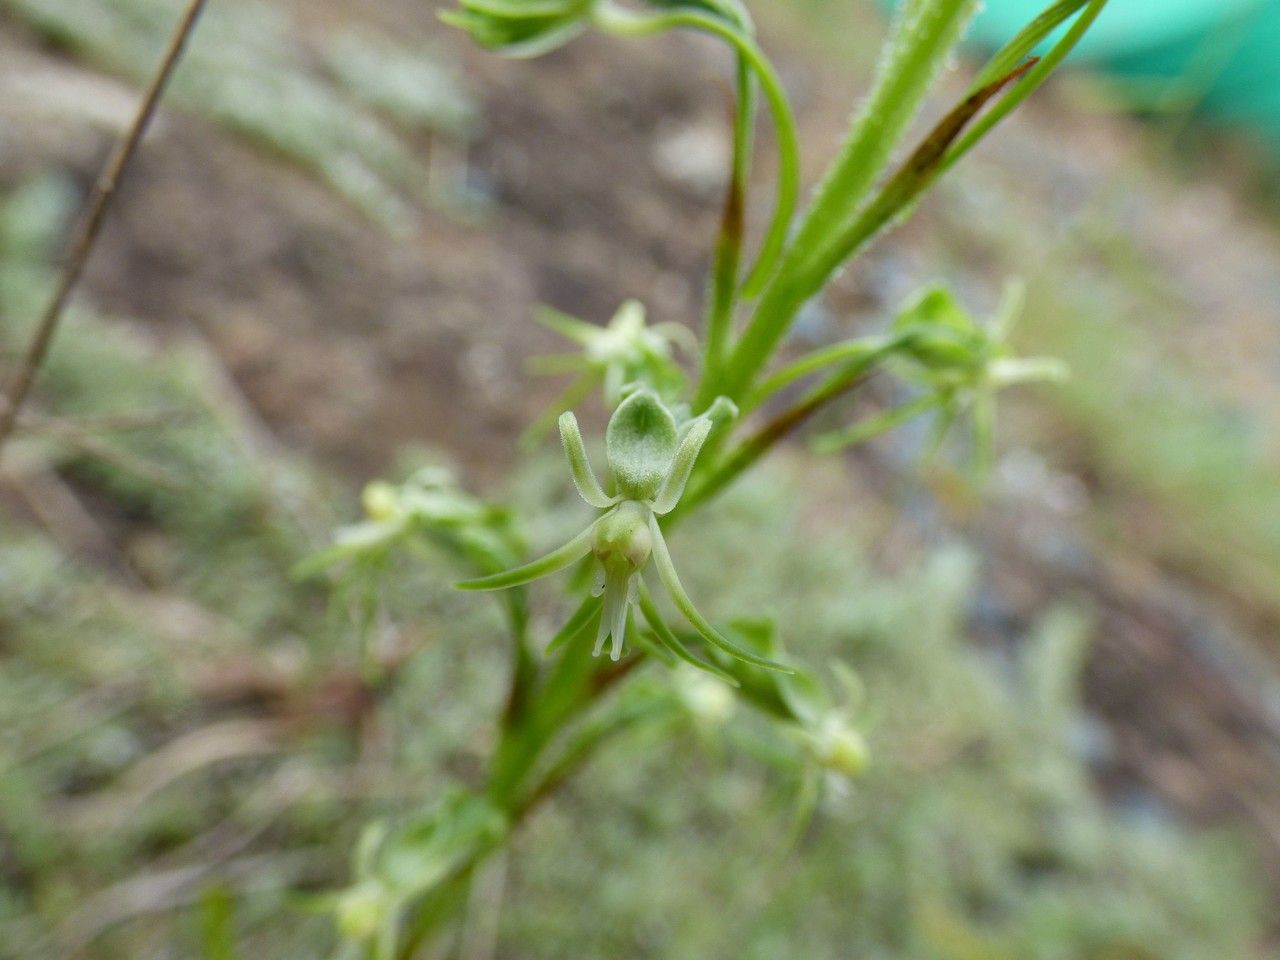
Oh, hello there! Grab a cuppa, let’s chat about a little gem that’s really captured my heart – Habenaria galpinii. If you’ve ever seen one of these beauties in bloom, you know they have a certain delicate charm. Their intricate flowers, often with a lovely fragrance, are just mesmerizing. And honestly, the satisfaction of successfully growing a new plant from a tiny piece of an established one? It’s pure magic.
Now, I know when you hear “orchid propagation,” some of you might feel a little intimidated. Habenaria galpinii isn’t super finicky, but it does appreciate a bit of understanding. I’d say it’s a moderate challenge, a wonderful step up for those who have a few successful plant-starting adventures under their belt. It’s a rewarding journey, though, and I’m here to guide you through it.
The Best Time to Start
For Habenaria galpinii, the hands-down best time to think about propagation is during its active growing season. This usually means late spring or early summer, when the plant is putting on new growth and has plenty of energy. You’ll see new shoots or leaves emerging, and that’s your cue. Trying to propagate when it’s resting in winter is like asking a sleepy cat to do gymnastics – it just won’t go well!
Supplies You’ll Need
Gathering your supplies beforehand makes the whole process so much smoother. Here’s what I like to have on hand:
- Sharp, sterile pruning shears or a clean knife: We need clean cuts to prevent disease.
- Potting mix: A well-draining orchid mix is crucial. I often use a blend of bark chips, perlite, and a little bit of sphagnum moss. You want it to be airy!
- Small pots or propagation trays: Anything that can hold your medium and provide a cozy home. Don’t go too big initially.
- Rooting hormone (optional but recommended): This can give your cuttings a helpful boost. Look for one formulated for orchids or general propagation.
- Plastic bag or propagation dome: To create a humid microclimate.
- Water: Clean, room-temperature water is best. Distilled or rainwater is ideal if your tap water is very hard.
- Labels: Don’t skip this! Trust me, future you will thank past you.
- A small watering can or spray bottle: For gentle watering.
Propagation Methods
Habenaria galpinii is most commonly propagated through division or stem cuttings. Division is often the most straightforward for this type of orchid.
Division
This method is best when your plant has naturally grown into multiple pseudobulbs or offsets, making it look a bit crowded in its pot.
- Gently remove the plant from its pot. I like to give the pot a firm squeeze or tap the sides to loosen it.
- Carefully remove as much of the old potting mix as you can. You want to clearly see the pseudobulbs and any roots connecting them.
- Locate the natural divisions. Look for where the plant is growing outward, often with distinct sections. You’ll want to ensure each division has at least one healthy pseudobulb and some roots.
- Using your sterile tool, carefully cut or separate the divisions. Go slowly. If there are stubborn roots, gently tease them apart. Never force it. If a division seems to have very few roots, that’s okay, but it will take a bit more TLC.
- Allow the cut surfaces to callus over. Let the divided pieces sit for a few hours in a dry, airy spot. This helps prevent rot.
- Pot up your new divisions. Use your prepared orchid mix in small pots. Plant each division so the pseudobulb is just at the surface of the mix.
- Water lightly. Don’t drench them. A gentle misting is often enough to start.
Stem Cuttings (for new growth)
This is a bit more advanced, but it can be very successful when you have new, healthy stems.
- Identify a healthy, mature stem. It should have at least two or three nodes (the little bumps where leaves will emerge).
- Using your sterile shears, cut the stem. Make your cut just below a node. Aim for a cutting that’s about 4-6 inches long.
- Remove the lower leaves. This is important for preventing rot once we place it in water or media.
- Prepare your medium. You can either place the cuttings in a jar of clean water or insert them into a moist propagation mix.
- If using water: Place the cuttings in the jar, making sure the cut end is submerged but none of the leaves are touching the water. Change the water every few days to keep it fresh.
- If using a mix: Insert the cut end into your damp orchid mix, ensuring it’s stable.
The “Secret Sauce” (Pro Tips)
Here are a few things I’ve learned over the years that make a real difference:
- Don’t overpot! Little plants need little homes. If you pot a small division into a huge pot, the excess soil stays wet for too long, and that’s a fast track to root rot. Start small, and you can always pot up later.
- Bottom heat is your friend. For stem cuttings especially, a little gentle warmth from a heating mat can significantly speed up root development. Think of it like a warm, cozy incubator for your new plantlets. Just make sure it’s not too hot – lukewarm is perfect.
Aftercare & Troubleshooting
Once your Habenaria galpinii starts showing signs of life – new roots poking out of the pot or a tiny leaf unfurling – it’s time for a slightly adjusted routine.
- Watering: Continue to water sparingly. Let the potting mix dry out a bit between waterings, especially for divisions. For water-propagated cuttings, once they have developed a good root system, you can transition them into their own little pots with orchid mix.
- Light: Keep them in bright, indirect light. Avoid harsh, direct sunlight, which can scorch delicate new growth.
- Humidity: As mentioned, a bit of humidity is good. That plastic bag or dome helps initially. Once they’re established and growing, you can gradually acclimate them to normal room humidity.
Now, what if things go sideways? The biggest issue I see is rot. If your cutting looks mushy or black at the base, or the pseudobulb turns soft and dark, it’s likely drowning or has succumbed to a fungal issue. This often happens if the potting mix is too wet for too long, or if non-sterile tools were used. If you catch it early, you might be able to salvage a healthy piece, but often, it’s a sign to try again. Another sign to watch for is wilting that doesn’t improve with watering – this can sometimes indicate insufficient roots or shock.
A Encouraging Closing
Propagating plants is such a rewarding part of gardening. It’s about patience, observation, and a little bit of faith. Don’t get discouraged if your first attempt isn’t perfect. Each plant, and each propagation, is a learning experience. Enjoy the process of nurturing these tiny beginnings into flourishing new Habenaria galpinii. Happy propagating, my friends!
Resource:
https://identify.plantnet.org/k-world-flora/species/Habenaria%20galpinii%20Bolus/data