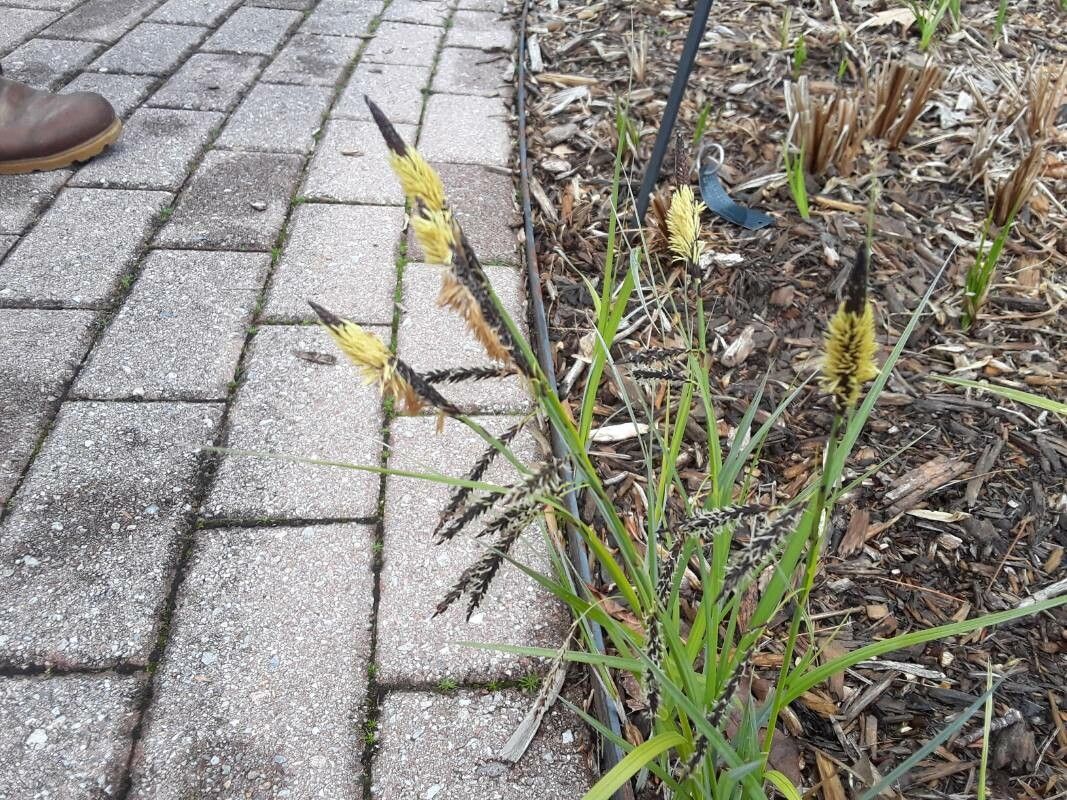
Hello, fellow plant lovers! Today, we’re diving into the wonderful world of propagating Carex barrattii, also known as Barratt’s sedge. If you’re captivated by its delicate, graceful foliage – those fine, arching blades that add such a lovely texture to shady spots – you’re in for a treat. Multiplying this beauty is a truly rewarding endeavor, and thankfully, not as daunting as you might think. While it’s not one of those “stick it in the ground and forget it” plants, with a little attention, even beginners can achieve success.
The Best Time to Start
For Carex barrattii, the sweet spot for propagation is generally in the late spring or early summer. This is when the plant is actively growing and has the most energy to put into forming new roots. You’ll want to work with healthy, vigorous shoots that are at least a few inches long. Avoid trying to propagate from stressed or dormant plants; they just won’t have the oomph needed.
Supplies You’ll Need
Before we get our hands dirty, let’s gather our tools. Having everything ready makes the process so much smoother:
- Sharp pruning shears or a clean knife: For making clean cuts.
- Small pots or seedling trays: With good drainage!
- Well-draining potting mix: A blend of peat moss or coco coir, perlite, and a touch of compost usually works wonders. You can also buy specialized seed-starting mixes.
- Rooting hormone (optional but recommended): A powdered or gel form to give your cuttings a boost.
- Watering can or spray bottle: For gentle moisture.
- Clear plastic bags or a propagator lid: To create a humid environment.
- Labels: To keep track of your little ones!
Propagation Methods
For Carex barrattii, division is hands down the most reliable and straightforward method. It’s like giving your plant a much-needed haircut and getting bonus plants in return!
Division:
- Gentle Excavation: First, carefully dig up your established Carex barrattii plant. You can do this in the spring or fall, but again, the plant should be actively growing for best results. Gently loosen the soil around the root ball.
- Inspect the Root System: Once the plant is out of the ground, gently tease apart the root ball. You’re looking for distinct clumps or sections of the plant that have their own set of roots and shoots.
- The Divide: Using your hands or a clean trowel, gently separate these clumps. If the roots are very tangled, you might need to use a sharp knife or pruning shears to cut through them. The goal is to ensure each new division has a good amount of healthy roots and at least a few shoots.
- Replant Immediately: Pot up each new division into its own container filled with your well-draining potting mix. Water them in thoroughly.
The “Secret Sauce” (Pro Tips)
Here are a couple of little tricks I’ve picked up over the years that make a real difference:
- Don’t Over-Stuff the Pot: When you’re dividing, resist the urge to cram too many divisions into one pot. Give each new plant a little breathing room. This prevents competition for resources and reduces the risk of rot from overcrowding.
- Mimic Their Natural Habitat: Carex barrattii thrives in moist, shady environments. When you’re getting your new divisions settled, think about that! Keep them in a lightly shaded spot and ensure the soil stays consistently evenly moist, but not soggy. This is crucial for root development.
Aftercare & Troubleshooting
Once your divisions are potted, they’ll need a little TLC.
- Misting is Your Friend: For the first few weeks, mist the foliage regularly, especially if you’re not using a propagator lid. This helps keep the leaves hydrated while the roots establish.
- Gradual Acclimation: If you’ve used a plastic bag or propagator, gradually introduce your new plants to open air over a week or two. This prevents shock.
- Watch for Rot: The most common sign of failure is rot, which shows up as mushy, brown stems and a foul smell. This usually happens from overwatering or poor drainage. If you suspect rot, remove the affected plant immediately, check the soil moisture, and ensure your pots have adequate drainage holes. It’s better to err slightly on the drier side than to drown your new charges.
A Little Patience Goes a Long Way
Remember, propagation is a journey, not a race. Some divisions will take off immediately, while others might need a little more time to get settled. Be patient with your new Carex barrattii, give them consistent care, and you’ll soon be rewarded with beautiful new clumps to enjoy throughout your garden. Happy propagating!
Resource:
https://identify.plantnet.org/k-world-flora/species/Carex%20barrattii%20Torr.%20ex%20Schwein./data