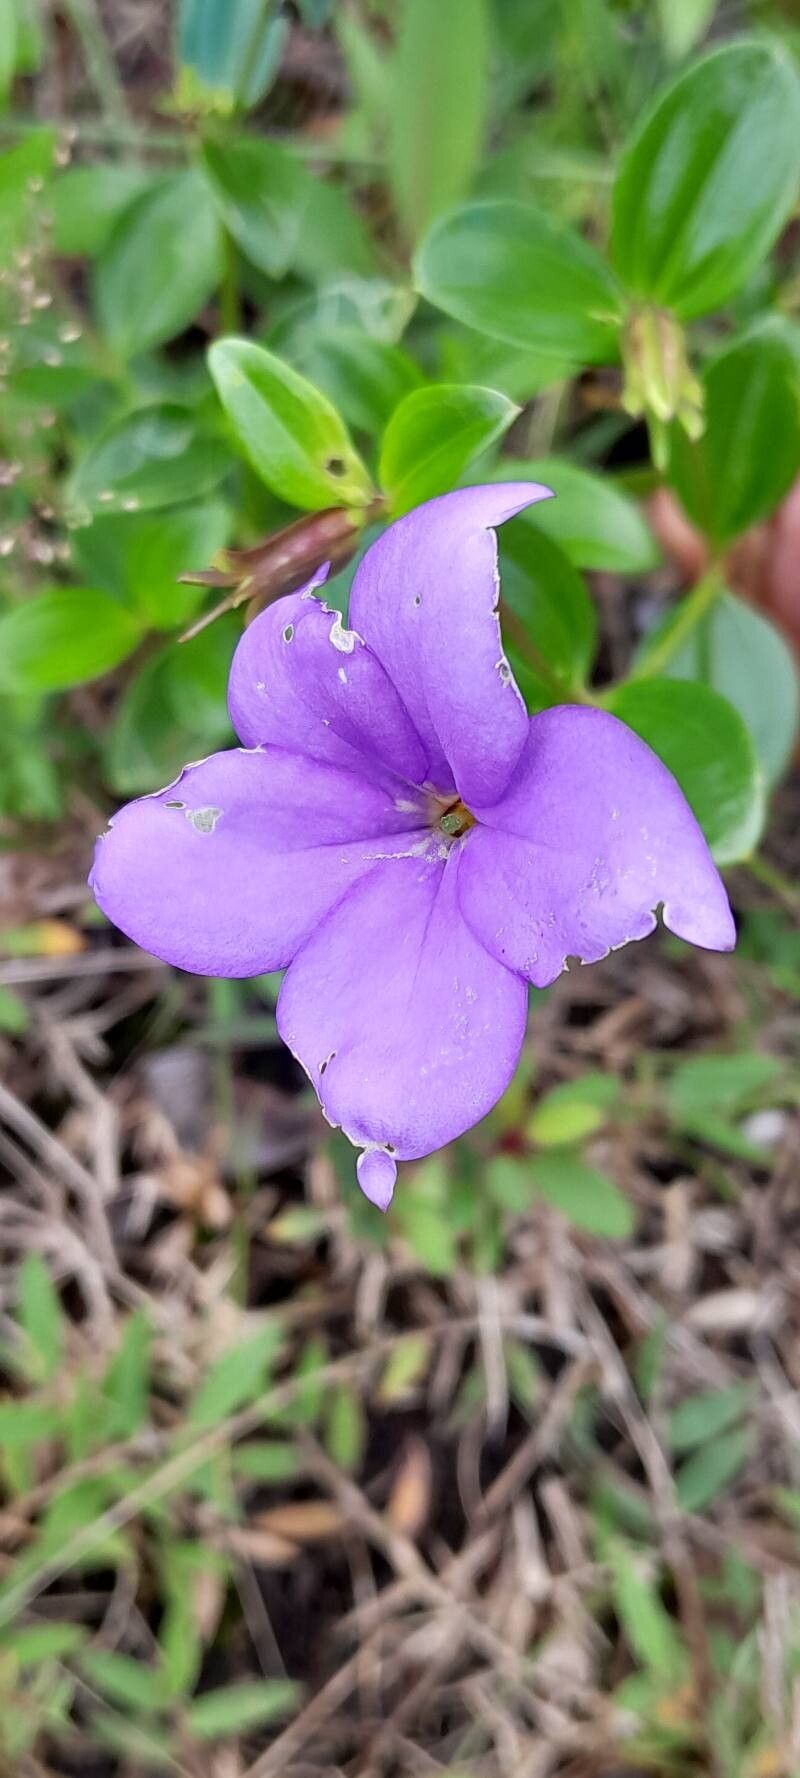
Hey there, fellow plant lovers! I’m so excited to chat with you today about a real gem in the plant world: Tachiadenus gracilis. If you haven’t added this beauty to your collection yet, you’re in for a treat. It’s got this delicate, almost whimsical air about it, with its graceful stems and often vibrant foliage that can really liven up a space.
The best part? Propagating Tachiadenus gracilis is a genuinely rewarding experience. It’s a wonderful way to multiply your collection, share the plant love with friends, or even just learn more about its incredible growth cycle. And for my beginner gardeners out there, I have good news: this one is generally quite forgiving. You’ve got a good chance of success, even on your first try!
The Best Time to Start
When it comes to getting the most bang for your buck with propagation, spring and early summer are your golden ticket. This is typically when the plant is in its most vigorous growth phase. It has plenty of energy to spare for putting out new roots on those cuttings. You’ll notice new growth appearing on your established plant, and that’s your signal that it’s ready to share its magic.
Supplies You’ll Need
Before we dive in, let’s make sure you have everything on hand. Gather these essentials, and you’ll be well on your way:
- Sharp Pruning Shears or a Clean Knife: For making clean cuts that heal well. Sterilize them with rubbing alcohol to prevent disease.
- Well-Draining Potting Mix: A good general-purpose potting mix amended with perlite or coarse sand works wonders. You want it to dry out but not become bone dry.
- Small Pots or Seedling Trays: These are perfect for starting your new plant babies.
- Rooting Hormone (Optional but Recommended): This little helper can significantly speed up root formation and increase success rates.
- Clear Plastic Bag or Dome: To create a humid microclimate for your cuttings.
- Watering Can with a Fine Rose: For gentle watering.
- Spray Bottle: For misting.
Propagation Methods
We’ll focus on the most reliable methods for Tachiadenus gracilis, which are usually stem cuttings and sometimes division if you have a very mature plant.
Stem Cuttings: My Go-To
This is often the easiest and quickest way to get new plants.
- Select Your Cuttings: Look for healthy, non-flowering stems on your established plant. You want stems that are at least 4-6 inches long. If they have small leaves, even better!
- Make the Cut: Using your sterilized shears or knife, make a clean cut just below a leaf node. This is a spot where a leaf attaches to the stem, and it’s where roots are most likely to form. Remove any lower leaves from the cutting, leaving just a few at the top.
- Apply Rooting Hormone (If Using): Dip the cut end of the stem into your rooting hormone powder or gel. Tap off any excess.
- Plant Your Cuttings: Gently insert the cut end of each stem into your prepared potting mix. Make sure the leaf nodes are buried, as this is where roots will emerge. Don’t overcrowd them; give each cutting a little space.
- Water Gently: Water the soil thoroughly until it’s evenly moist.
- Create Humidity: Cover the pot or tray with a clear plastic bag or a propagation dome. This traps moisture and creates a humid environment, which is crucial for cuttings until they develop roots. Make sure the leaves don’t touch the plastic. This can lead to rot.
Water Propagation: A Visual Treat
If you prefer to watch your roots grow, water propagation is a lovely option.
- Prepare Your Cuttings: Follow steps 1 and 2 from the stem cutting method.
- Place in Water: Place your cuttings in a clean jar or glass filled with room temperature water. Ensure the leaf nodes are submerged.
- Positioning is Key: Make sure the leaves are not submerged in the water. If they are, they’ll quickly turn mushy and rot. You might need to trim some leaves to avoid this.
- Change Water Regularly: Change the water every 2-3 days to keep it fresh and prevent bacterial growth.
- Patience: Roots will typically appear within a few weeks. Once they are about an inch long, you can transplant them into soil.
The “Secret Sauce” (Pro Tips)
Here are a few things I’ve learned over the years that can really boost your propagation success.
- Bottom Heat: If you can, place your pots on a seedling heat mat. This gentle warmth from below encourages root development much faster than ambient room temperature alone. It’s like giving your cuttings a cozy little sunbath from their roots up!
- Don’t Overwater! It sounds counterintuitive when you’re trying to encourage new growth, but overwatering is the quickest way to kill a cutting. The soil should be consistently moist, not soggy. Feel the top inch of soil; if it’s dry, it’s time to water.
- Patience with the Plastic: Once your cuttings are under the plastic bag, resist the urge to peek every five minutes. Let them settle in. After a few weeks, you should start to see signs of new growth. If you see condensation on the inside of the bag, that’s a good sign for humidity!
Aftercare & Troubleshooting
Once you see those lovely roots appearing – congratulations! – it’s time to transition your new plant baby.
- Acclimation: If you used a plastic bag, start by gradually introducing your cuttings to normal humidity. Open the bag for an hour or two each day, slowly increasing the time over a week.
- Watering: Continue to water your new plants as needed, keeping the soil consistently moist but not waterlogged.
- Light: Place your newly rooted plants in bright, indirect light. Avoid direct sunlight, which can scorch their delicate new leaves.
- Signs of Trouble: The most common problem is rot. If your cuttings turn mushy, black, or fall apart, it’s usually a sign of too much moisture or a lack of air circulation. If you see this, remove the affected cutting immediately. Yellowing leaves can sometimes indicate overwatering, while wilting can mean it’s too dry or the roots haven’t established well yet.
A Little Gardener’s Encouragement
Propagating plants is a journey, and like any good journey, it’s about the learning and the enjoyment. Don’t be discouraged if your first attempt isn’t perfect. Every gardener has had cuttings that didn’t make it! Just observe, learn, and try again. That feeling when you see those first tiny roots emerge, or that first new leaf unfurl on a cutting you nurtured yourself? It’s pure magic. Happy propagating!
Resource:
https://identify.plantnet.org/k-world-flora/species/Tachiadenus%20gracilis%20Griseb./data