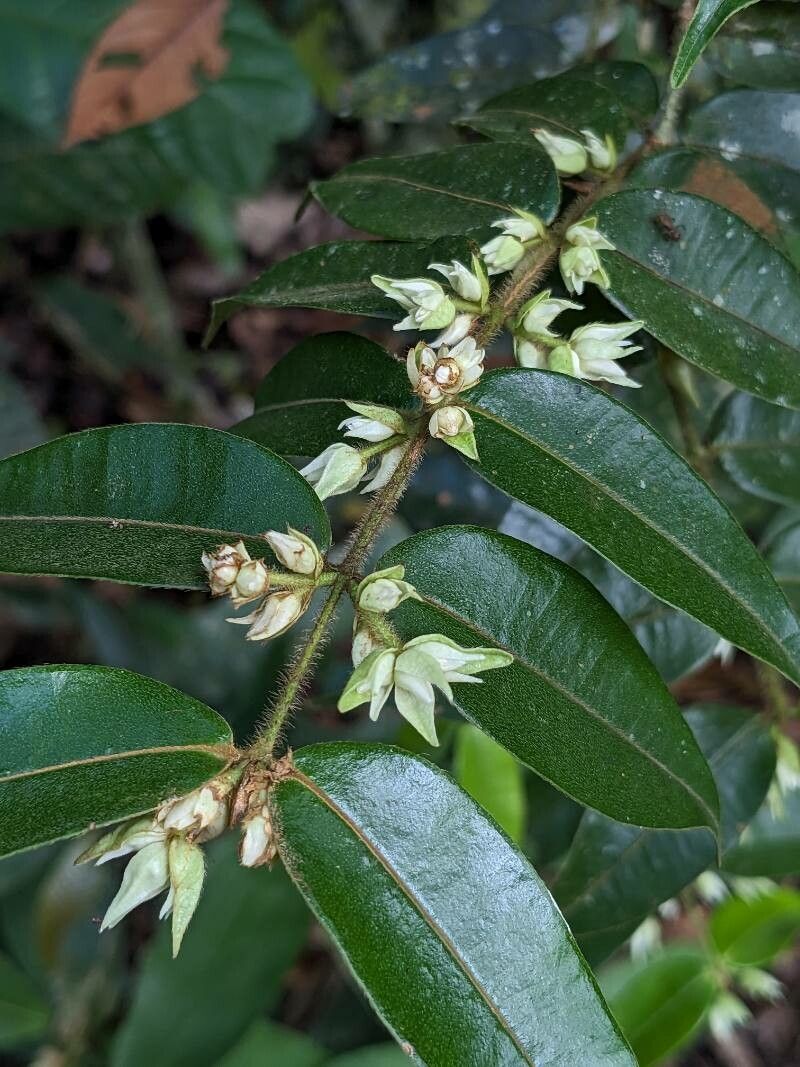
Hello there, fellow plant enthusiasts! I’m so excited to share my passion for Myrcia bracteata with you today. This beautiful little tree, often called the “Brazilian Cherry” or “Agua-de-colônia,” has such a charming appeal. Its glossy leaves and delicate white flowers bring a touch of the tropics right into our gardens and homes. And let me tell you, there’s an incredible satisfaction in watching a tiny cutting transform into a thriving plant of your own. While it might seem a bit daunting at first, propagating Myrcia bracteata is surprisingly accessible, even for those of us just starting our gardening journeys. Think of it as taking that first leap – with a little guidance, you’ll be amazed at what you can achieve!
The Best Time to Start
For the highest chance of success with Myrcia bracteata, I always recommend starting in the spring or early summer. This is when the plant is in its most active growth phase. New growth is typically more vigorous and has a better ability to root. You’re essentially giving your cuttings the best head start, tapping into the plant’s natural energy reserves for root development. Waiting until the warmth of the season arrives will make a world of difference.
Supplies You’ll Need
Before we get our hands dirty, let’s gather our tools. Having everything ready makes the process so much smoother:
- Sharp Pruning Shears or a Clean Knife: Essential for making clean cuts. Dull tools can crush stems and invite disease.
- Rooting Hormone (Optional, but Recommended): A powder or gel that encourages faster and stronger root growth. I like to use one with a bit of fungicide in it, just for extra protection.
- Well-Draining Potting Mix: A good mix is crucial. I usually blend peat moss, perlite, and a bit of coarse sand. You can also find specialized seed-starting or cutting mixes at your local garden center.
- Small Pots or Trays: Clean pots with drainage holes are a must. For cuttings, I prefer small ones, no more than 4 inches.
- Plastic Bags or a Propagator: To create a humid environment for your cuttings. A clear plastic bag tied loosely around the pot or a clear plastic dome works beautifully.
- Watering Can with a Fine Rose: For gentle watering.
- Labeling Stakes and a Marker: To keep track of what you’re propagating and when you started.
Propagation Methods
There are a couple of ways to get new Myrcia bracteata plants going, but my favorite and most reliable method is stem cuttings.
Stem Cuttings
This is where the magic really happens!
- Select Your Cuttings: Look for healthy, vigorous stems from your mature Myrcia bracteata plant. Choose stems that are semi-hardwood, meaning they’re not brand new and floppy, but not old and woody either. About pencil-thick is usually a good bet. Aim for cuttings that are 4 to 6 inches long.
- Make the Cut: Using your clean pruning shears or knife, make a clean cut just below a leaf node. A leaf node is where a leaf attaches to the stem; this is where roots are most likely to form.
- Prepare the Cutting: Gently remove the lower leaves from the bottom half of the cutting. Leave at least two or three leaves at the top to help the cutting photosynthesize. If the remaining leaves are very large, you can cut them in half to reduce water loss.
- Apply Rooting Hormone (Optional): Dip the cut end of the stem into rooting hormone, tapping off any excess. This step really boosts your success rate, especially with plants that can be a bit slow to root.
- Plant Your Cuttings: Fill your small pots with your well-draining potting mix. Make a small hole in the center of the soil with a pencil or your finger. Gently insert the prepared cutting into the hole, ensuring the rooting hormone (if used) stays on the stem. Firm the soil gently around the base of the cutting to ensure good contact.
- Water Gently: Water the soil thoroughly but gently until you see water draining from the bottom of the pot.
- Create a Humid Environment: Place a clear plastic bag over the pot, securing it around the rim. Alternatively, use a propagator lid. This creates a mini-greenhouse, keeping the humidity high, which is vital for the cuttings to establish roots before they can take up water through them.
The “Secret Sauce”
Now, for a few of my little secrets that have made all the difference for me over the years:
- Bottom Heat is Your Friend: If you can, place your pots on a heated propagator mat or a warm windowsill. The warmth encourages root development from the bottom up. It’s like giving the roots a cozy place to grow. Just a gentle warmth is all that’s needed – you don’t want to cook your cuttings!
- Don’t Drown Your Dreams (or Your Cuttings): While humidity is crucial, avoid waterlogged soil. Constantly soggy conditions are an open invitation for fungal rot. It’s a delicate balance. The soil should feel consistently moist, but not soaking wet. If you see water pooling on the surface, you’ve watered too much. I like to check the soil moisture by gently poking my finger in a few inches.
- Light, but Not Shine: Cuttings need light to photosynthesize, but direct, harsh sunlight can scorch their delicate leaves and dry them out too quickly. Find a bright spot that receives indirect light. An east-facing windowsill is often perfect, or a spot a little further back from a south-facing window.
Aftercare & Troubleshooting
Once your cuttings have taken root, it’s time for them to transition. You’ll know they’ve rooted when you gently tug on the cutting and feel resistance, or when you see new leaf growth. This usually takes anywhere from 4 to 8 weeks.
- Acclimatization: This is a crucial step. Gradually introduce your rooted cuttings to lower humidity. Start by taking the plastic bag off for an hour or two each day, slowly increasing the time until they are fully exposed to the ambient air. This helps them adjust and prevent shock.
- Repotting: Once they are well-established, you can pot them up into slightly larger containers with your regular potting mix.
- Common Signs of Failure: The most common issue you’ll encounter is rot. This usually happens when the soil stays too wet or there’s insufficient air circulation. Your cutting might turn mushy and black at the base, or the leaves will turn yellow and drop off quickly. The other sign of failure is simply that nothing happens. No new growth, no roots. This can be due to the cutting being too old, too young, or just not taking root for reasons we may never fully understand (it happens!). Don’t be discouraged if some cuttings don’t make it; it’s part of the learning process.
A Little Patience Goes a Long Way
And there you have it! Propagating Myrcia bracteata is a journey, and like any good journey, it requires a bit of patience and observation. Don’t be afraid to get your hands dirty and enjoy the process of nurturing something new to life. With each cutting you take, you’ll gain more confidence and a deeper connection with your plants. Happy propagating!
Resource:
https://identify.plantnet.org/k-world-flora/species/Myrcia%20bracteata%20(Rich.)%20DC./data