Hey there, fellow plant lovers!
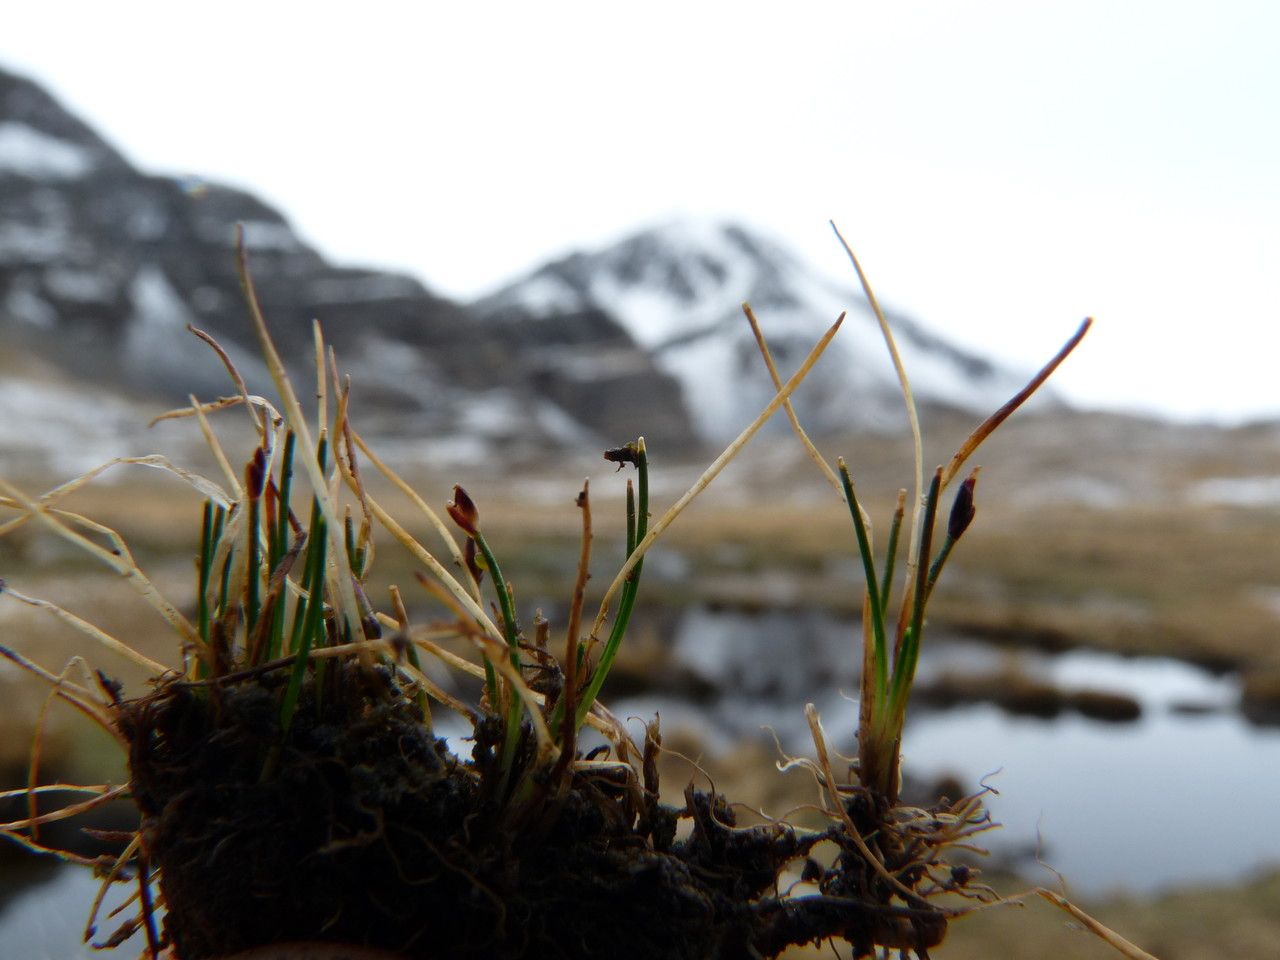
Today, we’re diving into the wonderful world of propagating Eleocharis tucumanensis. If you’ve ever admired those lush, grassy mounds of this delightful plant, especially in a vivarium or a damp corner of your garden, you know how much charm it brings. Propagating it yourself is not only incredibly rewarding, but it’s also a fantastic way to expand your collection without breaking the bank.
Now, I get asked a lot if this is an easy plant to propagate, and I’d say it’s moderately easy. It’s not quite as foolproof as a spider plant, but with a little attention and understanding, you’ll be a pro in no time. The satisfaction of watching those tiny new shoots emerge is truly special.
The Best Time to Start
For Eleocharis tucumanensis, the absolute best time to get yourpropagation on is during its active growing season. This generally means from late spring through summer. When the plant is really pushing out new growth and reaching its peak vigor, the cuttings are more robust and have a better chance of rooting quickly. You can try it at other times, but you’ll likely see slower results.
Supplies You’ll Need
Before we get our hands dirty, let’s gather our arsenal:
- Sharp Pruning Shears or a Clean Knife: For making clean cuts.
- Well-Draining Potting Mix: I like a blend of peat moss, perlite, and a bit of orchid bark. For Eleocharis, sometimes I’ll even lighten it with some coarse sand.
- Propagation Trays or Small Pots: Whatever suits the method you choose.
- Plant Mister: For keeping things humid.
- Clear Plastic Bag or Dome: To create a mini-greenhouse effect.
- Rooting Hormone (Optional but Recommended): Especially if you’re a beginner, this can give your cuttings a significant boost.
- Water: Always good to have on hand!
Propagation Methods
Eleocharis tucumanensis is most commonly propagated through division and stem cuttings. Let’s break them down.
Method 1: Division (The Most Reliable Way)
This is the simplest and most successful method for Eleocharis tucumanensis. It’s essentially separating a mature plant into smaller, viable sections.
- Gently Remove the Plant: Carefully take your Eleocharis clump out of its pot. If it’s planted in the ground, dig around it gently to loosen it.
- Inspect the Roots: You’re looking for distinct growth points or crowns. You’ll often see multiple shoots coming from a central root ball.
- Divide with Care: Using your hands or a clean knife, gently pull or cut the root ball apart. Aim to get sections that have at least a few healthy shoots and a good amount of root attached. Don’t be afraid to be a bit firm, but also avoid ripping roots to shreds.
- Pot Up Your Divisions: Plant each new division in its own pot, using that nice, well-draining mix we talked about. They like to be kept moist, so water them in well.
- Keep Them Cozy: Place your newly potted divisions in a location with bright, indirect light and high humidity. Covering them with a clear plastic bag or dome will help trap moisture.
Method 2: Stem Cuttings (A Bit More Patience Required)
This method is a little trickier, as Eleocharis doesn’t always root as readily from a single leaf stem without a bit of root base.
- Select Healthy Stems: Choose vibrant, healthy stems from your parent plant. Look for ones that are not flowering or old.
- Make the Cut: Using your sharp shears or knife, cut a stem just above a node (where a leaf attaches to the stem). You want a cutting that’s several inches long, if possible.
- Prepare the Cutting: Remove any lower leaves that might end up below the waterline or soil line.
- Consider Rooting Hormone: If you’re using it, dip the cut end of the stem into the rooting hormone powder, tapping off any excess.
- Planting the Cuttings:
- In Soil: Gently poke the cut end of the stem into your well-draining potting mix. Make sure at least one node is buried. Water lightly.
- In Water: You can also try placing the cuttings in a small jar of water. Crucially, try to keep the leaves out of the water – they tend to rot otherwise. Change the water every few days.
- Provide Humidity: Whichever method you choose, cover the cuttings with a plastic bag or dome to maintain high humidity. Place them in bright, indirect light.
The “Secret Sauce” (Pro Tips)
Here are a couple of little tricks I’ve picked up over the years that can really make a difference:
- Don’t Drown Your Cuttings: If you opt for water propagation, I can’t stress this enough: make sure the leaves don’t sit in the water. They’ll rot much faster than they’ll root, and you’ll end up with a sad, mushy mess. It’s better to have less of the stem submerged than to risk leaf rot.
- Bottom Heat is Your Friend: For cuttings started in soil, placing your propagation tray on a gentle heating mat can significantly speed up root development. This mimics the warmth of spring soil and encourages those roots to form more quickly. Just keep it on a low setting!
Aftercare & Troubleshooting
Once you see signs of new growth – tiny leaves emerging or stubby roots poking from the bottom of a pot – you’re well on your way!
- Gradual Acclimation: Slowly start to acclimate your new plants to less humid conditions. Gradually open the plastic bag for longer periods over a week or two.
- Consistent Moisture: Keep the soil consistently moist, but not waterlogged. They love a good drink!
- Patience is Key: Roots can take anywhere from a few weeks to a couple of months to establish, especially with cuttings.
The most common sign of failure is rot. If your stem cuttings turn black and mushy, that’s usually a sign of too much moisture and not enough air circulation, or those leaves sitting in water. If a division fails, it’s often because it didn’t have enough root mass to begin with, or it dried out too much during the transition. Don’t get discouraged if a few don’t make it; that’s all part of the learning curve!
Happy Propagating!
So there you have it – a straightforward guide to getting more of that lovely Eleocharis tucumanensis in your life. Remember to be patient, observe your plants, and enjoy the process of nurturing new life. You’ve got this! Happy gardening!
Resource:
https://identify.plantnet.org/k-world-flora/species/Eleocharis%20tucumanensis%20Barros/data