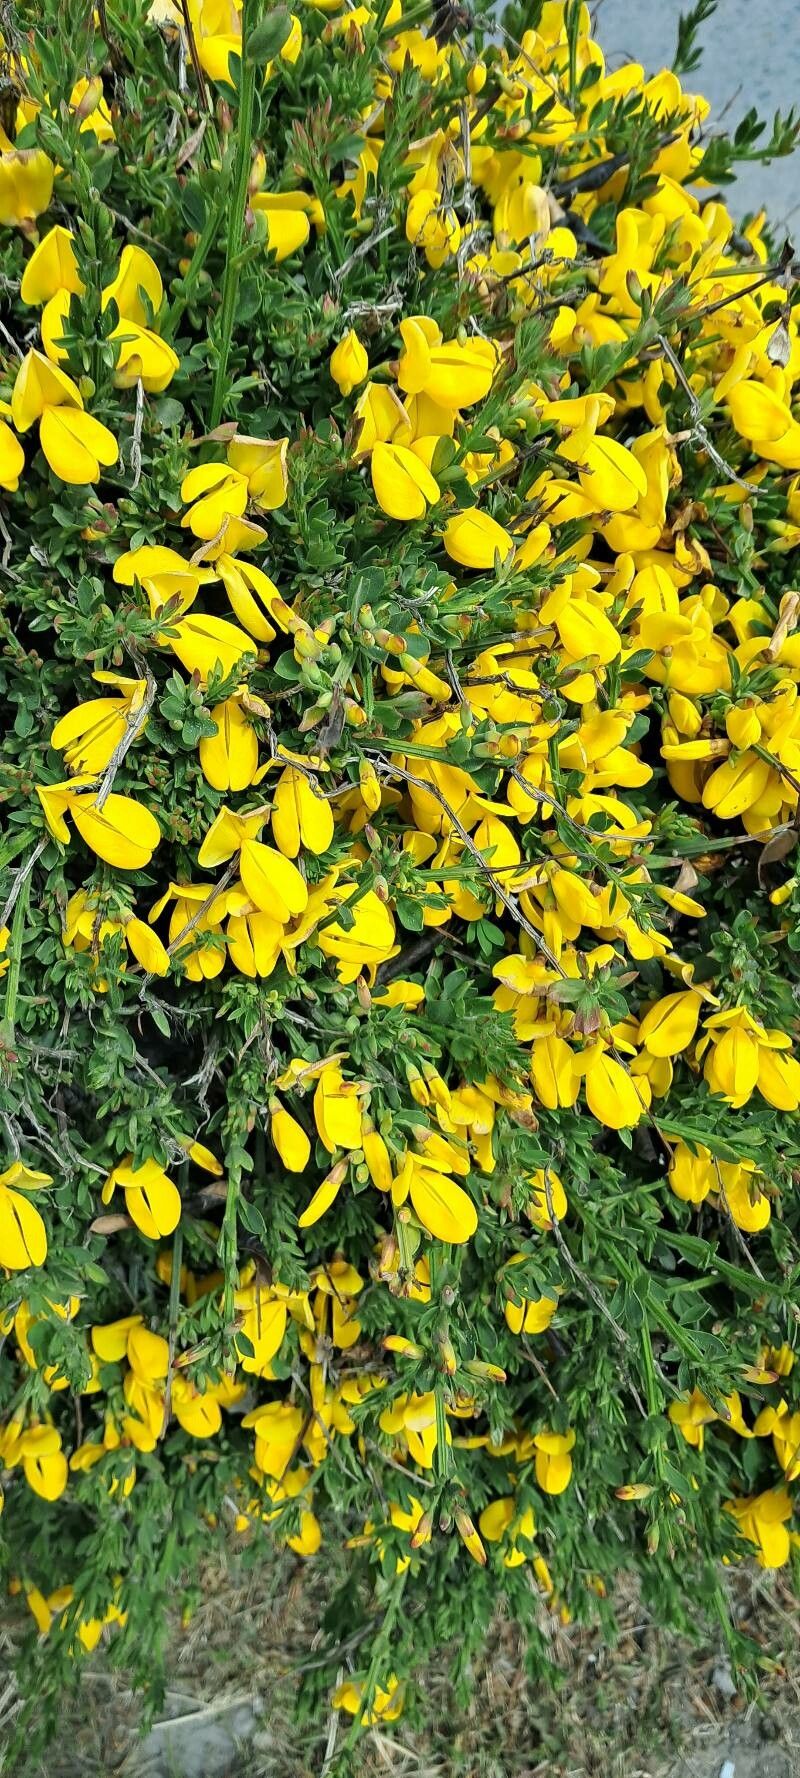
Oh, hello there! I’m so glad you’ve stumbled upon my little corner of the garden world. Today, we’re diving into the delightful world of propagating Cytisus decumbens, or as it’s commonly known, the trailing broom. If you’ve ever admired its low-slung, vibrant yellow blooms tumbling over a wall or spilling out of a pot, you’re not alone. It’s a plant that just screams sunshine and relaxed afternoons.
Why Propagate This Beauty?
There’s a special kind of magic in coaxing new life from an existing plant. When you successfully propagate Cytisus decumbens, you get more of those gorgeous golden flowers without needing to buy new plants. It’s incredibly rewarding, and honestly, this one is a pretty good candidate for beginners looking to expand their repertoire. It’s not overly fussy, which is always a plus in my book!
The Sweet Spot for Starting
For the best chance of success, I always recommend taking cuttings from actively growing stems in late spring or early summer. This is when the plant is full of vigor after its spring bloom, and the new growth is flexible enough to root easily. You’re looking for stems that have recently finished flowering, have a bit of woody structure at the base, but are still supple at the tip.
What You’ll Need to Gather
Before we get our hands dirty, let’s make sure we have everything prepped. A little preparation goes a long way!
- Sharp Pruning Shears or a Craft Knife: Clean, sharp tools are crucial for making clean cuts that heal well.
- Rooting Hormone Powder (Optional but Recommended): This little helper can give your cuttings a significant boost.
- Well-Draining Potting Mix: I like a mix of equal parts peat moss, perlite, and coarse sand. This prevents waterlogging, which is the enemy of most cuttings.
- Small Pots or Seed Trays: Clean, shallow containers are perfect.
- Plastic Bags or a Propagator: To create a humid environment around your cuttings.
- Watering Can with a Fine Rose: For gentle watering.
- Labels and a Pen: Because trust me, you will forget what you’ve planted where!
Let’s Get Propagation Started!
There are a couple of ways to go about this, but my favorite for Cytisus decumbens is through stem cuttings.
- Take Your Cuttings: Choose those healthy, semi-hardwood stems we talked about. Make a clean cut just below a leaf node (where a leaf attaches to the stem). You want cuttings that are about 4-6 inches long. Remove the lower leaves, leaving just a few at the top. If there are any flower buds, pinch them off – we want the energy to go into root development, not flowering.
- Prepare the Cuttings: Dip the cut end of each cutting into your rooting hormone powder, tapping off any excess. This isn’t strictly necessary, but it really does encourage faster and stronger root formation.
- Potting Up: Fill your chosen pots with your well-draining potting mix. Make a small hole in the center of the mix with your finger or a pencil. Gently insert the cut end of your prepared cutting into this hole. Firm the soil around it so the cutting stands upright.
- Watering and Humidity: Water the soil gently but thoroughly. The goal is moist, not soggy. Now, here’s where the humidity comes in. You can cover the pots with a clear plastic bag, making sure the bag doesn’t touch the leaves of the cuttings. Prop it up with stakes if needed. Alternatively, a mini greenhouse or propagator with a lid works wonderfully. Place your pots in a bright location, but out of direct sunlight, which can scorch the delicate cuttings.
My Tried-and-True “Secret Sauce”
Over the years, I’ve learned a few tricks that make propagating less hit-or-miss.
- Bottom Heat is Your Friend: If you have a heated propagator or can place your pots on a heat mat, do it! Gentle bottom warmth encourages roots to form much more quickly. The soil temperature should be around 70-75°F (21-24°C). This is often more beneficial than bright light for root development.
- Don’t Overwater, No Matter What! This is probably the most common mistake. Cuttings sitting in waterlogged soil will simply rot before they have a chance to root. The soil should feel consistently moist, but never soggy. Check the moisture level by gently pressing down on the soil.
- Airflow is Important (Eventually): While you want to maintain humidity, you don’t want stagnant air. Open the plastic bag or propagator lid for a few minutes each day to allow for some air circulation. This helps prevent fungal diseases. Once you start seeing new leaves forming, you can gradually increase the amount of time you leave them uncovered.
Aftercare and What to Watch For
Once your cuttings have developed a good root system – you’ll know because they’ll have new growth and you might even see roots peeking out of the drainage holes – it’s time to give them a bit more space.
Carefully transplant your new baby broom into individual pots using a good quality, well-draining potting mix. Keep them in a bright spot, away from harsh direct sun, and water them regularly but allow the soil to dry out slightly between waterings.
What if things go wrong? The most common issue is rot, which usually happens due to overwatering. If your cutting turns black and mushy, it’s a sign that it’s too wet and likely gone. Don’t despair! Just try again, being extra mindful of that moisture level. Sometimes, cuttings just don’t take, and that’s okay too. Gardening is a journey of learning and experimenting.
Keep Growing!
Propagating Cytisus decumbens is a wonderfully satisfying way to fill your garden with those cheerful yellow blooms. Take your time, be patient with your little green charges, and enjoy the process of nurturing new life. Happy gardening!
Resource:
https://identify.plantnet.org/k-world-flora/species/Cytisus%20decumbens%20(Durande)%20Spach/data