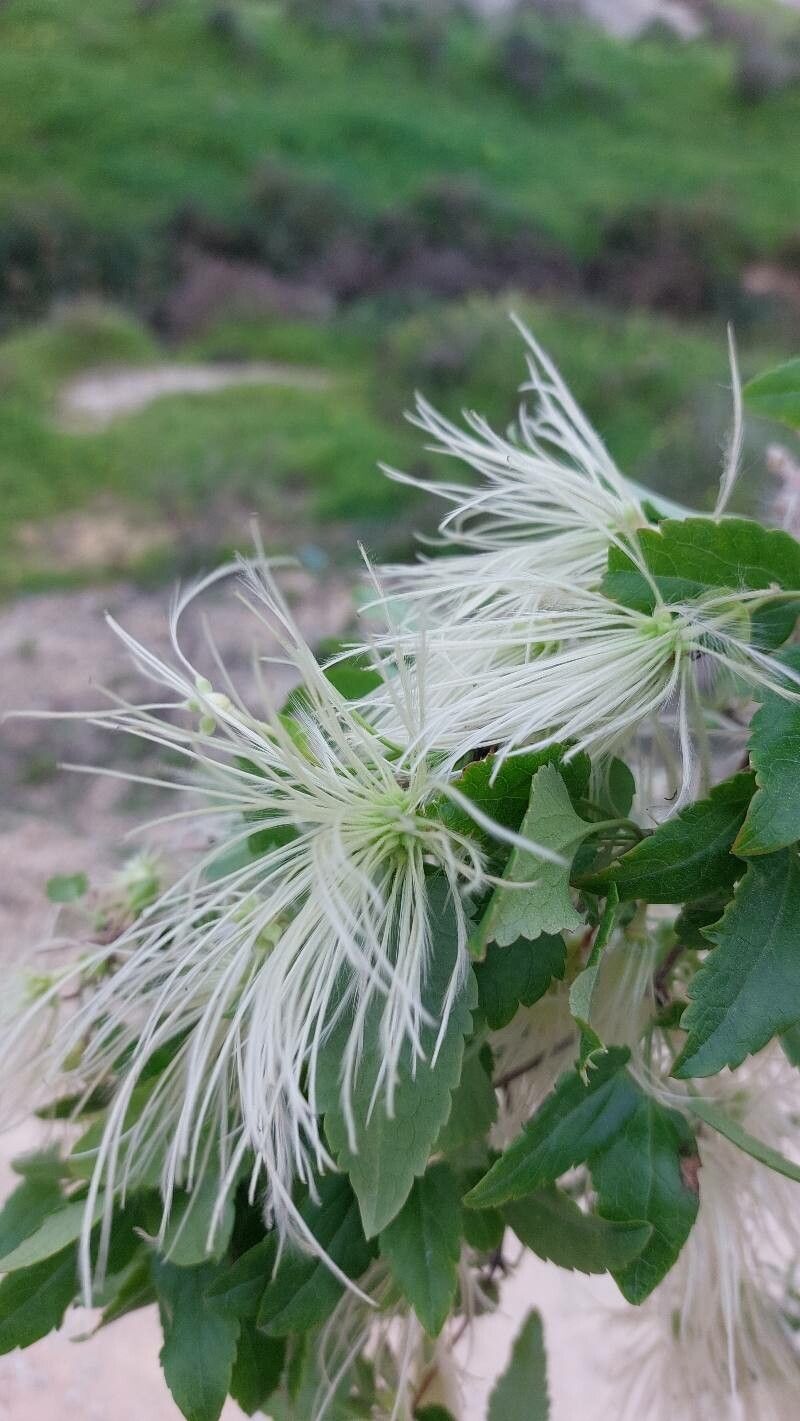
Hello, fellow garden enthusiasts! I’m so excited to chat with you today about a truly captivating vine – Clematis ligusticifolia, commonly known as Western White Clematis or Pipevine Clematis. If you’ve ever admired its cascades of delicate white blooms and the way it gracefully climbs pergolas or fences, you’re not alone. Filling your garden with these beauties can be incredibly rewarding, and the best part? You can do it yourself!
Now, if you’re wondering if this is a good plant for beginners to propagate, I’d say it falls somewhere in the middle. It’s not as straightforward as, say, a geranium cutting, but with a little patience and these tips, you’ll be well on your way. It’s a wonderful learning experience that I encourage you to try.
The Best Time to Start
For the highest success rate with Clematis ligusticifolia, late spring to early summer is your sweet spot. Look for new growth that has started to firm up a bit. This is often called “semi-hardwood” – it’s not brand new and floppy, but it’s also not completely woody and mature. This stage offers a great balance for rooting.
Supplies You’ll Need
Gathering your tools beforehand always makes the process smoother. Here’s what you’ll want to have ready:
- Sharp, clean pruning shears or a sharp knife: For making clean cuts.
- Rooting hormone: A powder or gel to encourage root development.
- Good drainage pot: About 4-6 inches deep with drainage holes.
- Well-draining potting mix: A mix of perlite, peat moss, and a little bit of sterile potting soil works wonderfully. You can also buy specialized propagation mixes.
- Clear plastic bag or humidity dome: To keep the cuttings moist.
- Small labels and a permanent marker: To keep track of your varieties and dates.
- A spray bottle with water: For misting.
Propagation Methods: Stem Cuttings
The most common and effective way to propagate Clematis ligusticifolia is through stem cuttings. Let’s dive in!
- Take Your Cuttings: On a mild day, choose a healthy stem without flowers or buds. Using your clean shears, take cuttings that are about 4-6 inches long. Make the cut just below a leaf node (where a leaf attaches to the stem). These nodes are packed with growth hormones, giving you a better chance of rooting.
- Prepare the Cuttings: Remove the leaves from the bottom half of the cutting. If the remaining leaves are very large, I often cut them in half horizontally. This reduces water loss while still allowing for photosynthesis.
- Apply Rooting Hormone: Dip the cut end of the stem into your rooting hormone, ensuring it’s coated. Gently tap off any excess.
- Plant Your Cuttings: Fill your pot with your prepared potting mix. Make a small hole with your finger or a pencil. Insert the prepared cutting into the hole, firming the soil gently around it. You can plant several cuttings in one pot, spacing them a few inches apart.
- Create a Humid Environment: Water the soil gently and then cover the pot with a clear plastic bag or a humidity dome. This creates a mini greenhouse effect, keeping your cuttings nice and moist, which is crucial for successful rooting. Place the pot in a bright location, but out of direct sunlight.
The “Secret Sauce” (Pro Tips)
Here are a few things I’ve learned over the years that can really boost your success:
- One thing that absolutely makes a difference is bottom heat. If you have a seedling heat mat, place your pot on it. Clematis roots love warmth, and this can significantly speed up the rooting process.
- When you take your cuttings, make sure the leaves don’t touch anything wet. If they sit in water or on damp soil, they can succumb to rot before they even have a chance to root.
- Don’t be afraid to sterilize your tools between plants. A quick wipe with rubbing alcohol can prevent the spread of any diseases that might be lurking.
Aftercare & Troubleshooting
Once your cuttings are planted, the most important thing is to keep the soil consistently moist but not waterlogged. Mist the leaves occasionally if they look a bit dry, especially if you’re not using a humidity dome.
The waiting game begins! It can take anywhere from 4 to 8 weeks, sometimes even longer, for new roots to form. You can gently tug on a cutting; if you feel resistance, you likely have roots. You can also look for new leaf growth.
The most common sign of failure is rot. If your cutting turns mushy and black, it’s usually a sign of too much moisture and not enough air circulation. If you notice this, try to remove the affected cutting immediately and ensure your soil mix is airy. Sometimes, even with the best care, a few won’t make it, and that’s perfectly normal! Don’t get discouraged.
A Encouraging Closing
Propagating Clematis ligusticifolia is a journey. Be patient with yourself and your little plant babies. There’s a unique satisfaction in nurturing a new life from a simple stem cutting. So go ahead, grab those shears, find a healthy vine, and give it a try. Happy gardening, and I hope you soon have a garden full of those lovely white blooms!
Resource:
https://identify.plantnet.org/k-world-flora/species/Clematis%20ligusticifolia%20Nutt./data