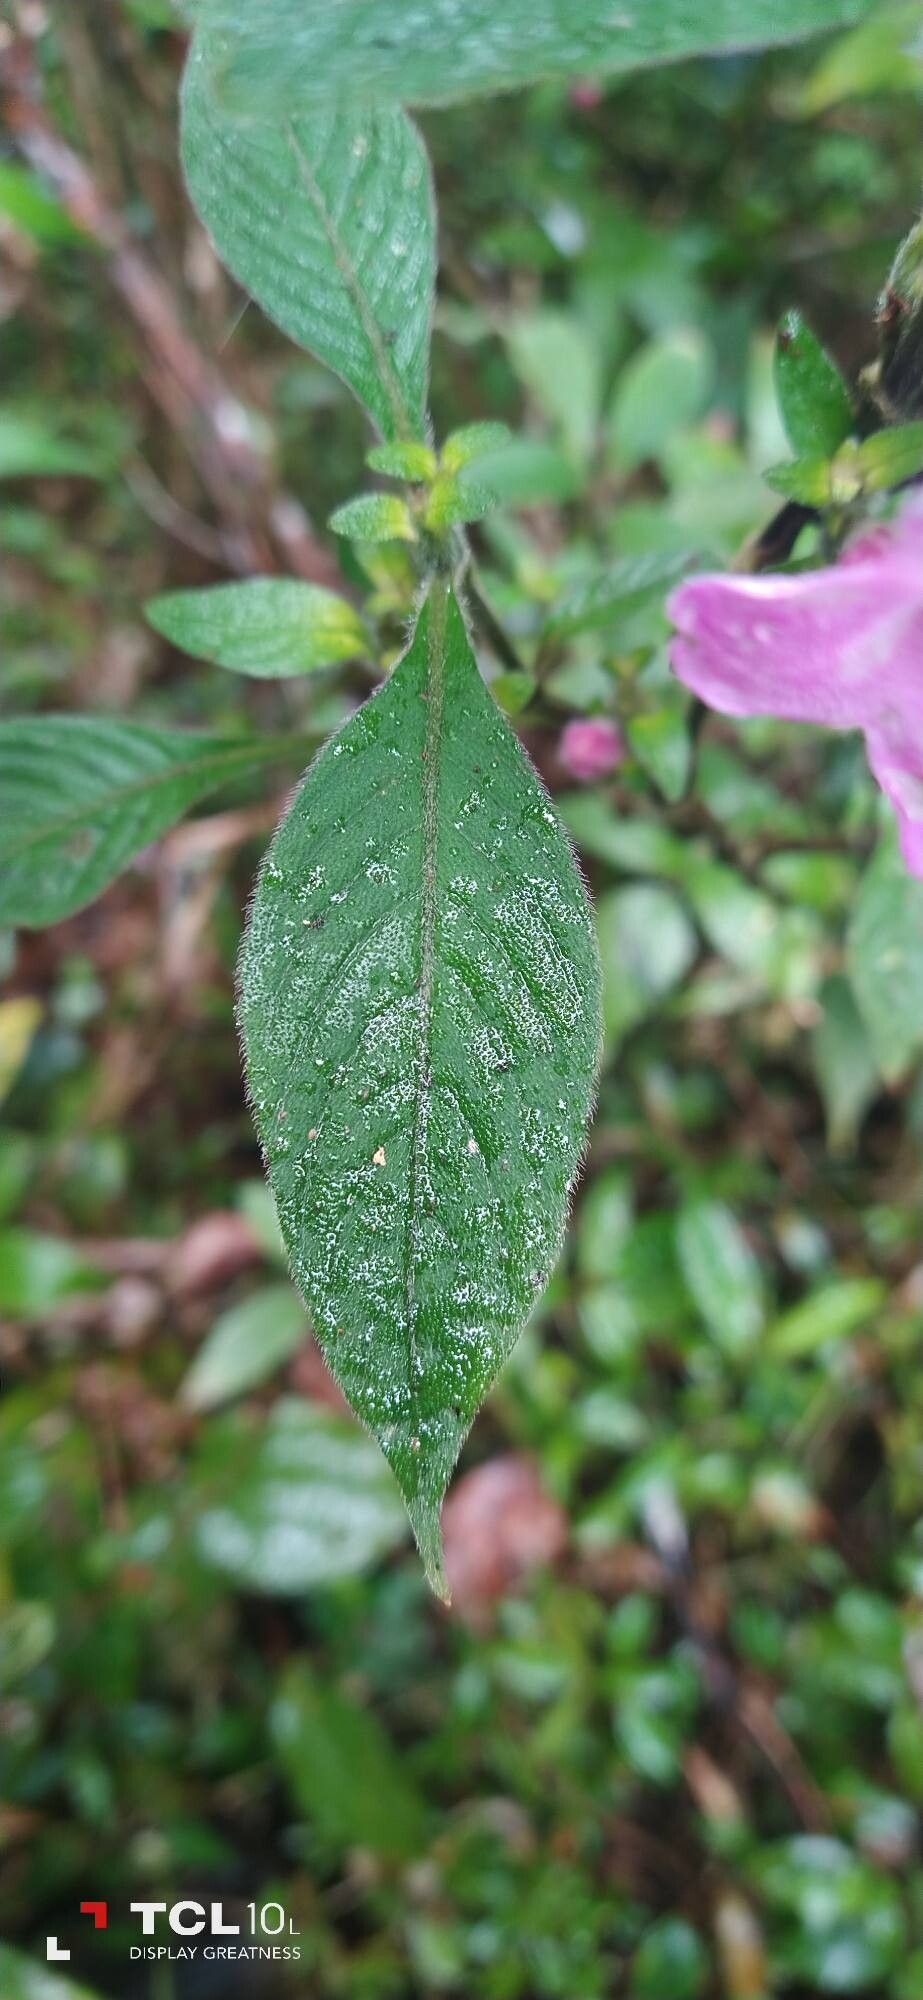
Hey there, fellow plant lovers! I’m so excited to chat with you today about a truly special plant: Acanthopale madagascariensis. If you’re looking for a bit of architectural flair and a gorgeous leafy specimen to add to your collection, this is it. Its unique structure and lush foliage bring a touch of the tropics right into our homes. And the best part? Propagating it yourself is incredibly rewarding. Now, I won’t lie, it’s not always the easiest plant to start from scratch, but with a little know-how and patience, you’ll be well on your way to success.
The Best Time to Start
When it comes to getting new Acanthopale plants going, spring is generally your golden ticket. This is when the plant hits its stride, bursting with new growth. Taking cuttings during its active growing season means they’ve got plenty of energy to put into developing roots. Aim for that period after the initial spring flush, before the summer heat becomes too intense.
Supplies You’ll Need
To give your new cuttings the best start, gather these essentials:
- Sharp Pruning Shears or a Clean Knife: For making clean cuts that heal well.
- Rooting Hormone (Optional but Recommended): A little boost can make a big difference.
- Well-Draining Potting Mix: I like to use a blend of equal parts peat moss or coco coir and perlite. This allows for good aeration.
- Small Pots or Propagation Trays: About 4-6 inch pots are usually perfect.
- Clear Plastic Bag or Dome: To create a humid environment.
- Watering Can with a Fine Rose or Spray Bottle: For gentle watering.
- A Bright Spot Away from Direct Sun: Think indirect light, like an east-facing window.
Propagation Methods
Let’s get our hands dirty! The most reliable way to propagate Acanthopale madagascariensis is through stem cuttings.
- Select Your Mother Plant: Find a healthy, vigorous Acanthopale plant.
- Make Your Cuts: Using your clean shears or knife, take cuttings that are about 4-6 inches long. Look for stems that have at least two sets of leaves. Crucially, make your cut just below a leaf node. This is where roots are most likely to form.
- Prepare the Cuttings: Gently remove the lower leaves from the cutting, leaving at least two sets of leaves at the top. This prevents leaves from rotting in the soil.
- Apply Rooting Hormone (If Using): Dip the cut end of the stem into your rooting hormone powder. Tap off any excess.
- Pot Them Up: Fill your pots with your well-draining potting mix. Make a small hole in the center of the soil with your finger or a pencil.
- Insert the Cuttings: Gently place the cut end of the stem into the hole, ensuring the leaf nodes are below the soil surface. Firm the soil gently around the stem to provide support.
- Water Lightly: Water the soil thoroughly but gently until you see a little water drain from the bottom.
- Create Humid Conditions: Cover the pot with a clear plastic bag or place it under a propagation dome. This traps moisture and prevents the cuttings from drying out. Make sure the leaves aren’t touching the plastic. You can use stakes or skewers to hold the bag up.
The “Secret Sauce”
Here are a couple of tricks I’ve picked up over the years that seem to really help with trickier propagations like this:
- Bottom Heat is Your Friend: If you have it, place your pots on a gentle seedling heat mat. The warmth encourages root development from below, giving your cuttings a real head start. It mimics the conditions of a warm tropical soil.
- Don’t Overwater! This is a common pitfall. You want the soil to be consistently moist, not waterlogged. Soggy conditions are a breeding ground for rot, and that’s the quickest way to lose a cutting. Feel the soil; if the top inch feels dry, it’s time to water.
Aftercare & Troubleshooting
Once your cuttings are potted up, place them in that bright, indirect light spot I mentioned. Keep an eye on the humidity. You might want to open the bag or dome for a few minutes each day to allow for some air circulation, preventing fungal issues.
You’ll know your cuttings have rooted when you see new leaf growth. This can take anywhere from 4 to 8 weeks, sometimes longer. Gently tugging on a cutting will also reveal resistance if roots have formed. Once rooted, gradually acclimate them to normal room humidity by slowly opening the bag over a week or two. Continue to water as needed and avoid overwatering.
The most common sign of failure is rot. If your cutting turns mushy and black, especially at the base, it’s unfortunately not going to make it. This is usually a sign of too much moisture and not enough airflow. Don’t be discouraged if a few don’t make it; it’s all part of the learning curve!
A Sweet Ending
Propagating plants is such a beautiful way to connect with nature and grow your indoor jungle. Take your time, be observant, and enjoy the magic of watching a tiny cutting transform into a thriving new plant. Happy propagating!
Resource: