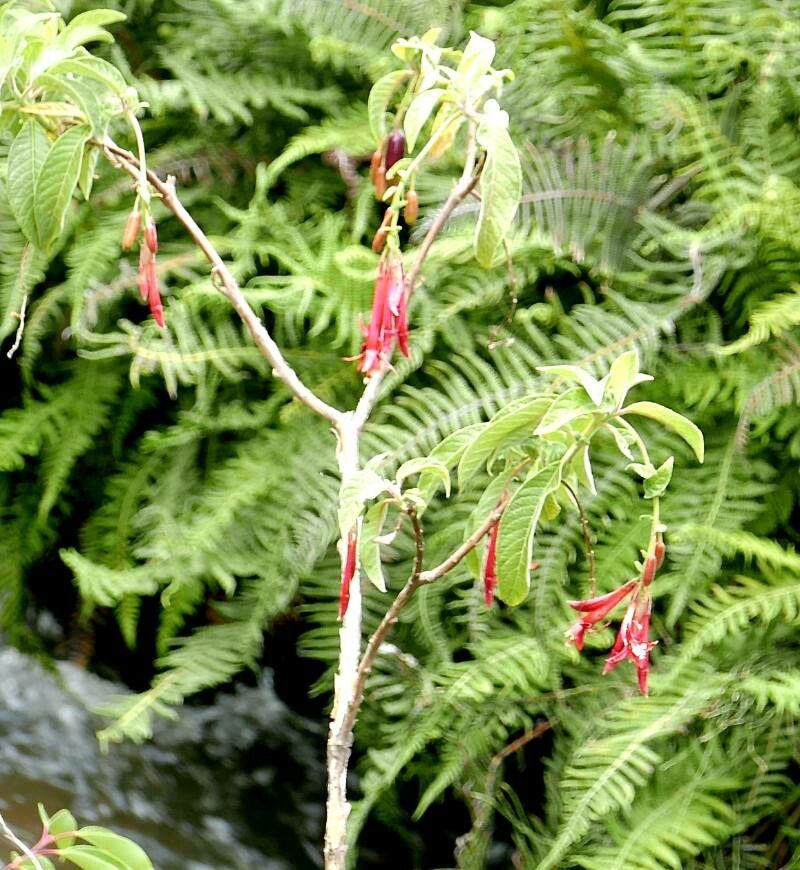
Ah, Fuchsia boliviana! Isn’t it a stunner? That cascade of vibrant red and purple blooms just brightens any garden corner. And the best part? Sharing that beauty with friends, or simply having more of it for yourself, is incredibly satisfying. Don’t let its exotic look fool you; propagating Fuchsia boliviana is wonderfully achievable, even for those just dipping their toes into the gardening pond. It’s like giving a little piece of living magic to someone special.
The Best Time to Start
For the absolute best chance of success, I always reach for my pruners in late spring or early summer. This is when the plant is actively growing, producing plenty of healthy new shoots that are just begging to become new plants. You’re capitalizing on its natural vigor, so to speak. If you miss that window, don’t fret! You can often take cuttings in late summer, just be prepared for them to take a little longer to root.
Supplies You’ll Need
Before we get our hands dirty, let’s gather our tools. Think of it like preparing for a cozy afternoon baking – the right ingredients make all the difference!
- Sharp Pruning Shears or a Clean Knife: For taking clean cuts. Blurry cuts can introduce disease.
- Potting Mix: A light, well-draining mix is key. I like to use a blend of potting soil and perlite or coarse sand, roughly a 50/50 ratio. This prevents soggy roots.
- Small Pots or Seed Trays: Clean ones, please! Sanitation is your friend.
- Rooting Hormone (Optional but Recommended): This little magic powder really gives cuttings a boost. Look for one formulated for softwood or semi-hardwood cuttings.
- Clear Plastic Bag or Humidity Dome: To trap moisture around your cuttings.
- Watering Can or Spray Bottle: For gentle watering.
- Labels and a Pen: Don’t forget to label your babies! You’ll be surprised how quickly you forget what’s what.
Propagation Methods
Let’s dive into the fun part – creating new Fuschias!
Stem Cuttings: My Go-To Method
This is by far the most common and reliable way to propagate Fuchsia boliviana.
- Select Your Cuttings: Look for healthy, non-flowering stems that are about 4 to 6 inches long. These are often called “softwood” or “semi-hardwood” cuttings. You want a stem that bends a little but doesn’t snap easily.
- Make the Cut: Using your sharp shears or knife, take a clean cut just below a leaf node (where a leaf joins the stem). This is where the magic of root formation tends to happen. Remove any flowers or flower buds from the cutting – we want all that energy going into roots, not blooms.
- Prepare the Cutting: Gently remove the lower leaves, leaving just a couple at the very top. This reduces water loss.
- Dip in Rooting Hormone (Optional): If you’re using rooting hormone, dip the cut end of the stem into the powder, tap off any excess, and then proceed.
- Plant Your Cuttings: Fill your small pots with your prepared potting mix. Make a small hole with a pencil or your finger and gently insert the cutting, burying the bottom two nodes (where you removed the leaves). Firm the soil around it.
- Water Gently: Water thoroughly but gently until you see water drain from the bottom of the pot.
- Create a Humid Environment: Cover the pot with a clear plastic bag or a humidity dome. If using a bag, you might need to support it with chopsticks so it doesn’t touch the leaves. Place the pot in a bright, indirectly lit spot. No direct sun – that’s a recipe for wilting!
Water Propagation: A Visual Treat
While I prefer cuttings in soil for robustness, water propagation can be rewarding to watch.
- Select and Prepare Cuttings: Follow steps 1-3 from the stem cutting method.
- Place in Water: Put the cuttings in a small jar or vase filled with clean water. Make sure the nodes where you removed the leaves are submerged.
- Monitor and Refresh: Keep the jar in a bright, indirect light location. Change the water every few days to keep it fresh and prevent rot. You’ll soon see tiny white roots emerging from the nodes!
- Pot Up When Ready: Once the roots are about an inch long, carefully pot them into your prepared soil mix. Treat them like newly rooted cuttings.
The “Secret Sauce” (Pro Tips)
Here are a few tricks I’ve picked up over the years that make a real difference:
- Don’t Let the Leaves Touch the Water (in water propagation): If you’re propagating in water, try to keep the remaining leaves above the waterline. Any submerged foliage is prone to rotting, which can then infect the cutting.
- Bottom Heat is Your Best Friend: While not strictly necessary, placing your pots on a heated propagation mat can significantly speed up root development. It mimics the warmth of spring soil and really encourages those roots to form. You can find these online or at garden centers.
- Mist, Don’t Drench: When you’ve got your cuttings nestled in their pots under a plastic cover, resist the urge to overwater. A light misting with your spray bottle every few days, just to keep the humidity up and the soil moist but not soggy, is usually plenty.
Aftercare & Troubleshooting
Once you see signs of new growth – tiny leaves unfurling or roots peeking out the drainage holes – it’s time to celebrate!
- Acclimatize Slowly: Gradually remove the plastic bag or humidity dome over a week or so. This helps the new plant adjust to your home’s drier air.
- Watering: Keep the soil consistently moist but not waterlogged. Let the top inch of soil dry out slightly between waterings.
- Light: Continue to provide bright, indirect light. As the plant gets stronger, you can slowly introduce it to a bit more direct sun if its final location will have it.
- Troubleshooting:
- Wilting/Yellowing Leaves: This is often a sign of too much water (root rot) or too little. Check the soil moisture. If it’s soggy and the leaves are yellowing, you may have rot. If it’s bone dry and wilting, it needs water.
- No Roots in Weeks: Don’t despair! Some cuttings are just slower than others. Ensure you’re maintaining warmth and humidity. Sometimes, a gentle tug will reveal resistance, indicating roots are forming.
- Mold on Soil: This usually means it’s a bit too wet and not enough airflow. Gently scrape off the mold and increase ventilation if possible.
Happy Propagating!
See? It’s not rocket science! Propagating Fuchsia boliviana is a rewarding journey, and with a little patience and these tips, you’ll soon have a garden full of these beautiful cascading blooms. Enjoy the process, learn from each prop, and most importantly, celebrate every little success. Happy gardening!
Resource:
https://identify.plantnet.org/k-world-flora/species/Fuchsia%20boliviana%20Carrière/data