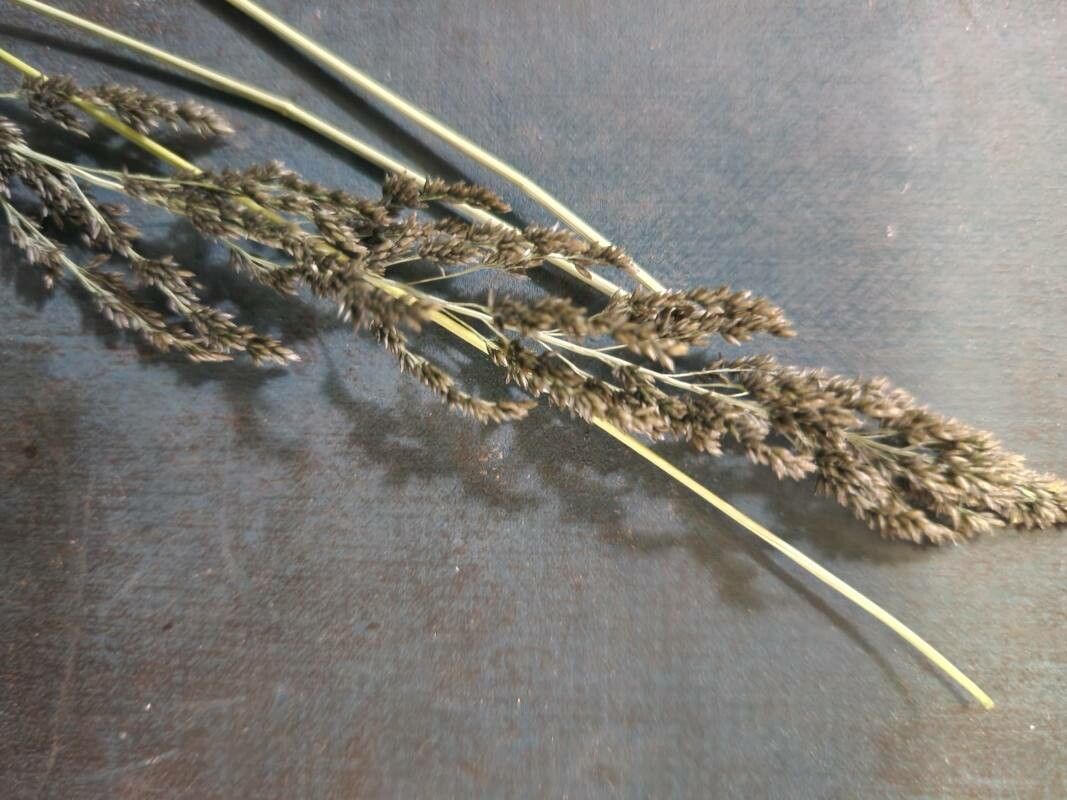
Hello fellow garden enthusiasts! Today, I want to share a little love for a truly delightful grass: Sporobolus pellucidus, often called Inland Dropseed. This beauty isn’t as flashy as some, but it has a delicate, airy grace that just makes my heart sing. Its fine, wispy foliage creates a soft texture in the garden, moving with the slightest breeze. And honestly, growing more of this lovely grass for yourself? Pure joy. If you’re new to the gardening world, you might find propagating grasses a tad more involved than, say, a petunia, but don’t let that deter you. With a little patience and these tips, you’ll be well on your way.
The Best Time to Start
For Sporobolus pellucidus, the absolute sweet spot for propagation is late spring to early summer. This is when the plant is actively growing and has plenty of energy to put into new root development. You want to be working with healthy, established clumps that are showing good vigor. Avoid trying to divide or take cuttings when the plant is stressed or dormant.
Supplies You’ll Need
To set yourself up for success, gather these essential items:
- Sharp Pruning Shears or a Clean Knife: For making clean cuts.
- Garden Trowel: For digging and dividing.
- Well-Draining Potting Mix: I like a blend of coco coir, perlite, and a bit of compost. Good aeration is key for grasses.
- Containers or Pots: With drainage holes, of course!
- Marker Pen and Labels: To keep track of your new additions.
- Watering Can with a Fine Rose: For gentle watering.
- Optional: Rooting Hormone (Powder or Liquid): Can give an extra boost, especially for cuttings.
- Optional: Small Greenhouse or Clear Plastic Bags: To maintain humidity around cuttings.
Propagation Methods
Let’s get our hands dirty! For Sporobolus pellucidus, division is usually the most straightforward and rewarding method.
Division: The Gentle Art of Separation
- Prepare Your Parent Plant: Gently water your established Sporobolus pellucidus clump a day or two before you plan to divide. This helps the soil cling to the roots.
- Gently Extract: Using your trowel, carefully dig around the outer edge of the plant. Ease the entire clump out of its pot or from the ground.
- Examine the Root Ball: Turn the clump upside down and gently shake off some of the excess soil. You’ll see how the plant has grown outwards, forming new shoots.
- Separate Carefully: The easiest way is to use your hands to tease apart sections. If the roots are densely intertwined, you might need to use your clean knife or shears to slice through any stubborn connections. Aim for sections that have both healthy roots and a good amount of top growth (at least a few shoots).
- Trim if Necessary: If any roots look damaged or are excessively long, you can give them a light trim.
- Pot Up Your New Plants: Fill your pots with your well-draining mix. Make a hole in the center with your finger or trowel, place a divided section in, and gently backfill with soil. Ensure the crown (where the shoots meet the roots) is at soil level.
- Water Thoroughly: Give your newly planted divisions a good, gentle watering to settle the soil around the roots.
Stem Cuttings (Less Common, but Possible!)
While division is king, you can try taking cuttings, especially from young, vigorous new shoots.
- Select Healthy Shoots: Look for tender, new growth that hasn’t yet flowered.
- Make Your Cut: Using your sharp shears, take a cutting about 3-4 inches long, just below a leaf node.
- Prepare the Cutting: Remove the lower leaves. If you’re using rooting hormone, dip the cut end into the powder or liquid.
- Plant Your Cuttings: Fill small pots with your well-draining mix. Make a small hole and insert the cutting, ensuring the node where you removed the leaves is below the soil surface. Gently firm the soil around it.
- Provide Humidity: This is crucial! Water gently, then either cover the pot with a clear plastic bag (making sure the bag doesn’t touch the leaves) or place it in a small propagator.
The “Secret Sauce” (Pro Tips)
Here are a couple of things I’ve learned over the years that really make a difference:
- Don’t Drench, but Don’t Dry Out: After dividing, your new plants need consistent moisture, but they absolutely hate soggy feet. I like to water them thoroughly once and then check the soil moisture daily. It should feel slightly damp, not waterlogged.
- Give Them Some Gentle Warmth: If you’re propagating cuttings, sitting your pots on a heated propagator mat can significantly speed up root development. For divisions, just placing them in a brightly lit spot, ideally out of direct, harsh sun initially, is usually enough.
Aftercare & Troubleshooting
Once your divisions or cuttings have started to establish (you might see new shoot growth appearing), you can begin to treat them like your established plants. Continue to water them regularly, especially during dry spells. Gradually introduce them to more direct sunlight.
Common Signs of Trouble:
- Yellowing Leaves on Cuttings: This is often a sign of too much water, not enough light, or lack of humidity.
- Wilting or Browning: This can indicate either underwatering or, more commonly with grasses, overwatering leading to root rot. Check the soil moisture. If it’s wet and the plant is wilting, you might have a rot issue.
- No New Growth: Be patient! Sometimes it takes a few weeks for roots to really take hold. If after a month you see absolutely no signs of life, it’s possible the cutting or division didn’t take, but don’t be discouraged.
A Word of Encouragement
Propagating plants, especially something as delicate as Sporobolus pellucidus, is a wonderful way to connect with nature and expand your garden. Don’t get discouraged if every single attempt isn’t a resounding success. Every gardener has had their share of failures – it’s all part of the learning curve! Celebrate your successes, learn from your challenges, and most importantly, enjoy the process of nurturing new life. Happy gardening!
Resource:
https://identify.plantnet.org/k-world-flora/species/Sporobolus%20pellucidus%20Hochst./data