Oh, Penstemon buckleyi! Isn’t it just a darling? I remember the first time I saw a patch of these little beauties gracing a dry, sunny slope. Their delicate, tubular flowers, a lovely soft pink to lavender, just shout “prarie charm!” And the hummingbirds absolutely adore them. If you’ve fallen for this native gem, you’ll be thrilled to know that propagating it is a truly rewarding endeavor. Now, for the good news: Penstemon buckleyi is generally a pretty forgiving plant when it comes to propagation, making it a great choice even if you’re newer to the green-thumb game.
The Best Time to Start
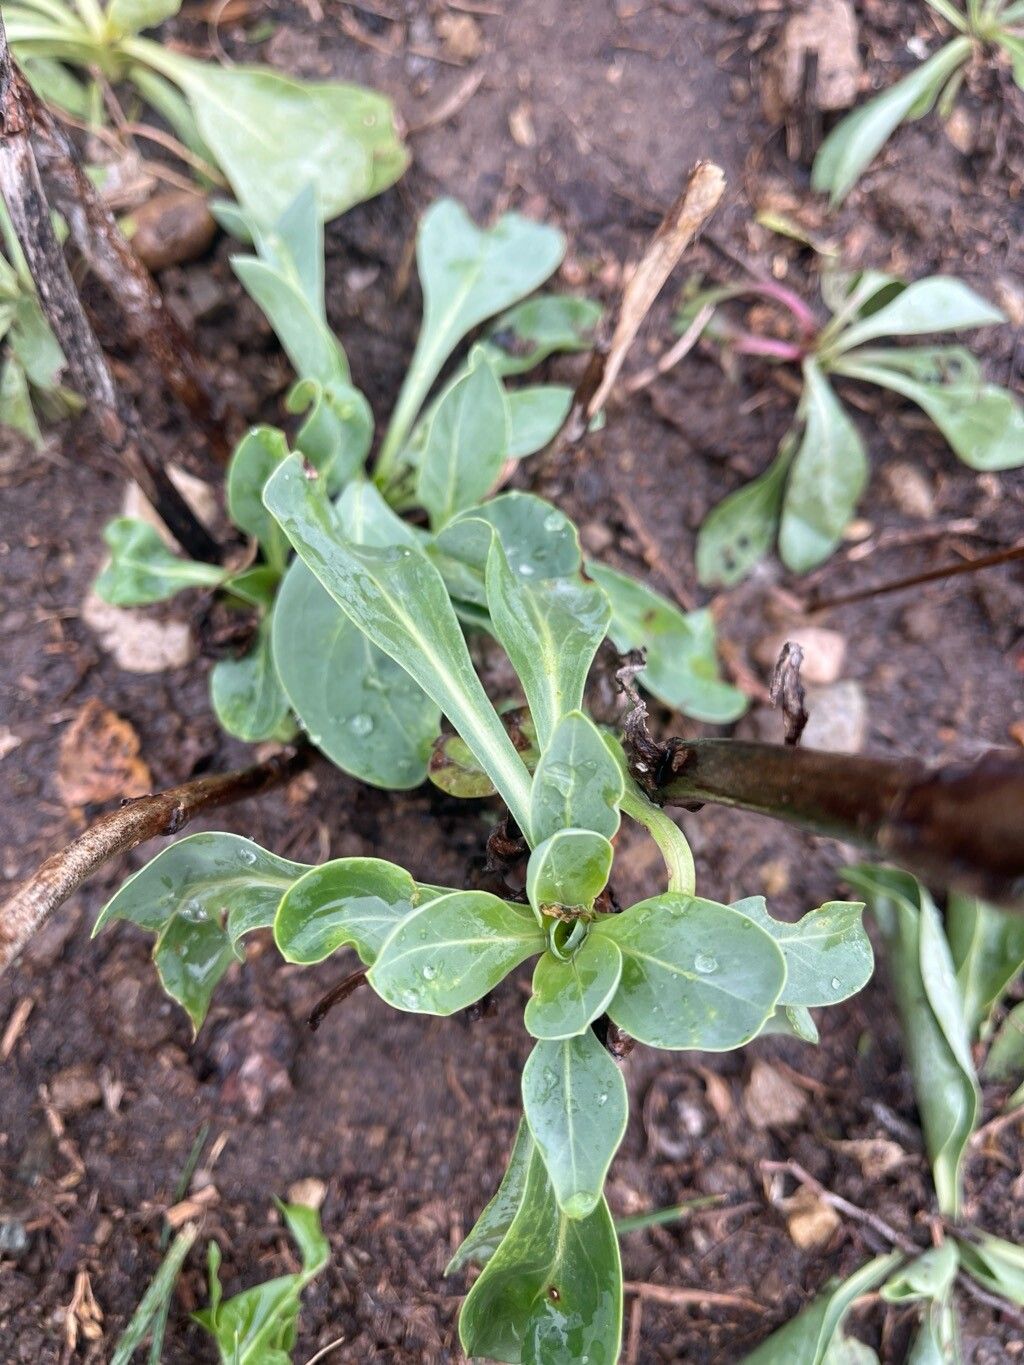
For Penstemon buckleyi, late spring to early summer is your sweet spot. You want to catch the plant when it’s actively growing, but before it gets too woody. Aim for stems that are herbaceous – still flexible and green, not stiff and seasoned. This means you’re looking for new growth that hasn’t quite started flowering yet, or just as it’s beginning.
Supplies You’ll Need
Gathering your tools beforehand makes the whole process smoother. Here’s what I find helpful:
- Sharp, clean pruning shears or a sharp knife: Precision is key for clean cuts.
- Small pots or trays: Clean ones are a must to prevent disease. About 4-inch pots work well.
- Propagating medium: A well-draining mix is crucial. I like a blend of roughly 50% perlite or vermiculite and 50% peat moss or coco coir. You can also buy a specialized seedling or cactus/succulent mix.
- Rooting hormone (optional but recommended): This gives your cuttings a helpful boost. Look for one with indole-3-butyric acid (IBA).
- Plastic bags or a propagation dome: This creates a humid environment for your cuttings.
- Watering can or spray bottle: Gentle watering is best.
- Labels and a marker: To keep track of what you’ve planted and when.
Propagation Methods
While seed propagation is possible, I’ve found the most reliable and satisfying method for Penstemon buckleyi is through stem cuttings.
- Take Your Cuttings: On a mild day, select healthy, non-flowering stems. Using your clean shears, snip off sections about 4 to 6 inches long. Make a clean cut just below a leaf node (that little bulge where a leaf attaches to the stem).
- Prepare the Cuttings: Gently remove the leaves from the bottom half of each cutting. You want to expose a few nodes where roots will emerge. Leave 2-3 sets of leaves at the top. If the remaining leaves are very large, you can cut them in half to reduce water loss.
- Apply Rooting Hormone (Optional): Dip the cut end of each stem into your rooting hormone, making sure to coat the nodes. Tap off any excess.
- Plant Your Cuttings: Fill your clean pots with your prepared propagating medium. Make a small hole in the center of each pot with a pencil or your finger. Insert the prepared cutting into the hole, pushing the medium gently around the stem to ensure good contact.
- Water Gently: Water the pots thoroughly but gently, allowing excess water to drain away.
- Create Humidity: Cover the pots with a clear plastic bag supported by stakes or place them in a propagation dome. This traps moisture. Make sure the leaves aren’t touching the plastic if possible.
The “Secret Sauce” (Pro Tips)
- Don’t Overcrowd: Give your cuttings a little breathing room in their pots. If they’re too close, they can compete for resources and transmit diseases more easily.
- Bottom Heat is Your Friend: Penstemons, like many plants, really appreciate a bit of warmth from below when they’re trying to root. A propagation mat can make a huge difference in rooting speed and success. Just place your potted cuttings on top of it.
- A Gentle Misting is Key: Instead of heavy watering, I find a daily light misting of the cuttings keeps them turgid without waterlogging the soil, which is a common culprit for rot.
Aftercare & Troubleshooting
Once your cuttings are planted under their plastic tent, place them in a bright spot out of direct sunlight. Too much sun will scorch those tender young stems. Keep the soil consistently moist but not waterlogged.
You’ll want to start checking for roots about 4-6 weeks after planting. You can do this by giving a very gentle tug on a cutting. If you feel resistance, congratulations, you have roots! Once roots have formed, you can gradually acclimate your new plants to lower humidity by opening the plastic bag a little more each day over a week. Then, transplant them into slightly larger pots with a good quality potting mix.
Keep an eye out for signs of a struggling cutting. Wilting that doesn’t perk up after watering and fuzzy gray or black mold are usually indicators of rot. If you see rot, it’s often best to remove that cutting entirely and try to improve air circulation for the others. Sometimes, a cutting just won’t make it, and that’s okay. It’s part of the learning process.
A Encouraging Closing
Remember, gardening is a journey, and propagation is a delightful adventure. Be patient with your Penstemon buckleyi cuttings. Nature has her own timeline, and the satisfaction of growing new plants from your own efforts is truly unparalleled. So get your hands dirty, have some fun, and enjoy the process! You’ll be rewarded with beautiful blooms and the knowledge that you’ve been a part of bringing more of these lovely plants into the world. Happy propagating!
Resource:
https://identify.plantnet.org/k-world-flora/species/Penstemon%20buckleyi%20Pennell/data