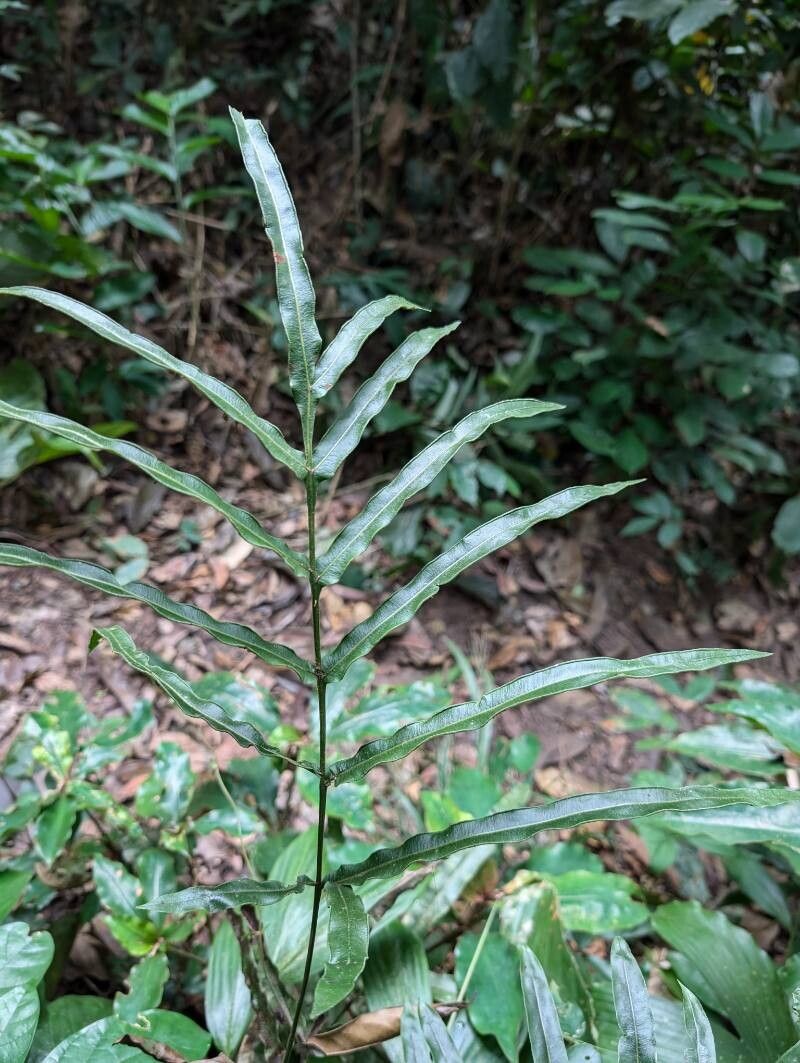
Oh, hello there! Come on in and grab a mug. Today, we’re diving into the wonderful world of propagating Pteris commutata, also known as the Sword Brake Fern. If you’ve ever admired this elegant fern with its striking, sword-like fronds gracing your home or garden, you’re in for a treat. Multiplying these beauties is surprisingly achievable, and honestly, there’s nothing quite like watching a new little fern sprout from your own efforts. It’s a really rewarding process.
The Best Time to Start
For Pteris commutata, the sweet spot for propagation is really during its most active growing season. Think late spring through summer. When the plant is putting on new growth, it has the energy reserves it needs to push out those roots and establish itself successfully. Trying to propagate when it’s a bit more dormant, like in the dead of winter, can make things a little tougher.
Supplies You’ll Need
Before we get our hands dirty, let’s gather our supplies. You won’t need anything too fancy, but having the right tools makes all the difference:
- Sharp pruning shears or a clean knife: For making precise cuts.
- Well-draining potting mix: A peat-based mix amended with perlite or orchid bark works wonderfully for ferns. You want it to hold moisture but not get waterlogged.
- Small pots or trays: Clean and with drainage holes, of course!
- Plastic bags or a propagation dome: To maintain high humidity around your cuttings.
- Optional: Rooting hormone: While not strictly necessary for Pteris commutata, it can give your cuttings a helpful boost.
- Water: For misting and watering.
Propagation Methods
Pteris commutata is a fantastic fern for propagation, and I find division to be the most straightforward method. Let’s get into it:
Division
This is my go-to for Pteris commutata. It’s like giving your fern a little haircut and getting a few new plants out of the deal!
- Assess your parent plant: Look for a mature fern that has several distinct crowns or clumps growing together.
- Gently remove the plant: Carefully take your Pteris commutata out of its pot. If it’s really root-bound, you might need to gently loosen the soil with your fingers or even a trowel around the edges.
- Divide the root ball: This is the crucial step. With clean hands or a dull knife, gently tease apart the root ball into smaller sections. Each section should have healthy roots and at least one frond. Don’t be afraid to be a little firm, but try not to mangle the roots too much.
- Pot up your new plants: Plant each divided section into its own small pot filled with your prepared potting mix. Plant them so the top of the root ball is just at the soil surface.
- Water gently: Give them a good, but gentle, watering. You want the soil to be moist.
The “Secret Sauce” (Pro Tips)
Over the years, I’ve learned a few tricks that really help boost success rates, especially with ferns.
- Humidity is King: Ferns love humidity. After dividing, I immediately cover the newly potted divisions with a plastic bag or a clear propagation dome. This traps the moisture and keeps the atmosphere nice and steamy, just like their natural environment. Just make sure the fronds aren’t too squished.
- Avoid Direct Sun: While your new fern babies are trying to establish themselves, they don’t need bright, direct sunlight. Place them in bright, indirect light. A lightly shaded spot is perfect. Too much sun can scorch those delicate new fronds.
- Bottom Heat (if you can!): If you have a heating mat designed for propagations, using it can significantly speed up root development. It mimics the warmth of the soil found in tropical environments and gives your fern a real head start.
Aftercare & Troubleshooting
Once your divided Pteris commutata pieces are potted, keep a close eye on them.
- Watering: Keep the soil consistently moist but not soggy. That plastic bag or dome will help you gauge humidity; you can peek inside and if it looks dry, give a light misting. Once the new fronds start unfurling, you can gradually reduce the humidity by opening the bag a little each day for a week or so.
- Signs of Trouble: If the fronds start to yellow and wilt, it could be a sign of too much direct sun or that the soil is staying too wet, leading to root rot. Conversely, if they look crispy, they might need more humidity. Brown, mushy stems at the soil line are a clear indicator of rot, usually from overwatering and poor drainage. In this case, it’s best to remove the affected part to prevent it from spreading.
A Encouraging Closing
Propagating plants is a journey, and Pteris commutata is a wonderful companion for it. Don’t get discouraged if every single division doesn’t take right away. The most important thing is to be patient, observe your plants, and enjoy the process of nurturing new life. Happy growing!
Resource:
https://identify.plantnet.org/k-world-flora/species/Pteris%20commutata%20Kuhn/data