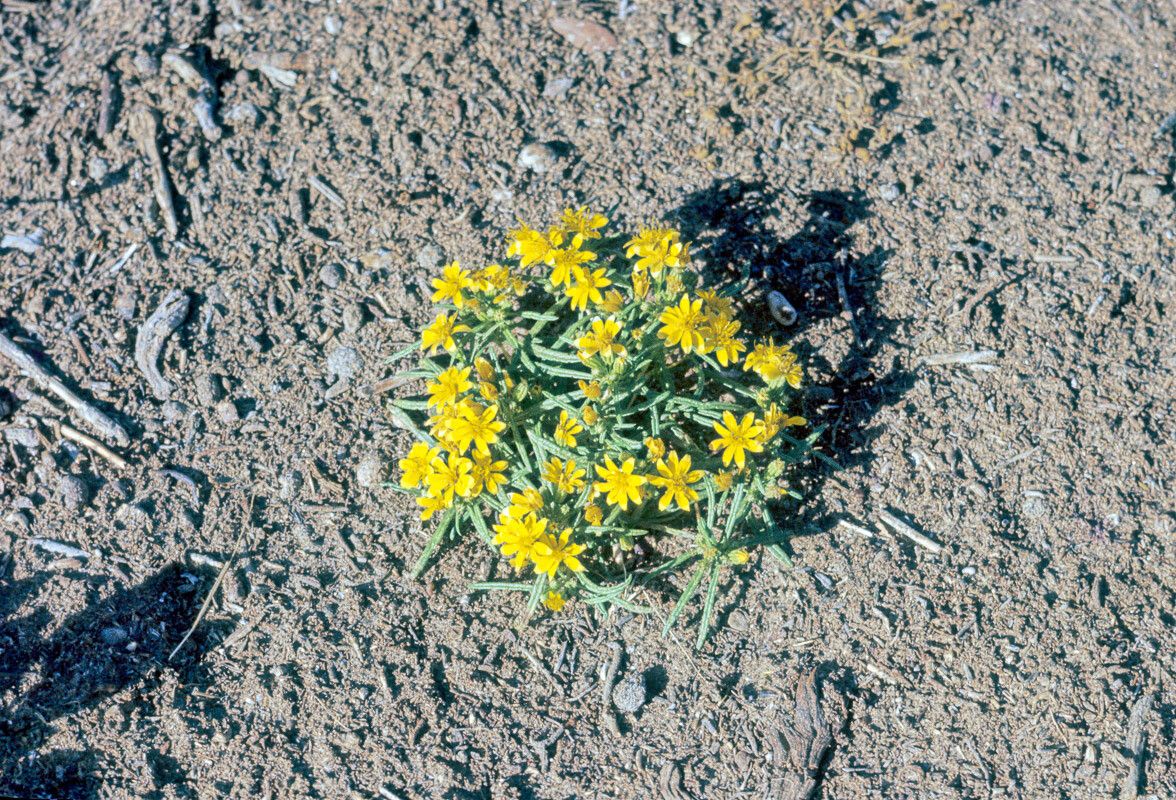
Hey there, fellow plant lovers! I’m so excited to share my passion for a truly delightful little plant with you today: Pectis papposa, often known as Desert Dandelion or Yellow Scent. If you’ve ever spotted its cheerful, sunny yellow blooms gracing a garden bed or a sunny windowsill, you know exactly what I mean. It’s a tough little beauty, native to arid and semi-arid regions, and it brings such a burst of joy. And guess what? Propagating it is an absolute blast, a truly rewarding way to share the sunshine. For beginners, I’d say Pectis papposa is a surprisingly easy plant to propagate, which makes it a fantastic starting point for anyone looking to expand their plant family.
The Best Time to Start
When it comes to getting a jump on your Pectis papposa propagation, spring and early summer are your prime time. This is when the plant is actively growing and has plenty of energy to put into creating new roots. Look for stems that are healthy and vigorous, ideally not flowering too heavily. You want this energy directed towards roots, not seed production, for the best cuttings.
Supplies You’ll Need
Gathering your supplies before you start makes the whole process so much smoother. Here’s what you’ll want to have on hand:
- Sharp, clean pruning shears or a sharp knife: Crucial for making clean cuts to prevent disease.
- A well-draining potting mix: I usually go for a mix of equal parts perlite and coco coir or a good quality cactus and succulent mix.
- Small pots or seedling trays: Whatever you have available, just make sure they have drainage holes.
- Rooting hormone (optional but recommended): This can give your cuttings a significant boost. Look for one in powder or gel form.
- Watering can or a spray bottle: For gentle watering.
- A sunny spot or grow light: For providing adequate light without scorching.
Propagation Methods
Let’s get our hands dirty! For Pectis papposa, stem cuttings are generally the most successful and straightforward method.
Stem Cuttings
- Take Your Cuttings: With your clean shears, carefully snip off healthy, non-flowering stems. Aim for cuttings that are about 4-6 inches long. Try to get a few leaves on the stem; these are important for photosynthesis.
- Prepare the Cuttings: Gently remove the lower leaves from the bottom 2-3 inches of each cutting. This prevents them from rotting when planted in the soil.
- Apply Rooting Hormone (Optional): If you’re using rooting hormone, dip the cut end of the stem into the powder or gel, tapping off any excess.
- Plant Your Cuttings: Fill your small pots or trays with your well-draining potting mix. Make a small hole in the center of the soil with your finger or a pencil. Carefully insert the cut end of the Pectis papposa cutting into the hole. Gently firm the soil around the base of the cutting.
- Water Gently: Give each cutting a light watering to settle the soil. You don’t want to waterlog it.
- Provide the Right Conditions: Place your pots in a bright, indirectly lit spot. Avoid direct sun initially, as this can scorch the tender cuttings. I like to cover my pots loosely with a clear plastic bag or place them in a propagator to maintain humidity. This creates a mini-greenhouse effect, which is super helpful.
The “Secret Sauce” (Pro Tips)
Here are a couple of things I’ve learned over the years that really seem to make a difference for fussier propagators:
- Bottom Heat is Your Friend: Pectis papposa loves warmth, especially when it’s trying to root. Placing your pots on a seedling heat mat can significantly speed up root development. It mimics the warmth of the soil that the plant naturally grows in.
- Don’t Fuss Too Much: I know it’s tempting to constantly check for roots, but try to resist lifting your cuttings frequently. Every time you lift them, you disturb any fragile root hairs that are forming. Give them a few weeks to settle in.
Aftercare & Troubleshooting
Once you start seeing signs of new growth, like tiny leaves unfurling or a slight tug when you gently test the stem, you know your cutting has rooted! At this point, you can gradually acclimate them to slightly more direct light. Continue to water sparingly, allowing the soil to dry out slightly between waterings.
The most common issue you might encounter is rot. If a cutting turns mushy and black, it’s usually a sign of too much moisture. If this happens, unfortunately, that cutting is likely lost. To prevent it, ensure excellent drainage and don’t overwater. Keeping the leaves from touching the soil surface can also help air circulation.
A Encouraging Closing
Growing new plants from cuttings is such a magical experience. It’s a tangible way to connect with nature and witness life beginning anew. Be patient with your Pectis papposa cuttings – they take their time, just like gardening should! Enjoy the process, celebrate every tiny sign of life, and before you know it, you’ll have a whole crew of these cheerful yellow blooms to brighten your world. Happy propagating!
Resource:
https://identify.plantnet.org/k-world-flora/species/Pectis%20papposa%20Harv.%20&%20A.Gray/data