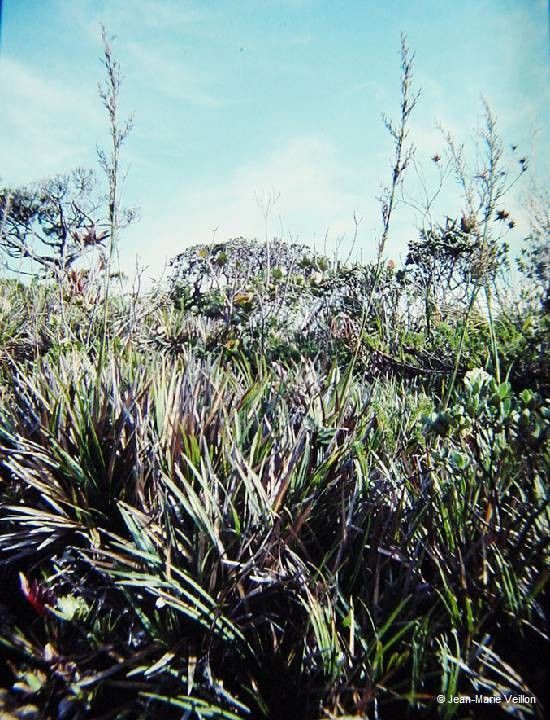
Hello, fellow plant lovers! Today, I want to chat about a gem of a plant that has brought so much joy to my garden: Chamaedendron xyridioides. You know, those beautiful, almost sculptural plants with their spiky, bromeliad-like foliage? They’re stunning, adding a touch of the exotic to any space. Best of all, propagating them is incredibly rewarding. Now, I won’t lie and say it’s always the easiest plant to start from scratch, especially if you’re just dipping your toes into propagation. But with a little patience and the right approach, you absolutely can do it!
The Best Time to Start
For Chamaedendron xyridioides, the sweet spot for propagation is during its active growing season. Think late spring through early summer. This is when the plant has plenty of energy to put into developing new roots. Trying to propagate when the plant is taking a break, like in the dead of winter, is just setting yourself up for disappointment.
Supplies You’ll Need
Here’s what you’ll want to have on hand:
- Sharp, clean pruning shears or a knife: Cleanliness is crucial to prevent introducing potential pathogens.
- Well-draining potting mix: A succulent or cactus mix is often perfect. You can also create your own by mixing equal parts perlite and potting soil.
- Small pots or propagation trays: Something that allows for good airflow.
- Rooting hormone powder or gel (optional but recommended): This really gives your cuttings a boost.
- Plastic bags or a clear propagation dome: To create a humid environment for your cuttings.
- Watering can or spray bottle: For gentle watering.
- Gravel or perlite (for bottom drainage in pots): An extra layer of insurance against waterlogged roots.
Propagation Methods
Chamaedendron xyridioides is primarily propagated through offsets, which are like baby plants that pop up at the base of the mature plant. Sometimes, you can also get a cutting to root, though offsets are usually more reliable.
Propagating Offsets (The Easiest Way)
- Inspect your mature plant: Look for small, compact plantlets nestled around the base of the main plant. These are your offsets. They should ideally have a few leaves of their own.
- Gently loosen the soil: Around the base of the offset, carefully loosen the soil with your fingers or a small trowel.
- Separate the offset: Once you’ve exposed the connection point between the offset and the parent plant, you can gently twist or use your clean shears to carefully sever the offset. Try to get as much of its base, roots and all, as possible.
- Allow to callous: This is super important! Let the cut end of the offset air dry for a day or two in a bright, dry spot. This allows the wound to callous over, which helps prevent rot when you plant it.
- Pot it up: Fill a small pot with your well-draining mix. Make a small hole in the center and firmly plant the offset, ensuring the base is in contact with the soil.
- Water sparingly: Water very lightly at first. You don’t want to drown the new plant.
Stem Cuttings (A Bit More Advanced)
While offsets are common, you can sometimes propagate from stem cuttings if your plant has a longer stem.
- Take a cutting: Using your clean shears, cut a stem that is at least 3-4 inches long. Try to get a piece that has at least a few sets of leaves. Remove the lower leaves, leaving just a few at the top.
- Apply rooting hormone: Dip the cut end of the stem into rooting hormone powder or gel. Tap off any excess.
- Plant the cutting: Fill a pot with your well-draining mix. Make a hole with your finger or a pencil and insert the cutting, ensuring the hormone-coated end is well within the soil.
- Water gently: Water lightly.
- Provide humidity: Cover the pot with a plastic bag or propagation dome to create a humid environment.
The “Secret Sauce” (Pro Tips)
Here are a couple of things I’ve learned over the years that make a big difference:
- Don’t be afraid to use a bit of bottom heat. If you’re struggling with your cuttings to root, placing the pots on a seedling heat mat can really supercharge root development. It mimics the warmer soil temperatures that encourage growth.
- Air circulation is your friend, but humidity is too! It’s a delicate balance. When you’re using a cover for humidity, lift the cover daily for a few minutes to allow for fresh air exchange. This helps prevent fungal issues.
Aftercare & Troubleshooting
Once your offset or cutting has established roots (you’ll know because it will start to show signs of new growth or resist a gentle tug), you can treat it like a mature plant, but with extra care.
- Watering: Water only when the soil feels dry to the touch. Overwatering is the fastest way to kill a new plant.
- Light: Place it in bright, indirect light. Avoid scorching direct sun, which can burn tender new growth.
- Repotting: Once it’s got a good root system and is actively growing, you can move it to a slightly larger pot if needed.
The biggest thing to watch out for is rot. If your cutting or offset turns mushy, black, or smells foul, it’s likely rotted. This is usually a sign of too much moisture and not enough drainage or air circulation. If you catch it early, you might be able to salvage a healthy piece by cutting away the rot and re-calling it, but prevention is always better.
A Little Patience Goes a Long Way
There you have it! Propagating Chamaedendron xyridioides can be so satisfying. Don’t get discouraged if your first attempt isn’t a runaway success. Gardening is a journey of learning, and every plant teaches us something new. Be patient, enjoy the process of nurturing these new little lives, and soon you’ll have a whole collection of these beautiful plants! Happy propagating!
Resource: