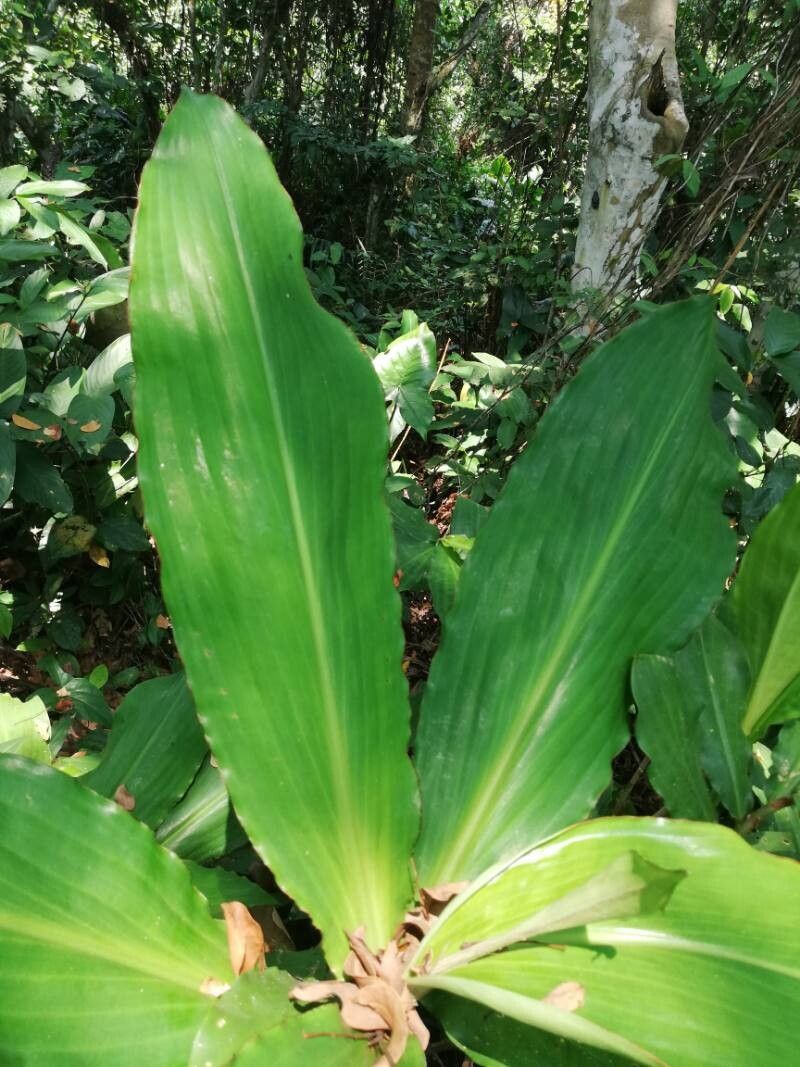
Oh, Palisota mannii! It’s one of those plants that just brings a smile to my face. With its beautiful, architectural foliage, it’s a real showstopper in any indoor jungle. And the best part? You can easily grow more of your own! Trust me, the satisfaction of coaxing a new life from a piece of your existing beauty is something truly special. If you’re new to the plant world, I’d say Palisota mannii is a moderately easy plant to propagate. A little patience and a few key steps will have you well on your way.
The Best Time to Start
For most tropical plants like Palisota, the real magic happens when they’re actively growing. Think of spring and early summer. This is when the plant has lots of energy to put into forming new roots. You’ll want to take cuttings when the plant is looking robust and healthy, not when it’s stressed from drought or a recent repotting.
Supplies You’ll Need
Gathering your tools beforehand makes the process so much smoother. Here’s what I always have on hand:
- Sharp pruning shears or a clean knife: A clean cut is crucial for preventing disease.
- Rooting hormone (optional, but recommended): This little jar of magic really boosts your success rate.
- A good quality potting mix: I love a mix that drains well. A blend of perlite, coco coir, and a little bit of compost works wonders.
- Small pots or propagation trays: Ensure they have drainage holes!
- Clear plastic bag or a clear dome: This creates that lovely humid environment many cuttings crave.
- Watering can with a fine rose: For gentle watering.
- Patience! This is your most important tool.
Propagation Methods
Palisota mannii is a champ when it comes to stem cuttings. It’s my go-to method, and I think you’ll find it quite straightforward.
- Select a Healthy Stem: Look for a mature stem that’s not too woody but also not too soft and new. It should have at least a couple of leaves. You’re aiming for a cutting that’s about 4-6 inches long.
- Make the Cut: Using your sharp, clean shears or knife, make a clean cut just below a leaf node. A leaf node is where a leaf attaches to the stem. This is where the magic will happen for root formation.
- Prepare the Cutting: Gently remove the lower leaves from the cutting, leaving just one or two at the very top. This prevents them from rotting in the soil or water.
- Apply Rooting Hormone (Optional): If you’re using rooting hormone, dip the cut end into it. Just a light dusting is all you need.
- Plant Your Cutting: Fill your small pot with the prepared potting mix. Make a small hole with your finger or a pencil and gently insert the cut end of your Palisota mannii cutting. Firm the soil around it.
Another lovely option is water propagation. It’s so satisfying to watch those little white roots emerge!
- Prepare the Cutting: Follow steps 1 and 2 above.
- Place in Water: Pop your cutting into a clean glass or jar filled with lukewarm water. Make sure that the leaf nodes where you removed the leaves are submerged, but don’t let any of the leaves themselves touch the water.
- Change the Water: Change the water every few days to keep it fresh and prevent bacterial growth.
The “Secret Sauce” (Pro Tips)
Here are a couple of little tricks I’ve picked up over the years that really make a difference:
- The Humid Hug: Once your cutting is potted, cover the pot with a clear plastic bag or place it under a clear dome. This creates a mini-greenhouse effect, keeping the humidity high, which is crucial for preventing the cutting from drying out before it can root. Just make sure there’s a little air circulation, perhaps by opening the bag for a few minutes each day.
- Warmth Encourages Roots: If you live in a cooler climate or it’s not the warmest time of year, consider using bottom heat. A simple heating mat designed for seedlings can provide a gentle warmth that encourages root development without overheating the plant.
Aftercare & Troubleshooting
Once you’ve potted your cutting, give it a gentle watering. Keep the soil consistently moist but not waterlogged. Place it in a spot with bright, indirect light. Avoid direct sun, which can scorch those tender new leaves.
You’ll know your cutting is happy and has rooted when you see new growth. This can take anywhere from a few weeks to a couple of months. Gently tugging on the cutting – if you feel resistance, roots have formed!
The most common issue you might encounter is rot. This usually happens if the soil is too wet or the humidity is too low for too long. If you see the stem turn mushy and brown, sadly, that cutting is likely lost. Don’t be disheartened; just try again! Sometimes, a cutting might just fail to root. It’s part of the process, and it happens to even the most experienced gardeners.
A Encouraging Closing
So there you have it! Propagating your Palisota mannii is a rewarding journey. Don’t be discouraged if your first attempt isn’t a resounding success. Every plant is a little different, and every gardener learns with practice. Enjoy the process, celebrate every new leaf, and soon you’ll have a whole collection of these gorgeous plants to admire. Happy propagating!
Resource:
https://identify.plantnet.org/k-world-flora/species/Palisota%20mannii%20C.B.Clarke/data