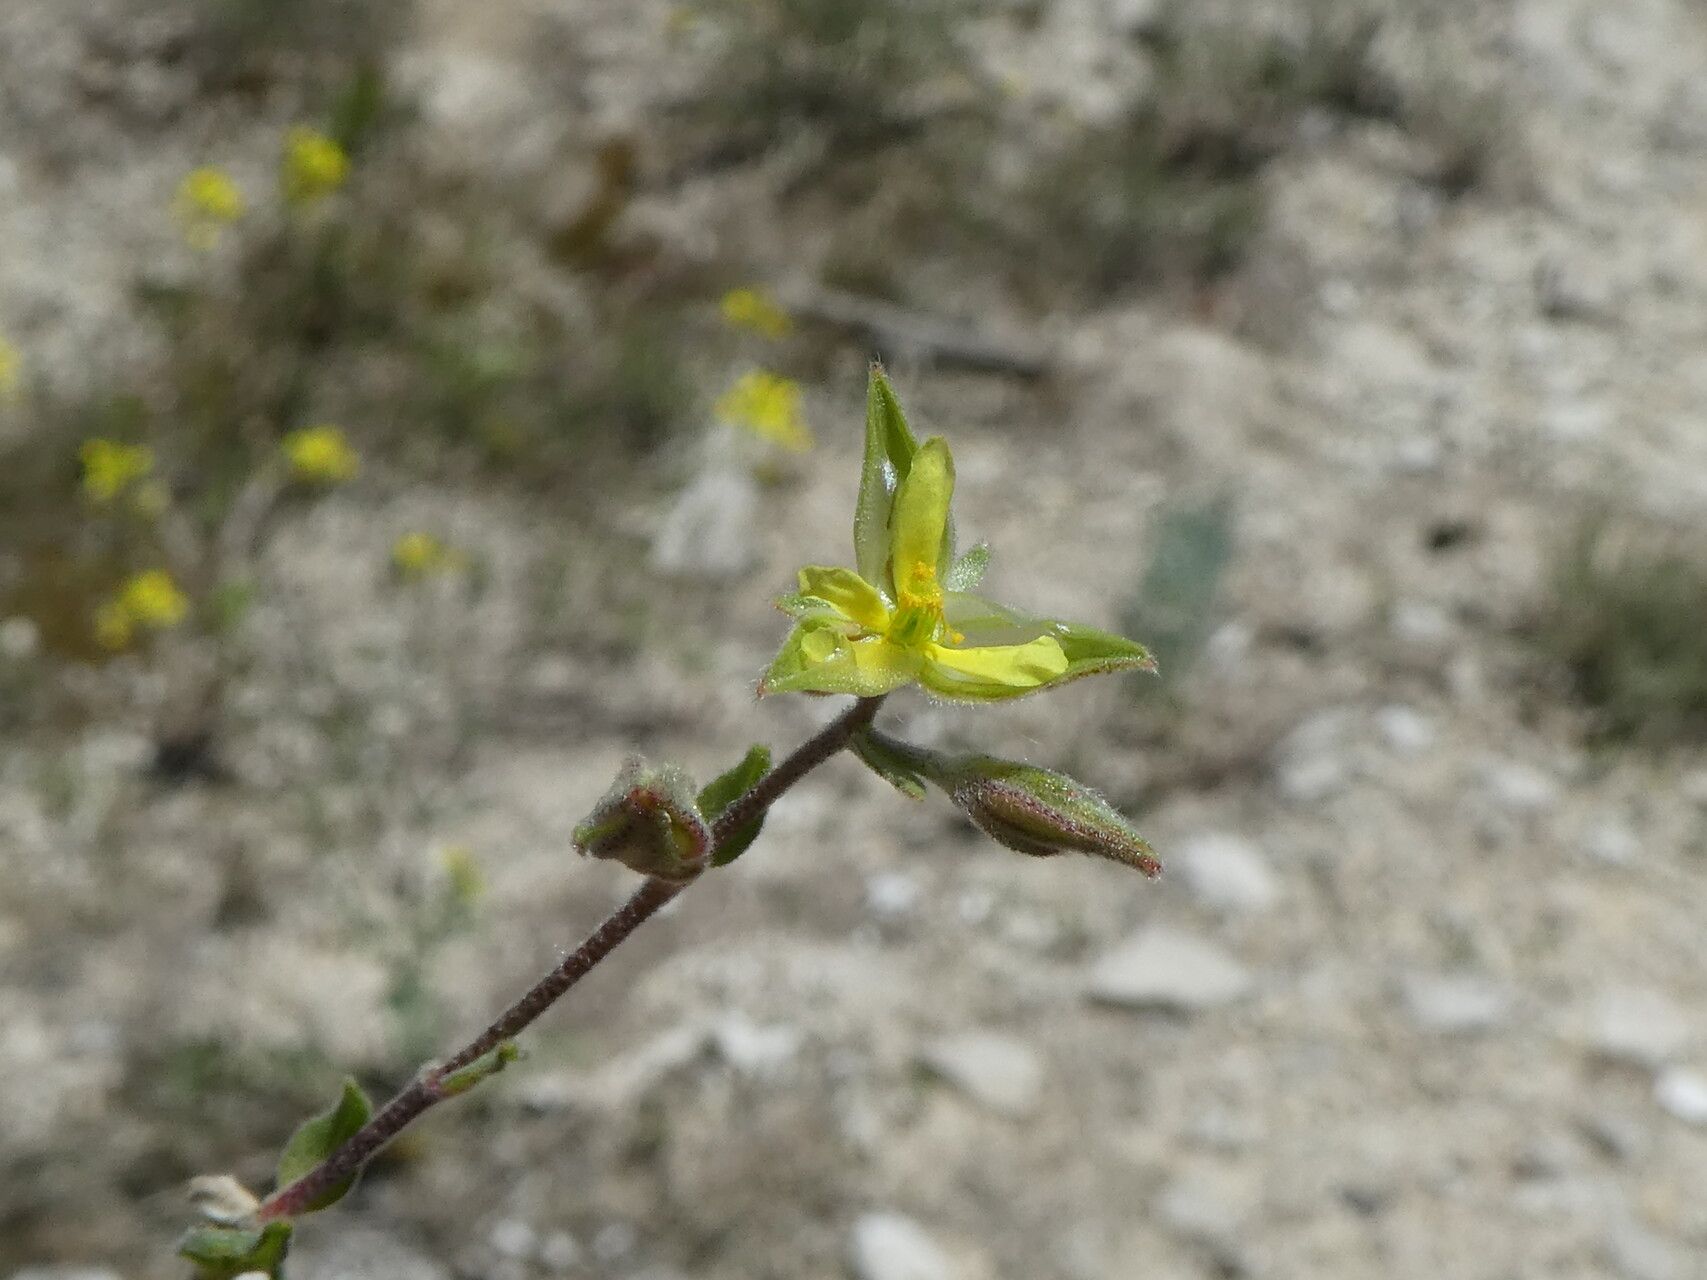
Hello, fellow garden enthusiasts! It’s so lovely to have you join me today. If you’ve ever admired those delicate, gem-like flowers carpeting a sunny spot, chances are you’ve encountered the Helianthemum, often called Rock Rose or Sun Rose. They’re an absolute delight, bringing a splash of vibrant color and a cheerful disposition to any landscape. Propagating them myself has always felt like a little gardening magic, turning one beautiful plant into many. It’s a wonderfully rewarding task, and I’m excited to share how you can do it too!
The Best Time to Start
When it comes to getting your Helianthemum propagation off to a flying start, timing is key. I’ve found the sweet spot is usually late spring to early summer. This is when the plant is actively growing, producing plenty of new, vigorous stems that are perfect for taking cuttings. Aim for stems that have started to mature a little – they’ll be firm but not woody. This stage gives them the best chance of developing strong roots.
Supplies You’ll Need
Before we get our hands dirty, let’s gather our essentials. It’s always good to be prepared so the process flows smoothly:
- Sharp pruning shears or a craft knife: For clean cuts that heal well.
- Rooting hormone (optional but recommended): I find it gives cuttings a nice little boost.
- Small pots or seed trays: Good drainage is crucial.
- A well-draining potting mix: I like a blend of perlite, coarse sand, and a good quality potting soil. You can also buy specific cuttings compost.
- A spray bottle: For misting your cuttings.
- A clear plastic bag or propagator lid: To create a humid environment.
- Labels: So you remember what you planted where!
Propagation Methods
While you might see other methods discussed, for Helianthemum, I find stem cuttings to be the most reliable and straightforward route.
Stem Cuttings
This is my go-to method for propagating Helianthemum. It’s simple, effective, and gives you great results.
- Take your cuttings: Select healthy, non-flowering shoots. Using your clean pruning shears or knife, cut stems about 4-6 inches long. Make the cut just below a leaf node (where a leaf attaches to the stem).
- Prepare the cuttings: Gently remove the leaves from the bottom half of the stem. This prevents them from rotting once planted. If the remaining leaves are very large, you can trim them in half to reduce water loss.
- Apply rooting hormone (optional): Dip the cut end of each stem into your rooting hormone powder. Tap off any excess.
- Plant the cuttings: Fill your pots or trays with your prepared damp potting mix. Make a small hole in the center using a pencil or dowel. Insert the cutting into the hole, ensuring the leaf nodes that were buried are now below the soil surface. Firm the soil gently around the stem.
- Water gently: Water the potting mix thoroughly until it’s moist but not waterlogged.
- Create humidity: Place the pots into a clear plastic bag or cover them with a propagator lid. This traps moisture and keeps the cuttings from drying out. Make sure the leaves don’t touch the sides of the bag, as this can encourage rot.
The “Secret Sauce” (Pro Tips)
Now, for a couple of little tricks I’ve picked up over the years that really make a difference:
- Use bottom heat: This is a game-changer! Placing your pots on a heated propagator mat provides gentle warmth to the soil. This encourages root development much faster and significantly increases your success rate, especially if your home is a bit cooler.
- Don’t overwater: It’s so tempting to keep cuttings constantly moist, but soggy soil is the fastest way to rot them. Let the top inch of the soil dry out slightly between waterings. The humidity from the plastic bag will help keep the leaves from wilting.
Aftercare & Troubleshooting
Once your cuttings have rooted – you’ll usually see new growth appearing – it’s time to transition to a slightly different care routine.
- Acclimatize slowly: Gradually remove the plastic bag or propagator lid over a few days. This helps your new plants get used to normal humidity levels.
- Water and light: Continue to keep the soil consistently moist but not soggy. Place the pots in a bright location, but avoid direct, harsh sunlight for the first few weeks.
- Transplanting: Once the roots are well-established and you see good new growth, you can carefully transplant them into individual pots with a more general potting mix.
The most common issue you might face is rot. If you notice stems turning mushy and black, or mold developing, it’s usually a sign of too much moisture and poor air circulation. Remove affected cuttings immediately, improve drainage, and try to avoid overwatering. Sometimes, sadly, a cutting just won’t take. Don’t be disheartened; it happens to all of us!
Happy Growing!
Propagating Helianthemum is a wonderfully accessible way to expand your garden and share the joy of these beautiful plants. Be patient with your cuttings; they work at their own pace. Watching those tiny roots emerge and seeing new leaves unfurl is incredibly satisfying. So grab your shears, get planting, and enjoy the little miracles you’ll create right in your own home. Happy gardening!
Resource:
https://identify.plantnet.org/k-world-flora/species/Helianthemum%20salicifolium%20(L.)%20Mill./data